
We did our 'secret nailing' using special ultra-thin 'tongue-tite' screws designed to go through the tongue of the boards without splitting the wood. They worked really well.

The cladding for the back of the shed went up very quickly.

The west side next to the Camelia shrub was awkward to get to but we were reluctant to prune it.

With the back and west side completed, we moved on to the front of the shed.

This took a bit longer as the cladding needed a lot of cuts around the door and windows.


With all the walls finally clad, we could get started on the roof.


The junior site inspector (Custard) wasn't put off by the noise of all the power tools.

We had plenty of 22mm OSB left over from building the house that was perfect to use for the shed roof. It was great to recycle all these materials as it saves time, saves on wastage & most importantly, saves money.

The OSB sheeting fixed in place.


The site inspector seemed to approve.

All that inspecting was tiring work...
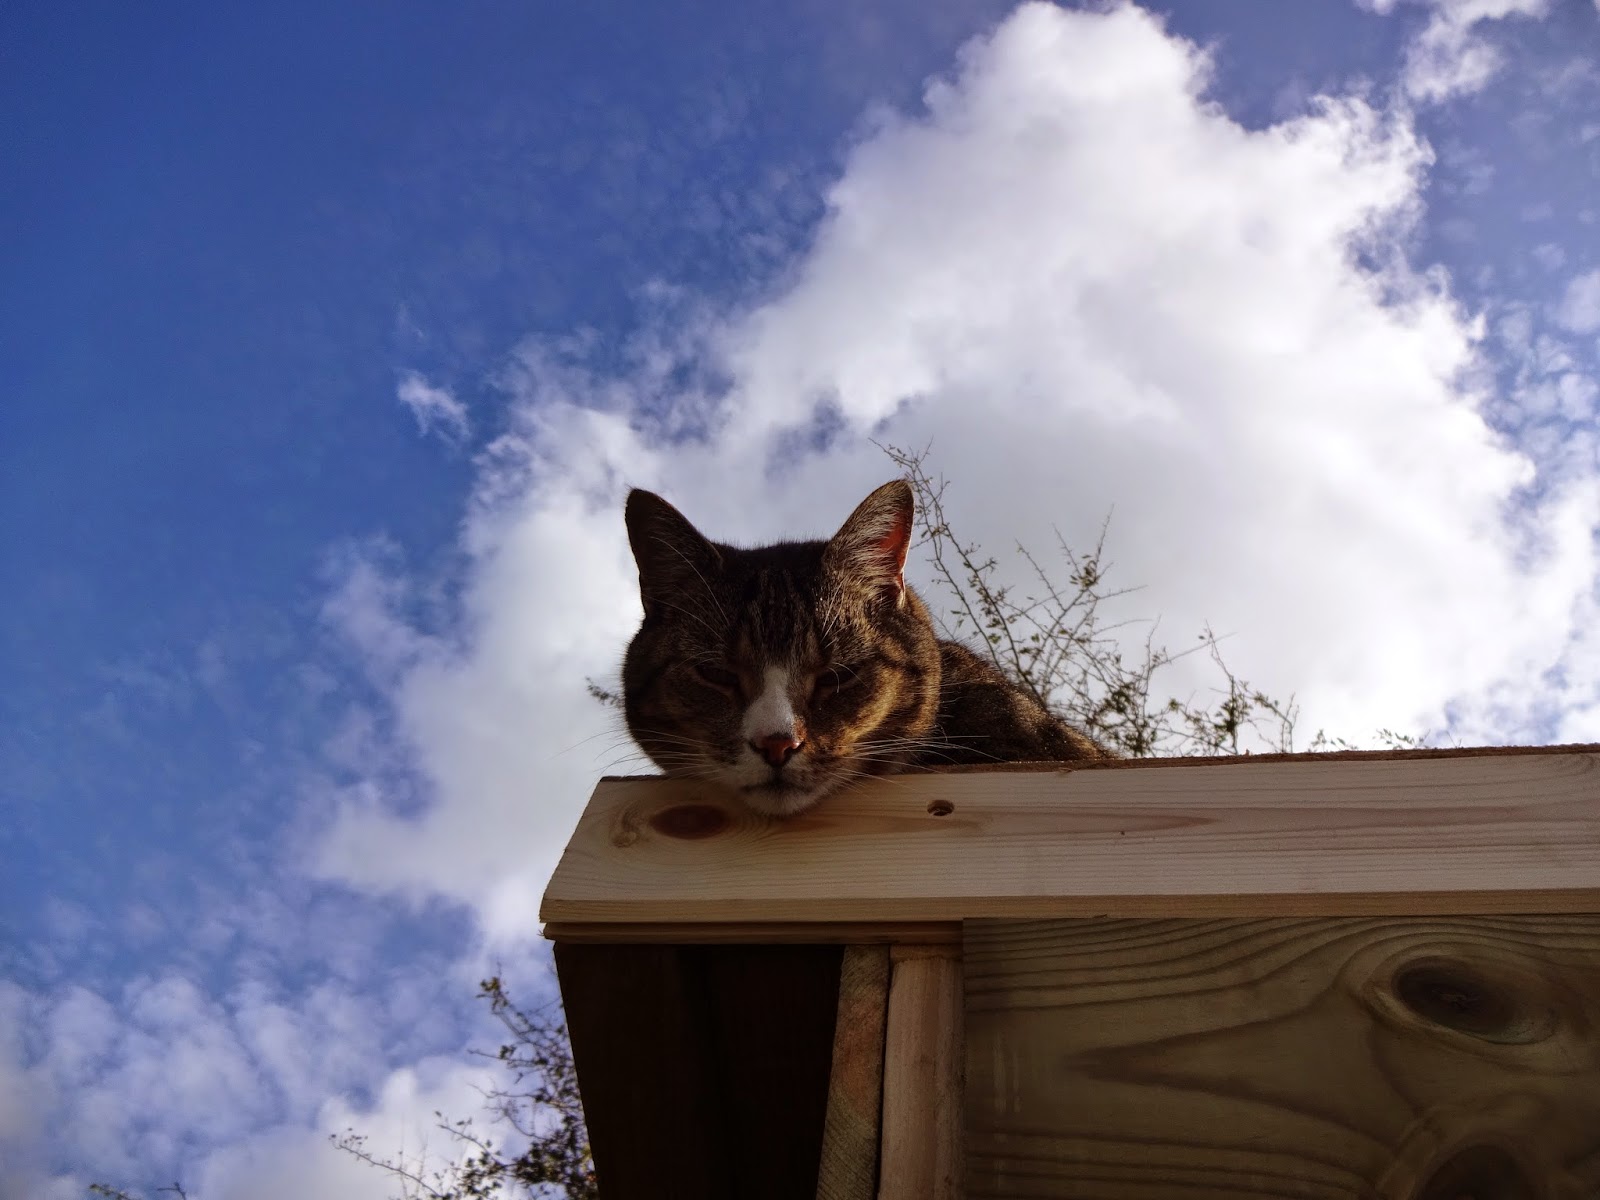
...time for a snooze.

Alan used a chalk line to mark out straight lines along the roof for the felt.

The first strip of felt goes on. We used felt adhesive along with nails to strengthen the joints and hopefully avoid any leaks.
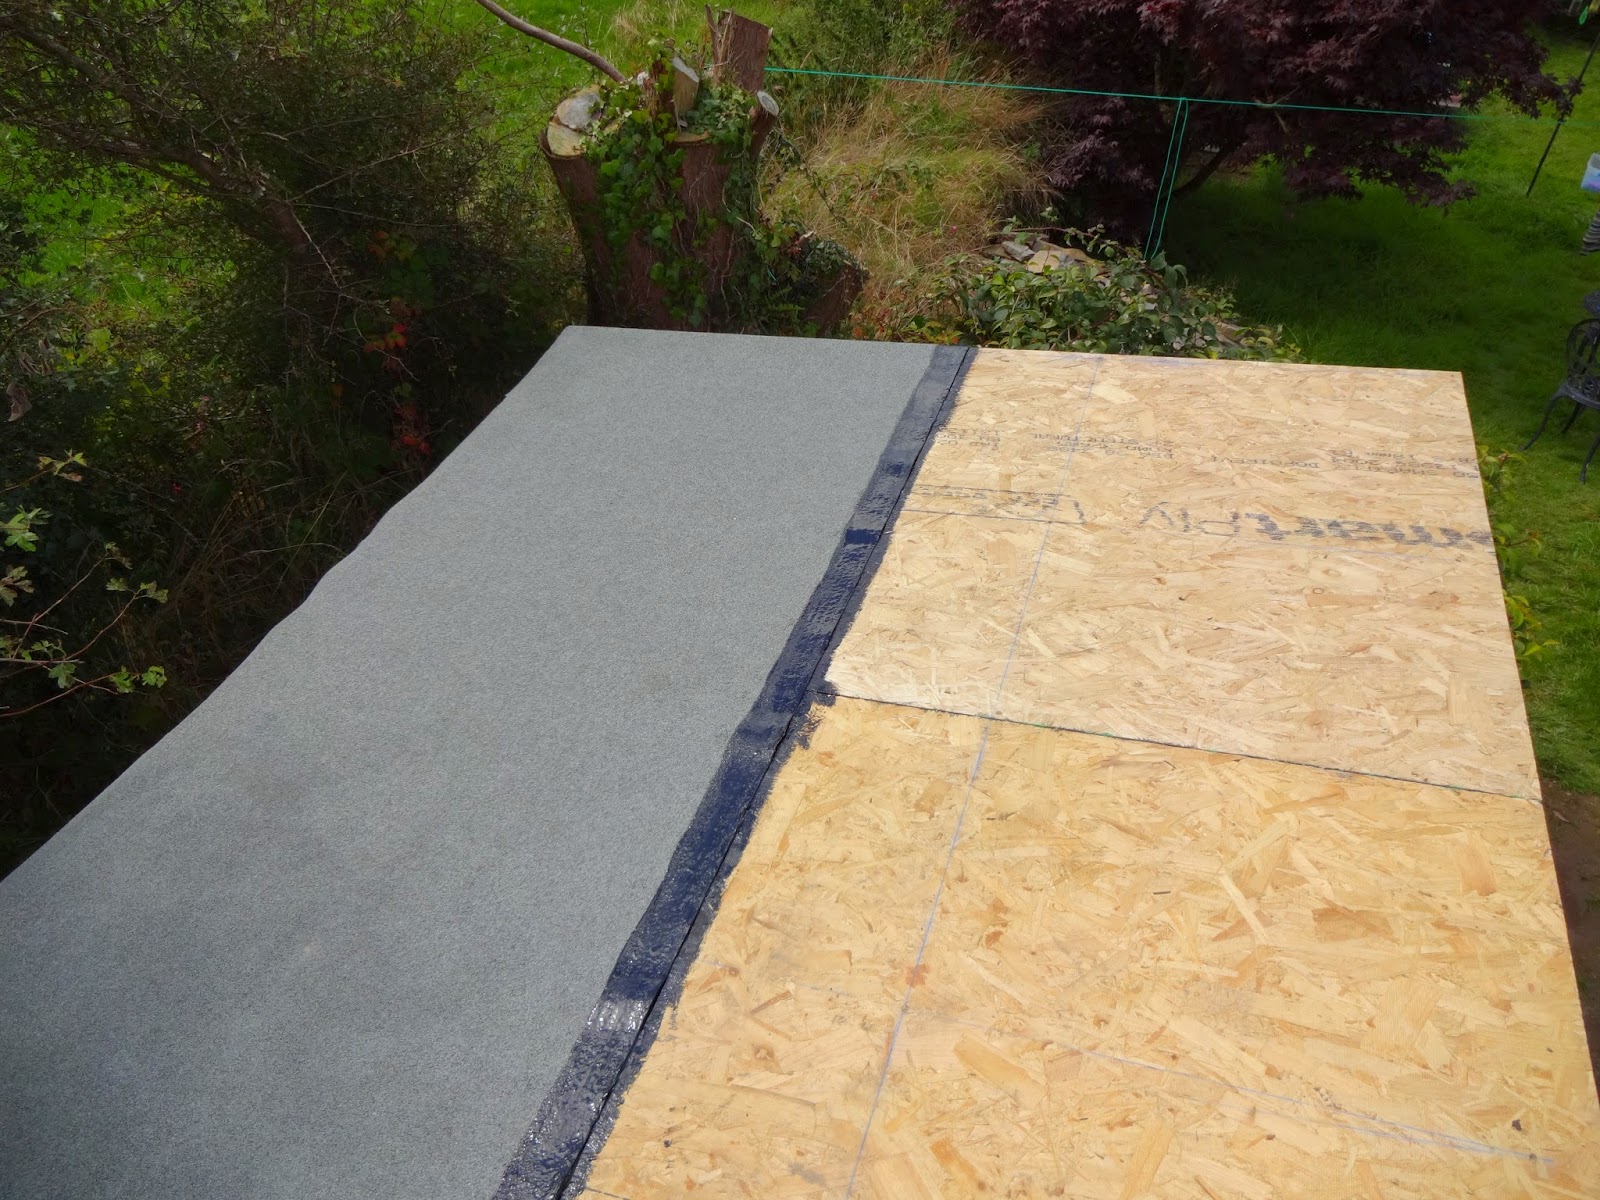
Typically for Alan he measured out every space between each nail to make sure they were all perfectly aligned - despite the fact that nobody would ever see the top of the roof unless they climbed up there with a ladder.

The perfect line of nails that nobody will ever see... except for this picture.

We built the verandah for the front part of the shed inside our cramped living room, partly because it was raining, though mostly because Spurs were playing. If you look very closely you can see that Spurs are up 4-0.

Lining up the verandah took a bit of time. We used clamps and temporary timber supports to hold it in place before screwing it all together.


Everything fitted together so well because of Alan's comprehensive plans. It took him ages but I'm sure that it saved us time and trouble in the long run.

We used tanalised wood for the balcony rails and large support posts.

Once we were happy that everything was level and lined up correctly...

... we could pour in a concrete post mix to hold it sturdily in place.

Once the verandah frame was in place, the roof was ready for cladding.

We used tongue and groove for the verandah roof rather than OSB as it would look nicer from underneath.


More recycling - we used breathable membrane left over from the roof of our house.

The last felt strip goes on, complete with Alan's OCD nail-spacing.

Hoorah! The roof is finally rainproof.

To stop water dripping off the roof onto the back wall, we fitted a mini gutter and drainpipe.

Gutter brackets in place.

Guttering and drainpipe ready for the winter downpours.

With the water filtration system due to be fitted soon, the last job was to dig some more trenches for pipes and power cables. Unfortunately these needed to be done by hand as the mini digger we'd hired had already been returned.


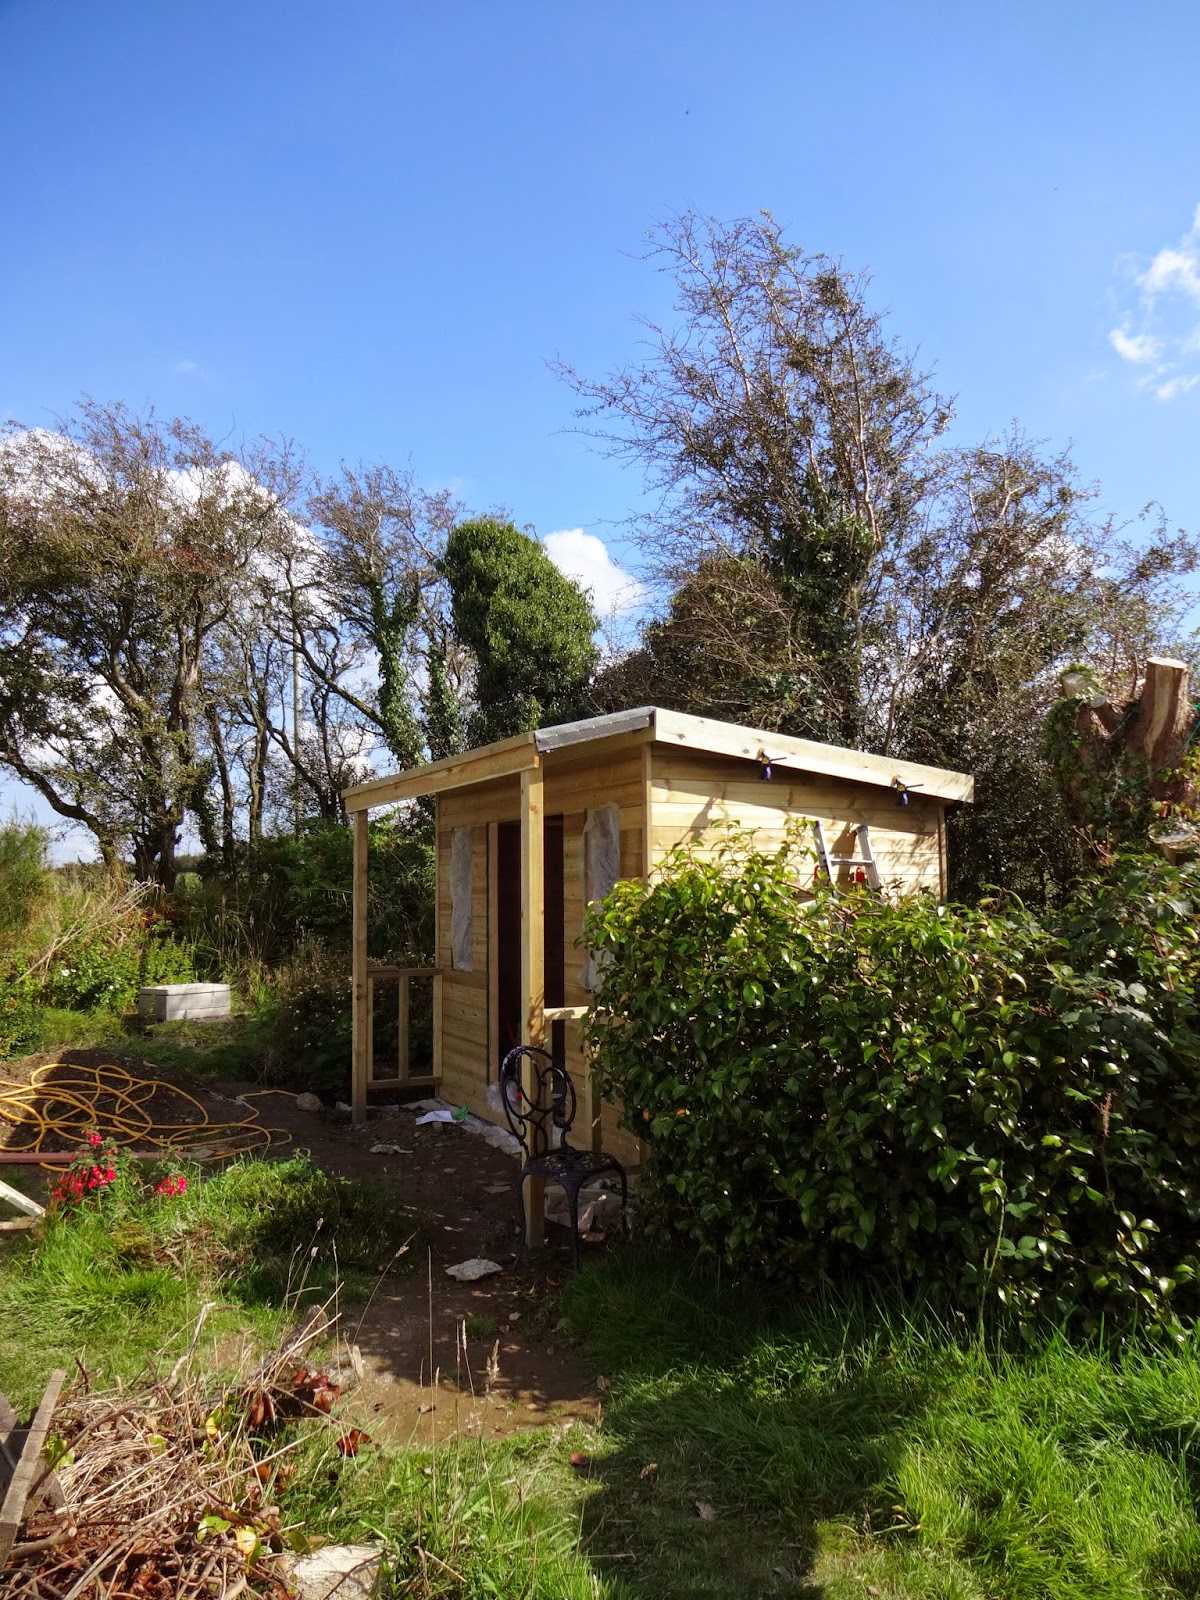
Building the shed from scratch was a slow process but it was nice to see it gradually coming together.

2 comments :
Nice line of nails :) xx
See... I knew someone would notice ;)
Post a Comment