Monday, 13 November 2017

Outside: Ducting for internet and new postbox

The new house needed to be connected to the internet. We already had a dropwire that ran from a nearby pole to the old house (highlighted by the blue dotted line in the picture below) but an overhead cable was not going to work for the new house, so we needed to come up with an underground solution.

Usually you are supposed to get a telecom surveyor to come out, but the costs for that were too expensive and we figured that if we did all the ducting ourselves, an engineer would likely not object to fitting it. (N.B. little did we know that a few months later, Alan would end up becoming a telecom engineer himself - so it turned out this was all good practice...)     


One advantage of paying out for a surveyor is that Openreach will provide all the ducting materials for nothing, but having carefully worked out exactly what bits we needed (on the back of an envelope, naturally) we calculated that even buying all the ducting ourselves, it would still work out as an 80% saving on the surveying charge.


The easiest and most direct route from the bottom of the pole to the house was via the grass verge alongside the track. The only drawback was that we would have to somehow get the duct through the 'earth' banks that border the property.

The bottom of these banks are built from large boulders so getting through it without heavy machinery was going to be a bit of a challenge - so we decided that might be a good place to start.   
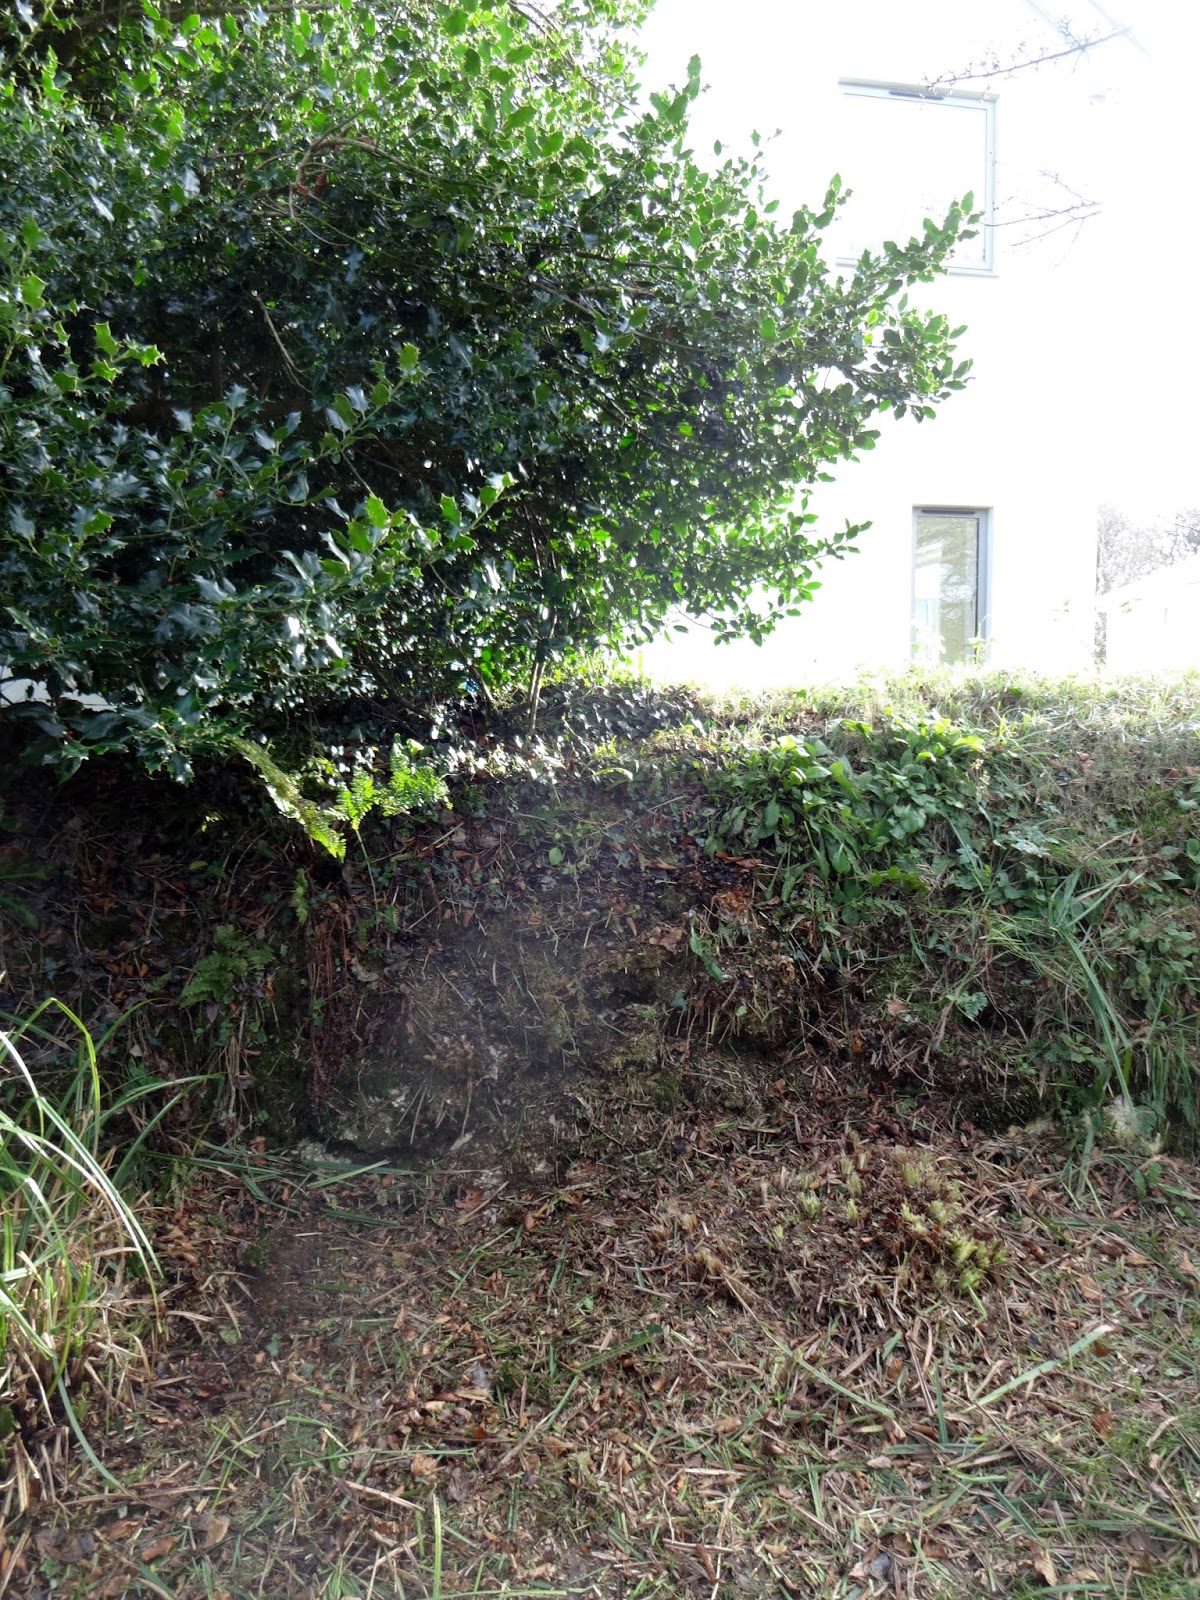


Digging the hole through the bank was really hard work. We managed to extract the large boulders at the bottom and using various implements managed to burrow our way in from one side...


... while simultaneously digging out from the other side. Luckily our two tunnels met in the middle and we were finally able to pass a section of duct all the way through the 2-3m thick bank.


With one section of duct safely installed through the bank, we could get on with digging a trench along the grass verge. It only needed to be 300-400mm deep but there were over 40m to dig and sadly it all needed to be done using only a hand shovel [sigh].


We ran the pull-rope through each section of duct as it was connected. As the name suggests, this will be used to pull the cable through the duct once it has been buried. 


Digging the first part of the trench went reasonably smoothly...


...but the next section proved a lot more difficult as someone had decided to bury piles and piles of bricks right where our trench need to go. Digging these out one by one was slow and a nuisance.


The last major obstacle was the concrete path. We cut a channel through it using an SDS drill and chisel bit. 


Once we'd cut a channel through the concrete path, the ducting could be passed through.


Finally we reached the bottom of the pole. The pull-rope was tied off at both ends to keep it in position.


The duct was now complete - from the bottom of the pole...


... all the way along the verge...


...then turning through the bank and along the last few metres until it reached the house.


With the trench completed, all we needed to do now was fill it all back in again.


Filling in the trench didn't take too long...


...and even the site inspector joined in. 


The trench filled in. Once the grass has grown back, you'd never know it was there.


As luck would have it, our house was provided with fibre to the premises, so we would be going from around 10Mb to 330Mb download speed, virtually overnight. The engineer was happy to send our cable along the duct we provided and everything was installed to the house without issue.


While we were working outside, we thought it was about time we did something about our post box.


 The post box outside the old house was looking slightly tired.


We rigged up an old fence post outside the entrance to the new house...


...and made a wooden plinth to allow us to attach our US-style 'mailbox'.


This type of sealed postbox handles the Cornish weather much better than the 'letterbox' style ones, which always seem to leave you with sopping wet letters. Our postman even uses the flag on the side to let us know when our letters have been delivered.


News of the replacement postbox had spread fast and a huge crowd of curious locals soon arrived to see what all the fuss was about.
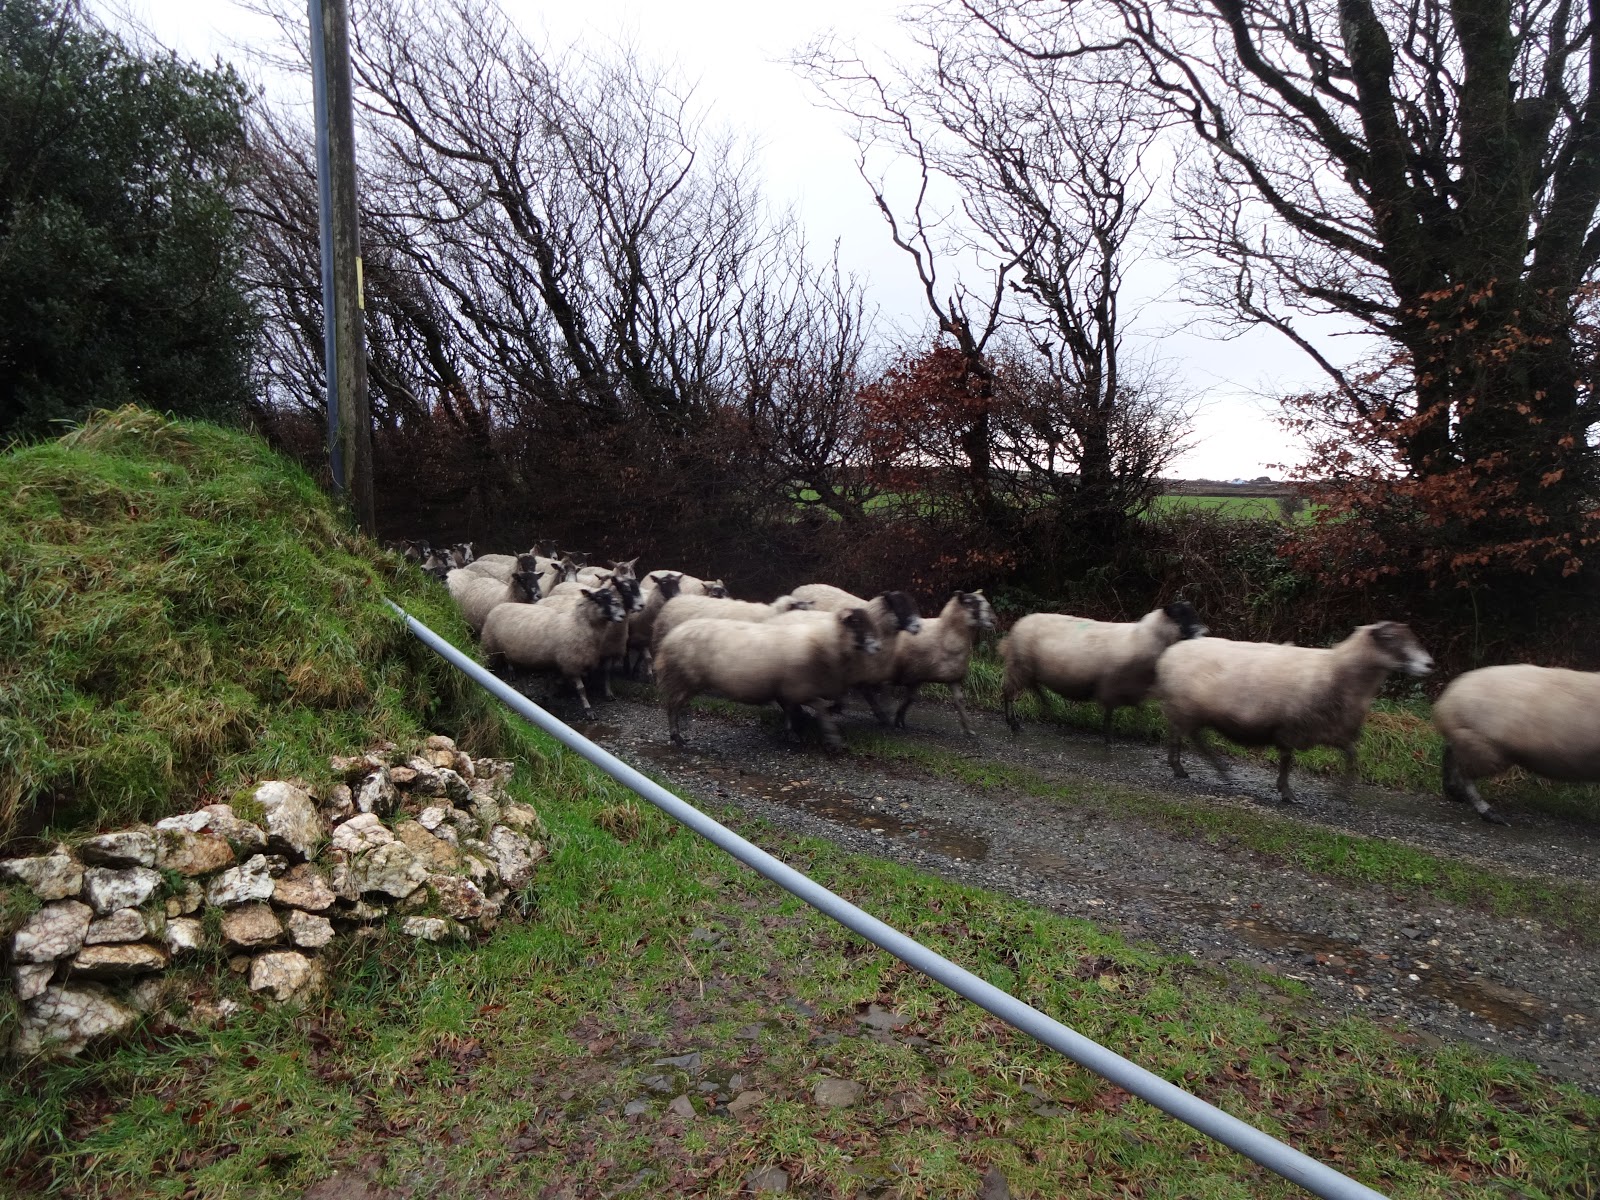


The visiting throng were thrilled with the spectacle and as you can see, the new postbox received many admiring glances.


Sadly, the visit was only fleeting for word had spread about an exciting new drainpipe down in the village.


Thursday, 2 November 2017

Stairs: part 4 - under-stairs cupboard

Although we had completed the boxing-in of the under-stairs area over a year ago (see HERE), somehow we hadn't yet got around to fitting a door to the cupboard. This was partly because we weren't sure how best to do it and more importantly, because it looked like it was going to be a real pain in the backside.

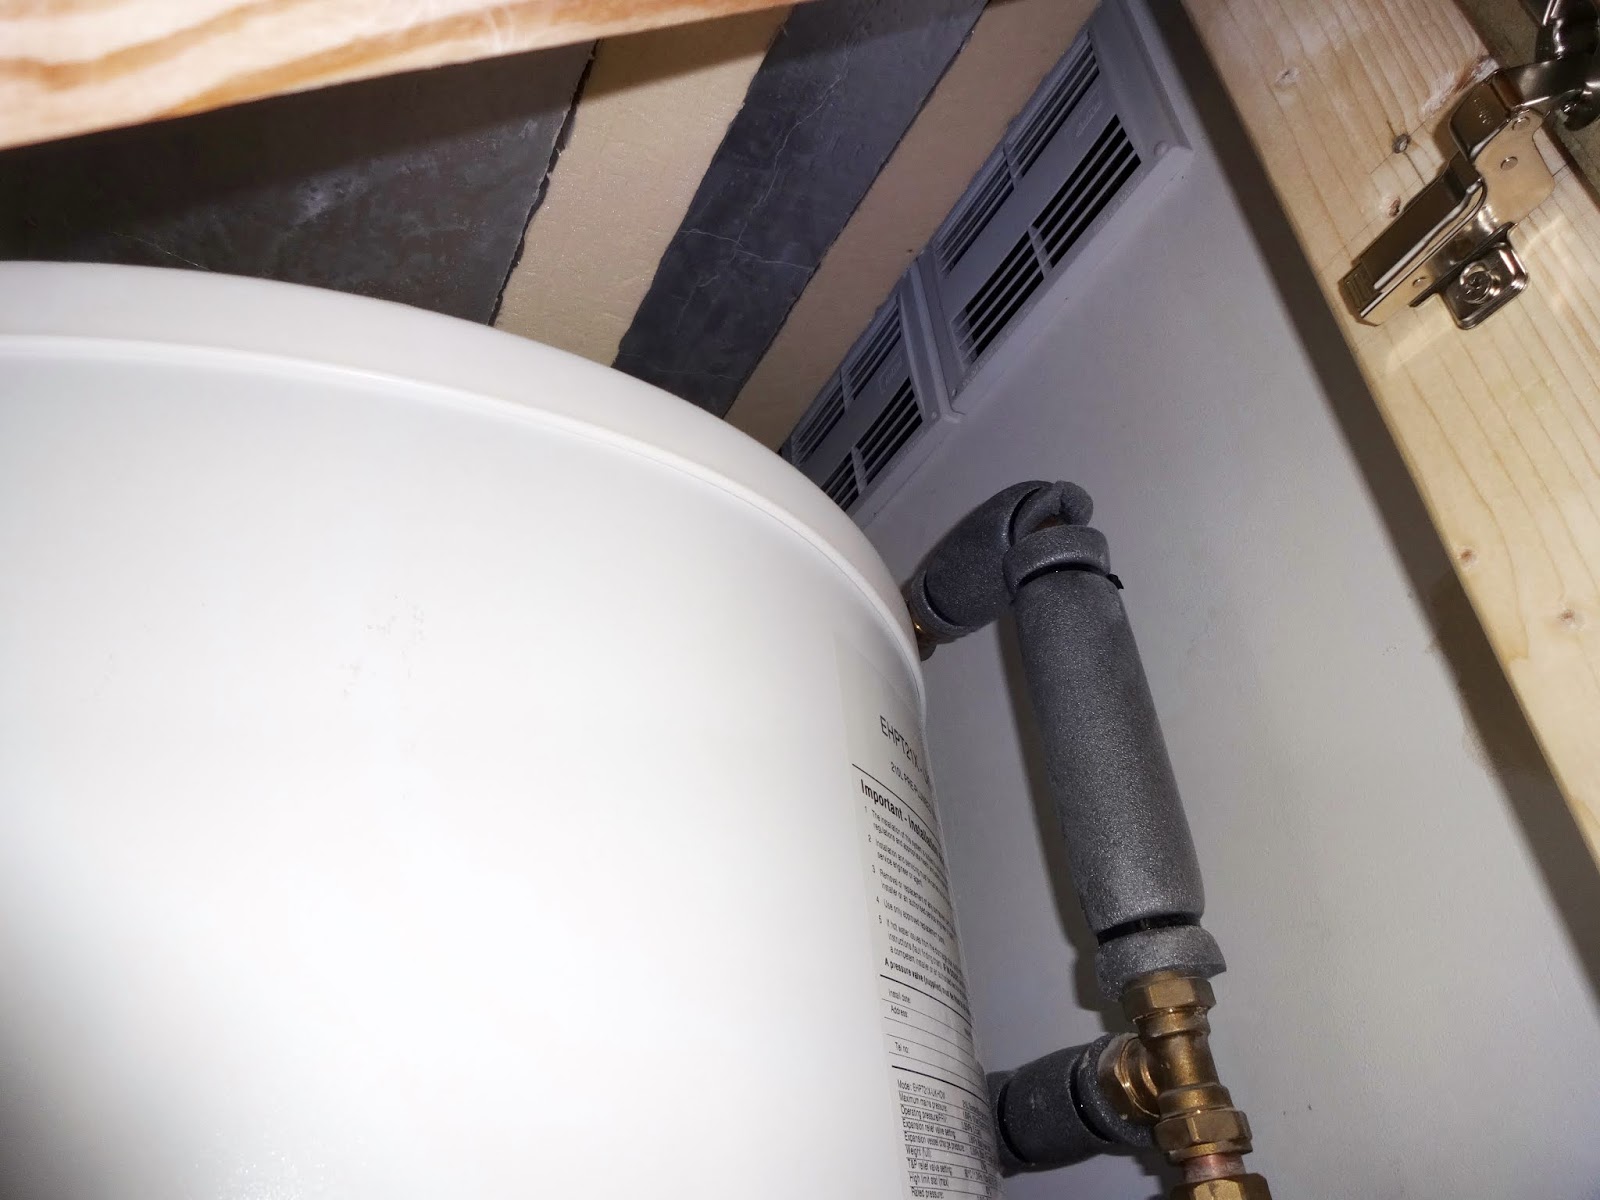
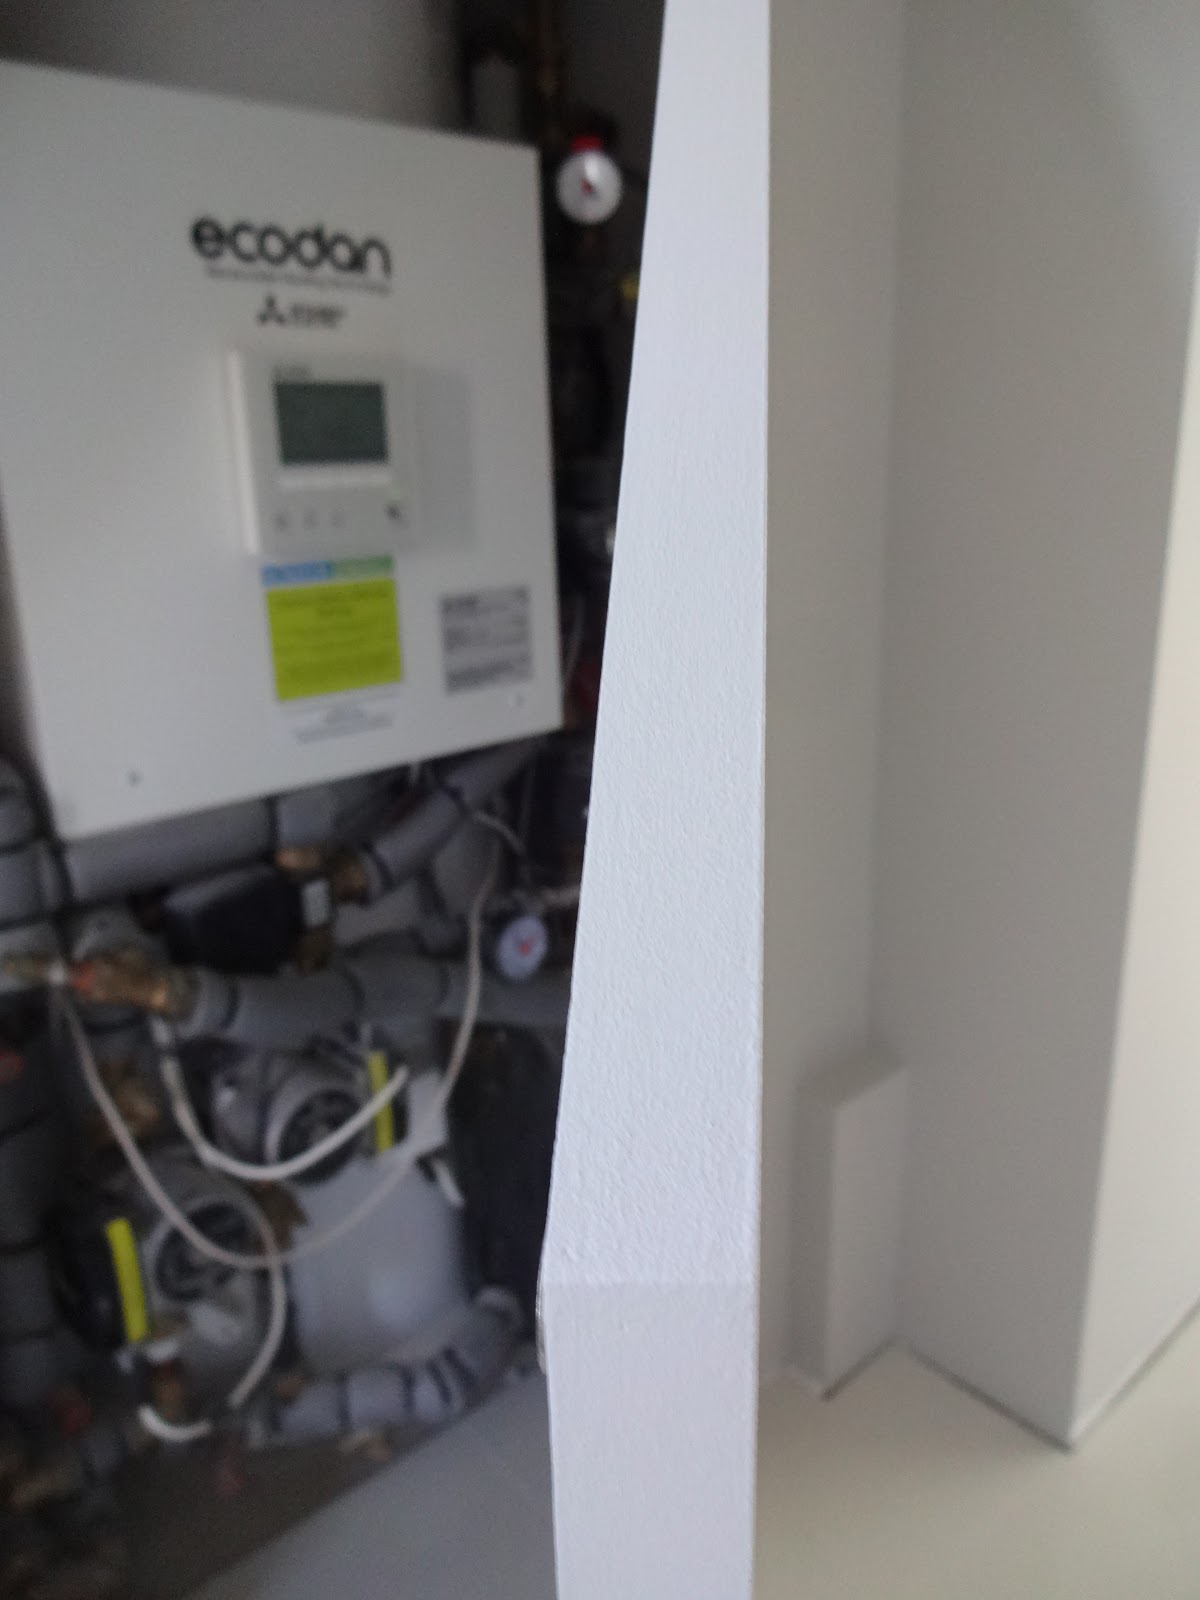
Sadly, we could procrastinate no longer. The pumps around the water tank weren't loud, but a door would certainly block out any annoying humming noises we could hear at night. (With hindsight, we should never have sited the hot water tank under the stairs, as it caused no end of problems. It would have been better to have built a pump room, away from any living areas, to house all the mechanical and electrical equipment. Next time...)        

We decided to try and keep the cupboard door as simple as possible. We bought a large sheet of MDF - 18mm thick and moisture-resistant, in an effort to stop any distortion due to the heat buildup around the hot water tank and pipes.

First step was to mark out the shape of the door on the MDF...


... then cut it down to size. This was done in stages using a plunge saw. 


Testing and fine-tuning the door fit. 


We used packers to ensure there was a consistent 2-3mm gap around the door.


Next, we needed to figure out how the shape of the door would affect the way it opened. Having a pointy, triangular-shape at the top of the door matched the angle of the stairs nicely, but also caused issues with it catching on the frame as it opened (hence why you often see under-stairs cupboards where the triangular shape has been replaced with a flat horizontal edge).  

Using an MDF off-cut to simulate the top of the door, we mounted it on a hinge to test out where the door would get snagged.   


The solution was relatively simple; using a router, we shaved a short, chamfered angle on the inside of the door (as shown in the picture) and that was enough to allow free opening of our 'mini-door'. All we had to do was cut the same shape into the main door.


We wanted the cupboard door to blend into the surrounding walls as much as possible, so decided to use concealed hinges (like the kind you find in wardrobes and kitchen cupboards). These have the added advantage of being adjustable, so fitting them is not too tricky.

The hinge manufacturer has a handy website that allows you to work out how many hinges you will need - the size and weight of our door meant we would need 4 hinges. After working out where the 4 hinges would be sited on the frame, we used a 35mm hinge cutter to drill the sunken holes along the edge of the door.


Getting all 4 hinges aligned and adjusted was tricky, but we got there in the end.


The chamfered edge worked a treat and the door opened and closed perfectly.


The door was a good fit with a nice, even gap all the way around and it certainly shut out any residual noise from the heating. 

The hot water cylinder and insulated pipes don't give out that much heat, but there was still a concern that having the door closed might lead to a cumulative build-up of hot air under the oak stairs. We'd previously insulated under all the wooden treads using Celotex, but if oak gets too dry, it can cause cracks and splits, so we decided it might be prudent to fit a couple of vents.  


It was awkward to reach, but we managed to cut out a pair of large slots at the top of the cupboard wall.


The fridge freezer sits in an alcove on the other side of this wall, so the slots should allow hot air in the cupboard to be sucked out in tandem with the heat being expelled by the fridge compressor.


Even though it's on the inside of a cupboard, we just couldn't leave two large holes in the wall, so we fitted some simple louvered covers to make everything look a bit neater.


The next step was to paint the cupboard door to match the walls. Although the flat surfaces of MDF are smooth, the edges are prone to being a bit furry and uneven. We were going to use an iron-on edging strip to cover these, but really didn't want to take the door off again (fitting it was awkward) so decided to try using strong 2-part wood filler instead.

Here's the door edge before filling...


... and afterwards. The filler should just help the edges look a bit more even when painted.


Here are the filled edges after we'd painted on the undercoat...


... and finally after painting in French Grey to match the walls. 

The Little Greene Intelligent Matt paint was perfect for this as it can be used on both plaster walls and woodwork, so the door should look identical to the rest of the paintwork.   


We didn't want to fit any door handles, so we fitted one of those 'push to open' magnetic catches to the inside door frame. 


Push and it opens...


... and push again to shut


As you can see, the site inspector could barely contain his excitement at seeing the new cupboard door.


Monday, 2 October 2017

Kitchen: part 4 - worktops and sinks

This was the kitchen back in February 2017... we had installed temporary worktops made of OSB and plasterboard...


...with a temporary sink made out of an old adhesive bucket.


And a temporary OSB worktop fitted over the kitchen island.


Finally, 8 months later, we were ready to install the permanent worktops. We'd looked closely at various materials (granite, quartz, composite) but had decided that we wanted to go for stainless steel.

As ever, to save money we would be fitting the worktops ourselves. In preparation for their delivery, we had to dismantle the kitchen, removing all the temporary fittings and appliances so that the stainless steel could be dropped straight into position.


Preparing the units that would house the sinks required quite a lot of work. We adapted the 'false' top drawer so that it could be removed and refitted easily for access, as the plumbing would have to be redesigned to accommodate the extra depth of the sink and drainer.


We removed the top drawers, along with appliances such as the dishwasher and oven, to allow space to secure the worktop to the units. We pre-drilled holes in the top of the units to ensure that the screws would 'pull' the worktops down tight into place. 


All prepped and waiting for the worktops...


... and immediately following delivery.

The driver helped us carry the heavy worktops in and we slotted each one straight into position. That way we didn't need to worry about storing or moving them later, plus we could check straight away that they had been made correctly and were fitting as they should.


Fitting the stainless steel worktops was reasonably straightforward. This was the kitchen bin unit prepared for its new worktop.


We pre-drilled holes at a specific diameter, so that the screw thread would not bite into the kitchen unit, but instead bite into the worktop and pull it tightly down. When the stainless steel is wrapped around the MDF core, it can cause the worktops to bend, so this ensures that the surface sits perfectly flat on top of the units.  


The base of the worktop is made from two layers of moisture-resistant MDF which is then clad in a layer of stainless steel. We were supplied with a higher quality 316i grade stainless steel (rather than standard 304) which scores better in a kitchen environment, as it offers more protection and hygiene against heat, cleaning chemicals and food juices.

We had chosen to use Stainless Direct UK and were particularly impressed with the build-quality of their worktops (as shown in the photo of its underside below). The way it had been wrapped seamlessly around the MDF core with its edges rounded off, was a lot more refined than some of the rather 'agricultural' finishes we'd seen at several local workshops. 


The worktop had all been custom manufactured to fit the shape of the walls (no matter how hard you try, these are never perfectly straight) so we were relieved to find that once screwed down, it sat neatly in the corner with no unsightly gaps. Nevertheless, the manufacturer supplied us with grey CT1 silicone which we 'buttered' along the edges prior to fitting to ensure that no moisture could penetrate between the walls and the worktop.


We had specified the model of sink we wanted during the ordering process and the supplier had welded both this and the splashbacks seamlessly into place, so it appeared as if the whole thing had been pressed out of one sheet of stainless steel. Great from a hygiene point of view, as there were no gaps or silicone joints where dirt and mould can collect. Probably why they use stainless in professional kitchens.

We'd had some issues when originally boarding the the kitchen wall, so knew that the gap would be a little more uneven along this section and would require more work to seal using CT1. Once we'd lined up the worktop in position and secured it with screws, it was time to address the revised plumbing layout under the sink.


Our 'bucket' sink had used a temporary plumbing layout, but the permanent sink was going to need everything changed around and compacted.


Having kitchen drawer units (rather than cupboards) under sinks throws up a number of restrictions for the plumbing, as it severely restricts the amount of space available.

This took a bit of planning; using push-fit plumbing allowed us to switch things around relatively easily, but it was still going to be quite a squeeze.


Once the new hot and cold water pipes for the kitchen tap were in, we installed the new trap. To keep the plumbing clear of the bottom drawer, we had to get quite creative with the dishwasher waste outlet...


...and with additional pipes for the vented trap and sink overflow, it got even busier.

The picture shows how the top drawer has a wire frame designed to accommodate the under-sink plumbing. 


Along with fitting the plumbing, we also installed the new kitchen tap. This one includes a built-in sprayer for washing vegetables, etc.


Plumbing completed and everything reassembled. After 8 months using an old 'bucket', having a proper tap, sink and drainer felt like a real luxury.


The stainless steel worktops matched our appliances, plug sockets and switches and hopefully gave the kitchen a more contemporary feel. 


Our kitchen supplier did not supply gloss panels large enough to cover the ends of the island in one piece, so we had been forced to use two sections. In order to hide the gap between them, we asked the worktop manufacturer to supply us with some stainless steel strips that matched the worktop...


...and we simply glued these strips in place using the CT1 silicone.


The cover strips really helped finish off the island and looked like an intentional design feature.


The site inspector did the rounds, ensuring that everything matched his impossibly high standards.


There were lots of small details to finish. The gap above the dishwasher (arrowed) looked a bit generous...


... but luckily we had lots of gloss panel off-cuts left over. It looked a lot neater once a filler panel had been installed.


The utility room would be getting the same stainless steel treatment. Just as in the kitchen, we prepped the units before the delivery day so that everything would be ready.


Once again, we removed the 'false' top drawer to give us enough space to slide the worktop sink in (dropping it in from above would have destroyed the painted walls). 


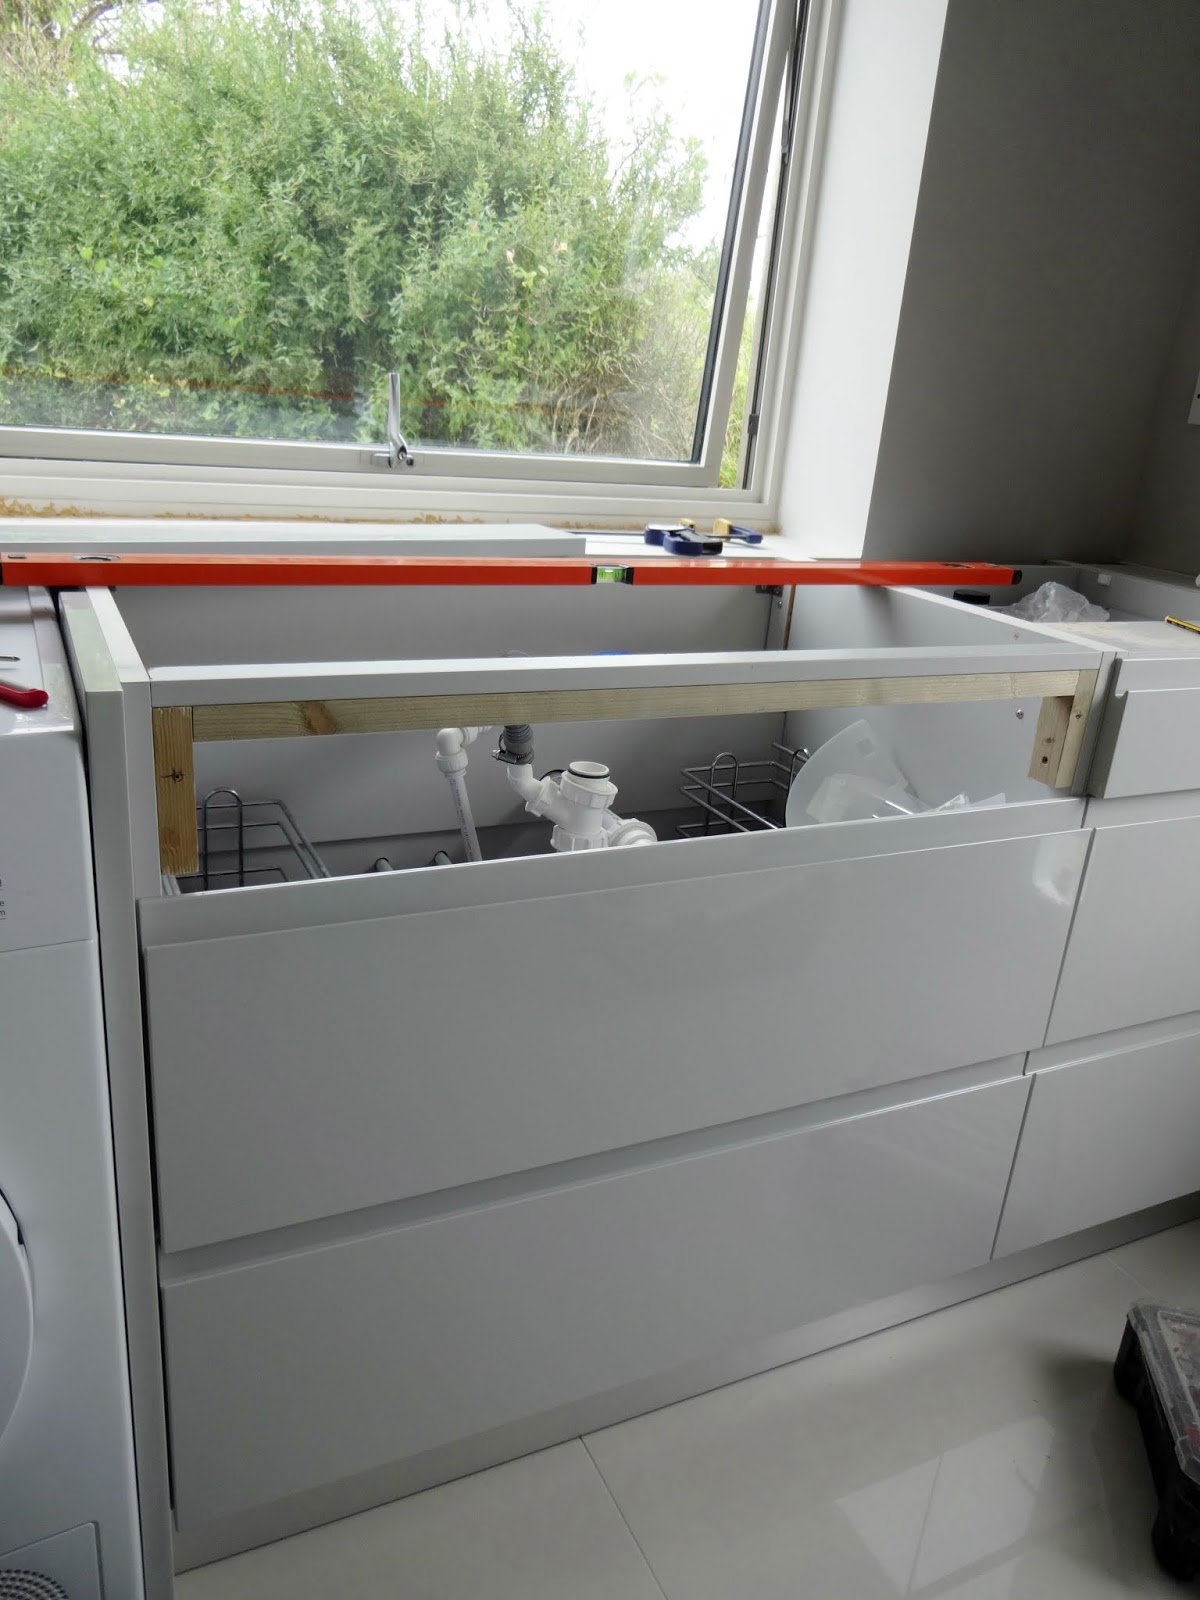
Once the top drawer front was removed, we needed to figure out a different way of reattaching it after the worktop had been dropped into place. Roof battens to the rescue (again)...


The adapted top drawer panel could now be removed and refitted from below and the battens ensured that it sat perfectly in line with the other drawers without any need for adjustment. 


We added a section of hardboard onto the window sill to give the worktop an imperceptible slope, so that any water splashes would always drain away from the window and back towards the sink.


Finally, we fitted some heavy duty angle brackets onto the wall. These would support the worktop above the appliances where there were no kitchen units.


As before, the delivery driver helped us slide the worktop into place.


The worktops had been cut by computer and they even carved fancy name labels into the underside of each piece.

We screwed the worktop to the brackets at the back. Not the most elegant solution, but they are completely hidden by the appliances.


The fit wasn't as tight as we'd hoped around the inside of the window (more on that later). 

We'd chosen the same sink and drainer as in the kitchen and once again were impressed with the way it had been welded seamlessly to the rest of the worktop.


New electric sockets (on the left) below the worktop for the washing machine and tumble drier.

As in the kitchen, we needed to rejig the plumbing in order to accommodate the deep sink. 


Once the plumbing was in place, we fitted the tap - exactly the same as the one in the kitchen.


With the worktop screwed down firmly on all sides and all the plumbing finished and tested, we could start putting everything back together.


The top drawer panel clipped neatly into place...


... followed by the rest of the drawers.