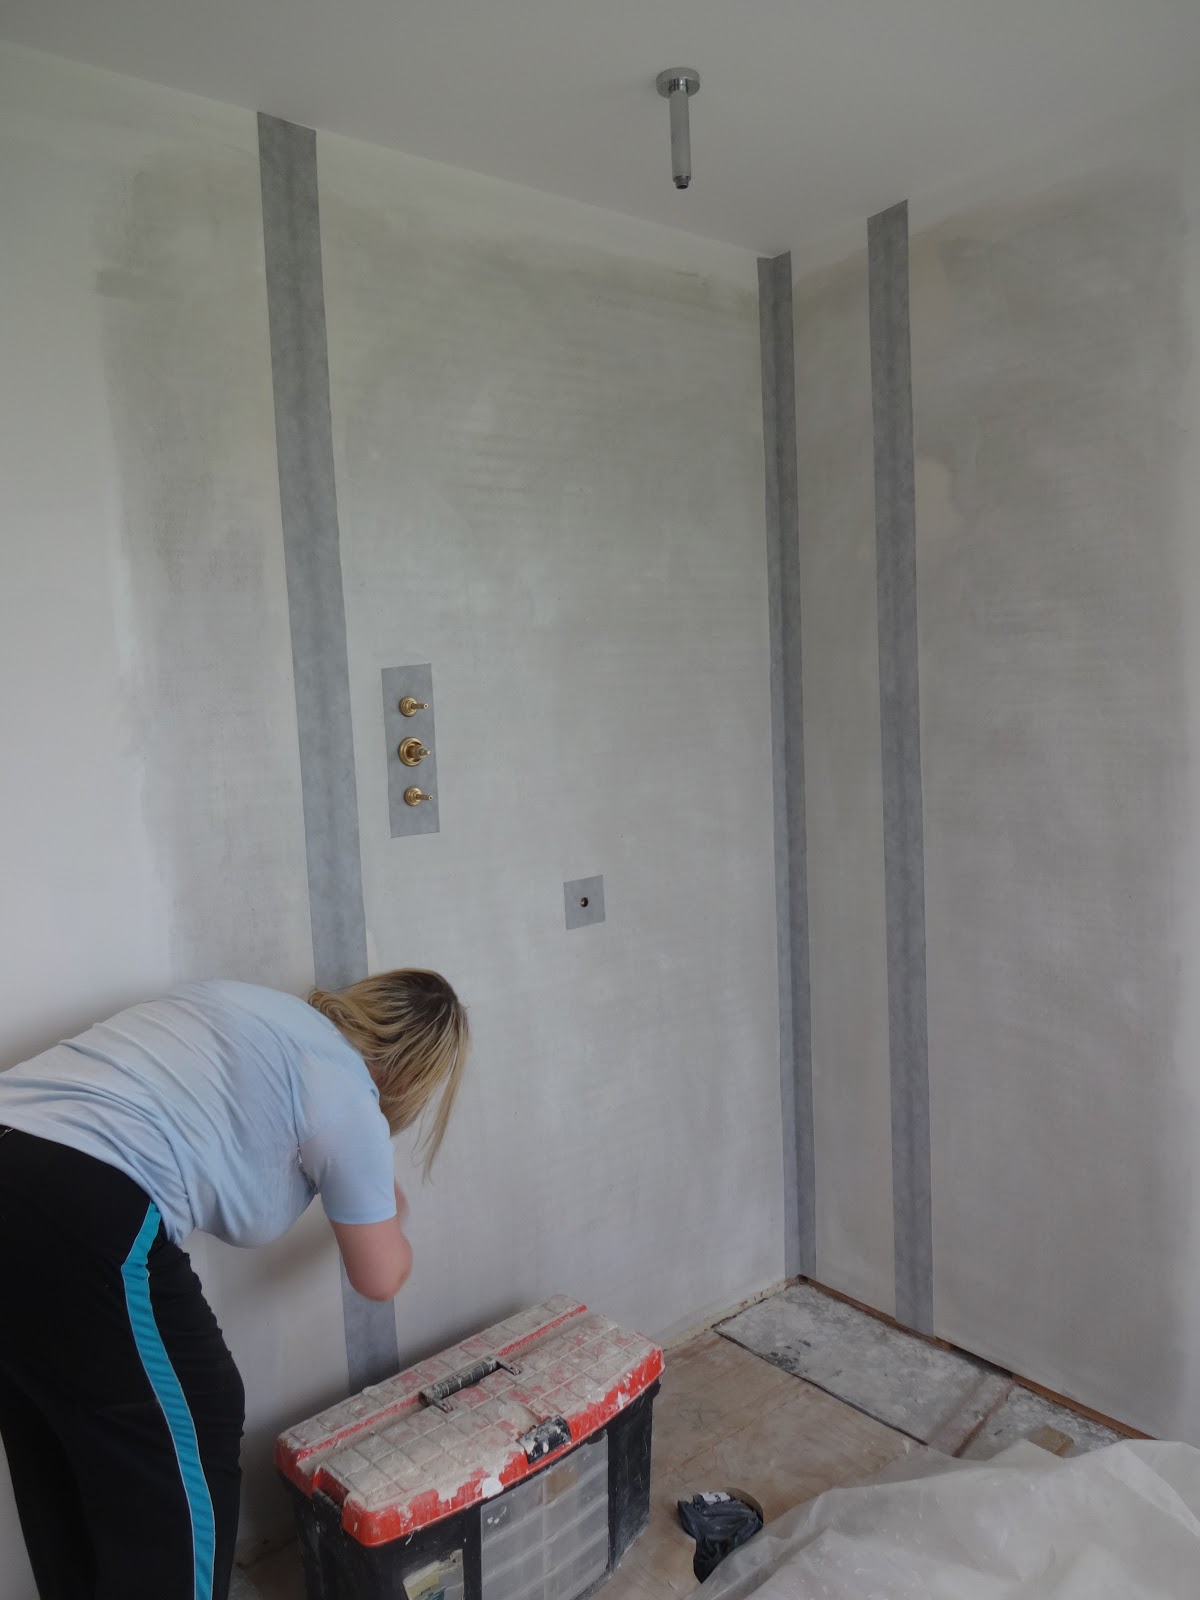
Since we had been readying the bathroom floors for tiling, it was also the perfect time to prepare the shower walls. For some reason, when we'd undercoated all the walls in the house, we'd also inadvertently painted the shower areas, so the first job was to remove all the paint. And the only way to do that was with a scouring pad and plenty of elbow grease. One advantage of Fermacell was that it was extremely hard-wearing; if we'd used plasterboard, all that scrubbing would have torn it to bits.
The shower area in the main bathroom after it had received a good scrubbing.

The paint removal left a slight milky residue that clearly revealed those pesky 'ladder lines' in the boards (this was a manufacturing defect in all our Fermacell boards that took months to get resolved). Since we were tiling over the showers, at least this was one area of the house that we wouldn't need to worry about.

More scrubbing in the en-suite shower and the paint was finally removed.

The next step was to tank (waterproof) the shower walls. A lot of people don't bother to tank their showers, but for a relatively small cost, it should ensure that no water ever penetrates through to the walls. Grout, even 'waterproof' grout, is porous - the 'waterproof' claim refers to the fact that it won't deteriorate when in contact with water, not that it prevents water from getting behind the tiles.
Before we could tank the shower walls, the whole area needed to be painted with a special clear primer to improve the adhesion.

Once the primer had dried, we fitted tanking tape across all the corners and board joints. Corners and joints are the most susceptible areas for water penetration so this tough, super-sticky tape provides an extra layer of security against leaks.

The en-suite shower after all the joints had been taped.

We also cut tanking tape to fit around the shower valve controls.

The large shower in the main bathroom received the same treatment.
Once all the joints had been taped, we were ready to apply the tanking membrane. This is a liquid waterproofing compound that is applied like a paint, but dries with a rubbery skin.

The first coat was applied in a horizontal direction...
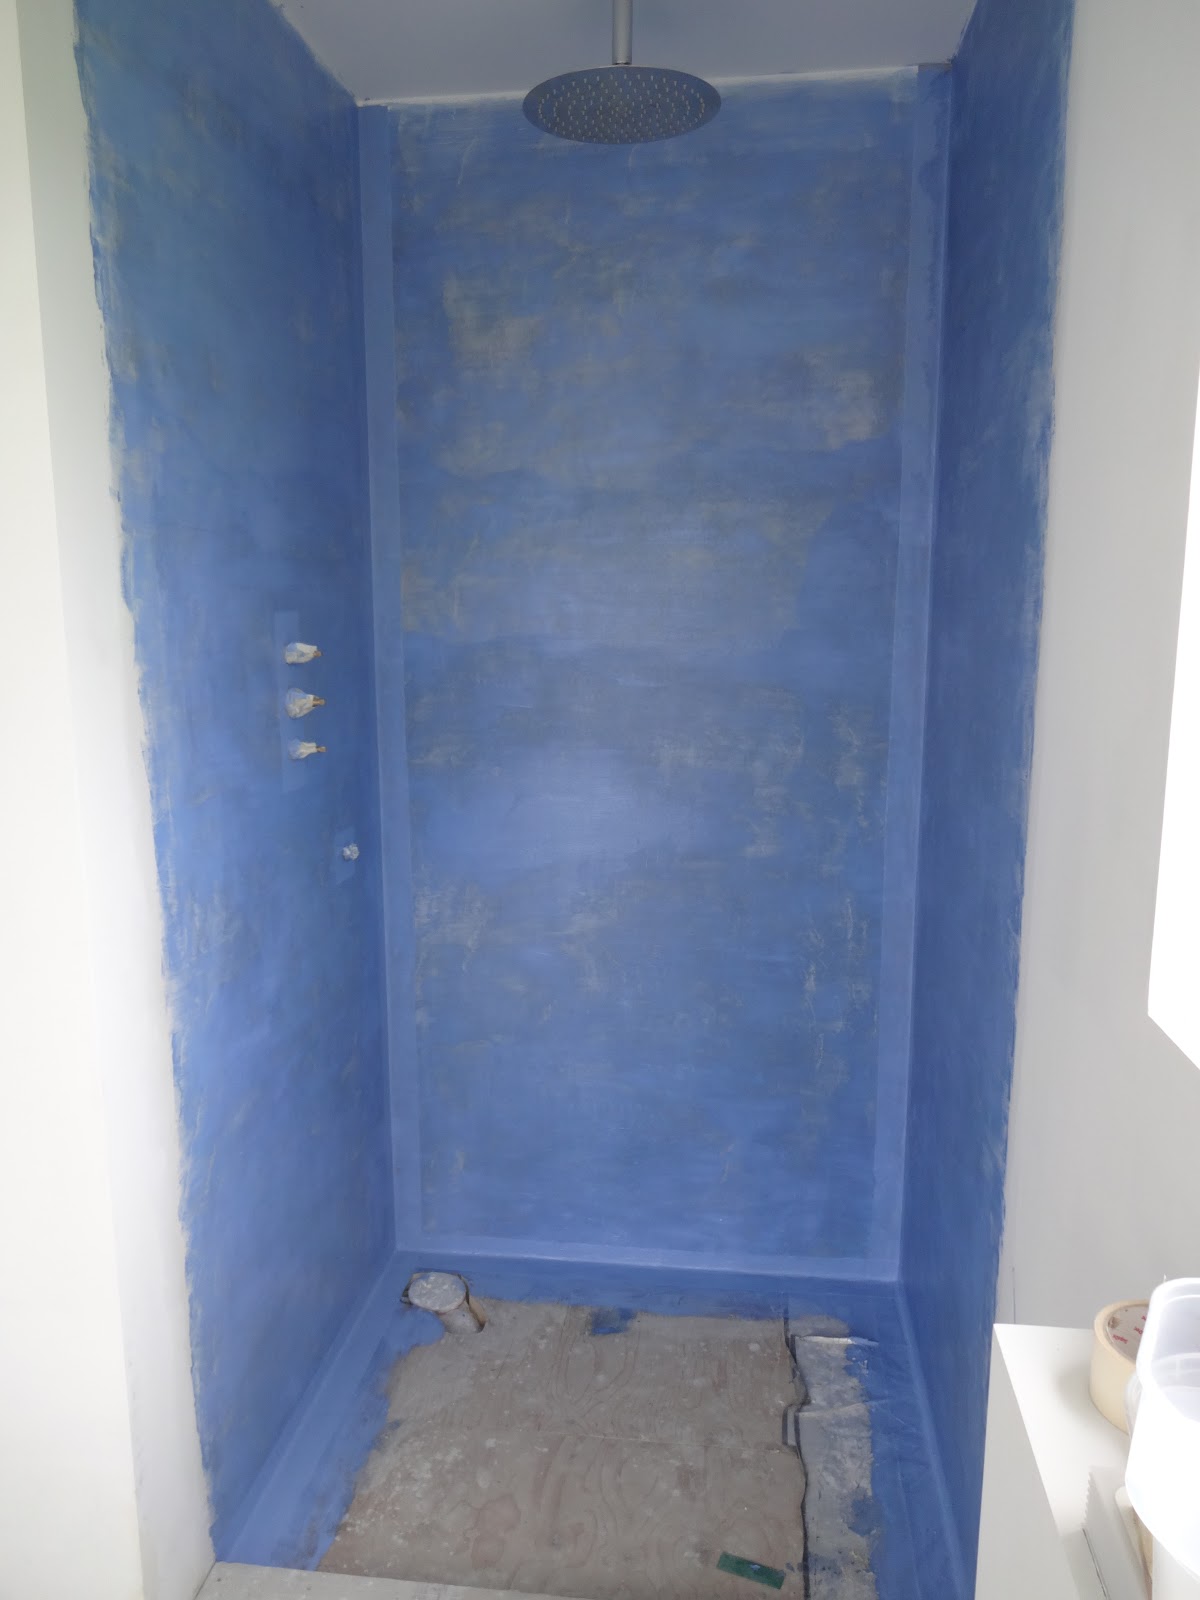
... then the second coat was applied in a vertical direction. This should ensure an even coverage with no small gaps.

Once again, the main bathroom was tanked at the same time as the en-suite.

Once we'd tanked both showers, it was back to the bathroom floors. Although we'd previously laid cement board down to provide a solid base for the tiles, we had also been advised to use a decoupling layer on top of that, to help prevent tiles from cracking due to any movement in the timber floor.
As ever, nothing in house-building is simple; when checking the en-suite floor we found it was slightly uneven, so before doing anything else we applied some self-levelling compound to correct any issues.

When the self-levelling compound had fully dried, we could continue with fitting the decoupling layer. We used Ditra mat; it's a plastic membrane specially designed to absorb movement in the flooring below, without transferring it to the tiles above. A timber floor, especially one with underfloor heating like ours, might be subject to some expanding and contracting which can cause tiles to crack. On top of that, Ditra mat also works well at spreading the heat into the tiles and as an added bonus it's waterproof too.
Ditra mat comes on a roll. Once we'd cut each length to shape, we laid the sections out to make sure they fitted neatly in the room.

Next we applied flexible adhesive to the floor with a notched trowel and set each section of Ditra mat in place, pressing it firmly down using a flat blade.

The Ditra mat completed in the en-suite. After almost 2 years walking on gritty, crumbling screed, the bathroom floors now felt so clean and firm. And more importantly, they were finally ready for tiling.

We did exactly the same process in the bathroom. After measuring out carefully, we cut the Ditra mat to shape, then fixed it in place using tile adhesive.

The Ditra mat layer completed in the bathroom. Using a combination of thin cement board and Ditra mat had been time-consuming to install, but we now had a solid base for tiling that shouldn't inhibit the underfloor heating (much).
We were also pleased with the final floor height; using thick plywood would have resulted in a 20 - 30mm step, but the combination of cement board and Ditra mat had only increased the floor height by around 10mm.

The last job was to install the shower tray in the en-suite. We laid down a bed of mortar and carefully lowered the (heavy) tray into position.

Fitting the tray into the alcove was an extremely tight fit and the only way to hold onto it was to use suction lifters. The tray had to be taken out several times in order to get it absolutely level, which would have been impossible to do without the lifters.

Once the tray had been levelled on all sides and left to cure for several days, we sealed the edges fully using silicone.

At last the shower area was ready for tiling.
Since the walls had been tanked and the shower tray sealed, we now had a fully plumbed-in, waterproof shower area. And since we were still having to bathe using a garden hose connected to the old house we weren't about to wait for the tiles to be finished; we wanted a shower NOW!
We cobbled together a simple frame that wedged tightly into the alcove (without having to drill any holes in our freshly-waterproofed walls)...

... then stapled a large piece of thick plastic sheeting around the perimeter.
It was only a temporary solution, but it was such a relief to finally be able to shower again, after so many years of bathing in grimy, well-water. Having installed everything ourselves from start to finish, it was also reassuring to find that the shower worked perfectly. Yay!

No comments :
Post a Comment