(Pictured below - the dry screed in the en-suite bathroom needed some patching up after being walked on for almost 2 years!)

So having decided to tile the floors instead, we now had the headache of how to tile over the dry screed and batten flooring that had been designed to support engineered wood... we certainly couldn't tile directly onto the screed, but what was the best way to ensure that the tiles don't crack and buckle in the future?
It seemed nobody really knew; getting advice from local tilers revealed half of them didn't have a clue and the rest didn't really care (so long as they got paid). One tiler even tested the structural suitability of the floor, by jumping up and down on it repeatedly - a scientific approach that yielded a "yeah, I reckon that'll be alright"... hmm.
One simple solution was to lay thick plywood down as a base for the tiles, but that would inhibit the underfloor heating, plus it would raise the finished floor height too much. More research suggested that a thin cement board might work and after discussing it at length on various building forums, we finally had a plan.
The first step was to clean up the existing screed. We hadn't been able to get a shower tray in exactly the size we wanted, so that meant there was a small gap that needed filling.

Several battens screwed in place provided a gap-filler that matched the height of the rest of the floor.

Cement board should provide enough stability to use as the first layer of our tile base and at only 6mm thick will not raise the height of the flooring too much.
It does contain some nasty stuff - the manufacturers recommend you do not cut it with any power tools, but score and snap it instead so as to reduce the amount of airborne particles.

As ever, Alan did scale drawings of the bathrooms to work out the best way of cutting the boards with minimal wastage. Money is tight so we have to be very careful not to over-order materials.

Once the boards were cut, we could lay them out and make sure they all fitted as planned.


The next problem was how to safely screw the sheets down. Our underfloor heating pipes are hidden in the screed directly below and puncturing one of those would be an absolute disaster. To avoid this, we drew the location of each batten onto the cement board in marker pen, so we knew exactly where it was (or wasn't) safe to fasten a screw.

Water pipes run through small gaps in the battens, so it was absolutely crucial that we didn't make any mistakes when marking out.

Same process in the main bathroom. The boards were cut according to our plan and dry-fitted.


Once again, we painstakingly drew in the location of all the battens.

The next stage was to prime all the floors so that the adhesive would grip to the dry screed properly. We took up all the loosely-fitted cement boards and brushed on several layers of a special acrylic primer.

The first coat of primer drying. The second coat has to be brushed on in an adjacent direction.

Same process in the en-suite.

The primer immediately made those dusty cement floors seem so much more clean and solid.

Once the second coat of primer had fully dried, we were ready to start fitting the cement board. We laid down flexible tile adhesive with a notched trowel. The boards are secured primarily with screws, so the adhesive acts more as a 'filler' to help level any unevenness in the screed.
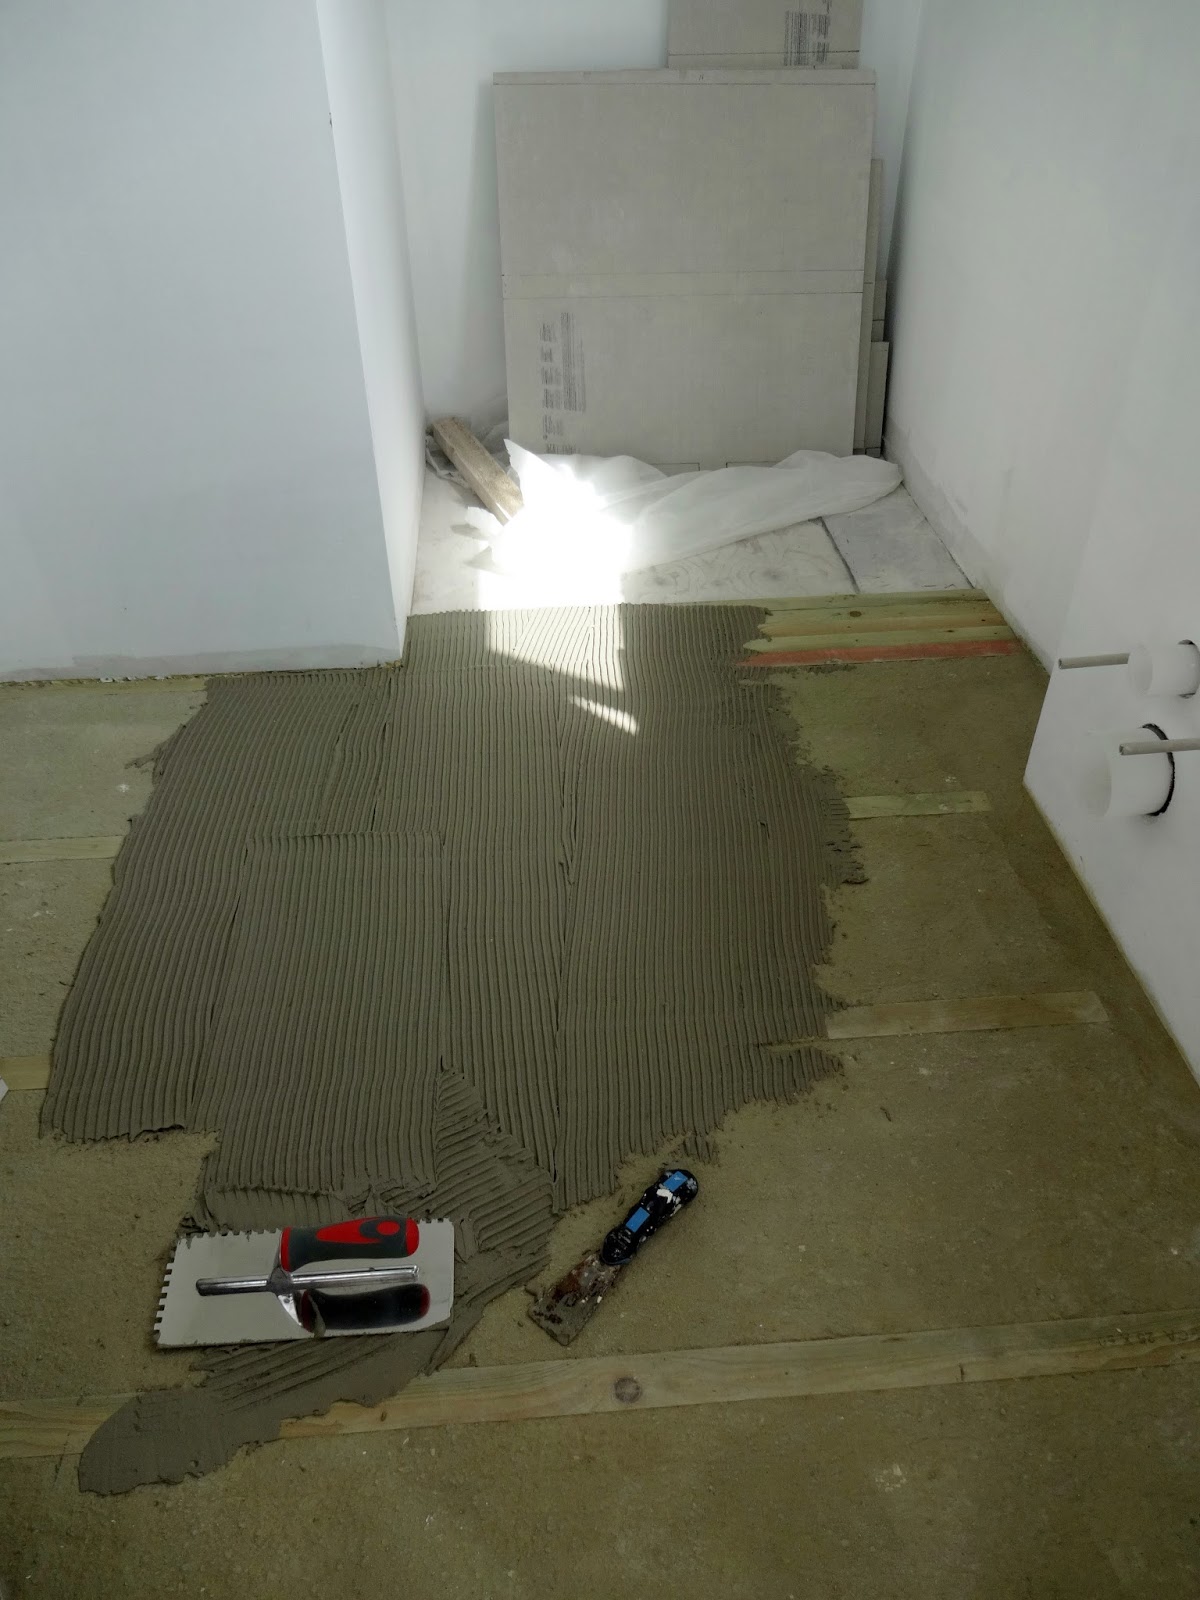
Next we laid down each cement board in turn and screwed them into place. It was nerve-wracking driving in the screws - once the adhesive was down, the battens were completely hidden so we were relying entirely on our markings to avoid hitting those pipes...

Once the boards were screwed down, we taped across all the joints using a specialist mesh tape...

... then more adhesive was pushed through the mesh and embedded into all the joints...

... and finally the adhesive was feathered out using a trowel

With the en-suite completed, we moved on to the main bathroom.

Taping the joints.


Laying adhesive into the joints and smoothing out the joints.

What a relief. The cement boards were laid in both bathrooms and we'd managed to avoid screwing into any of the heating pipes. Stage one of the bathroom flooring was completed, but there was still a long way to go before we could start tiling.

No comments :
Post a Comment