As is often the case, we found the solution was to directly approach a specialist company, in this case one which solely manufactures and installs glass balconies. After months of everyone telling us why it couldn't be done, it was so refreshing to hear someone saying it wasn't a problem and wouldn't cost too much either. We sent them photographs and dimensions and within a few weeks, they had built us a balcony to our specification that could be bolted directly to the steel frame that supports the large feature window.
Although they were based quite far from Cornwall, they were scheduled to come down for a big commercial job further south, so after some friendly negotiations, we managed to get a cut-price deal for them to pop in and install our balcony on their way back.
On the morning of their arrival, we hit a slight hitch. The fitters thought we were providing them with a scaffolding tower; we were led to believe they would be bringing their own tower. And the company boss thought they could do it off a pair of ladders... they were not too enthused about that idea, but after much cursing of their boss decided to give it a go anyway.

After marking out, the first step was to install heavy duty bolts into the wall to help support the centre of the glass. These studs are very securely anchored into the wall using epoxy resin glue. Back when the walls were constructed, we installed a large steel lintel across that area so it was certainly strong enough.

Although our house is skinned with blockwork, those outside walls are not structural as such, since they are only attached to the timber frame using (relatively) flimsy wall ties. Also, unlike a solid stretch of wall, the area around the window is made up of two vertical columns of block that aren't interlocked together. Nevertheless the balcony company thought the walls 'might' be up to the task, but we had always insisted that the balcony rails should be hung directly from the steel frame that supports the large window. As far as safety goes, it doesn't hurt to have a belt and braces approach.
Inside the main bedroom, we hadn't glued in the panels over the steel frame and these were easily removed to allow the balcony fitters access to the steel i-beam.

Inside the main bedroom, we hadn't glued in the panels over the steel frame and these were easily removed to allow the balcony fitters access to the steel i-beam.

The next problem was that because our walls were covered in cement render, any drilling had to be done from the outside. Drilling from the inside of the steel would have been much easier and more accurate, however would have also smashed the render to bits, so the fitters had no option but to drill outside off the wobbly ladders (cue more cursing about their boss).


Phew! The bottom hole for the balcony rail only just fitted onto the steel (the hole below the bolt in the picture). There was only just enough room to get a nut on there.


Once the holes were drilled through the render and into the steel i-beam, large threaded bolts were fitted with locknuts and the two stainless steel balcony rails lifted into place.


After getting lucky with the bottom bolts just managing to fit onto the steel, things went awry with both top bolts. Blaming both the ladders and/or the icy-cold rain squalls, the fitters managed to put a couple of drill holes in the wrong place. They filled them with epoxy resin to prevent any moisture getting in, but it left some unsightly blemishes on our previously-pristine render... (we did get some money knocked off the price to compensate, but repairing the render invisibly was not going to be easy - Grrr!)

After a sunny start to the day, the weather had turned decidedly wintry and was suddenly blowing a mini-gale. Fortunately the glass did not have to be fitted off the wobbly and-now-slippery ladders, but could be lifted onto the balcony rails from the inside of the room.

Brackets for the glass being adjusted and tightened up.


Brackets for the glass being adjusted and tightened up.

Naturally, as soon as the fitters had completed the job, the sun came out again.

This kind of thick, safety glass is pretty expensive, especially if you need one long pane of it. Using the balcony rails allowed us to have a shorter piece of glass that only covered the door opening rather than the full width of the window. It certainly saved a lot of money and if we ever wanted to fit a larger sheet of glass or install additional panels either side, it wouldn't be difficult to do.

From inside the bedroom, the width of the glass panel was designed so that the edges are obscured by the aluminium door frames and it all looks like one complete piece.

And yes, back when we chose the windows we did remember to order doors that opened inwards!

Once the balcony was completed, we could permanently fit the wall panels. The threaded rods had been ground down, so it was easy to refit the insulation within the steel beam.


After the insulation was in, we could get the electrical box back in position. This will house a switch so we can operate the garden lights from the bedroom.

Next we gave everything a blast with the foam gun to make sure that any gaps were filled.

Lastly the wall panels were glued and screwed into place. As you can see, the view will be a good deal better once we knock down the old house (assuming it hasn't fallen down of its own accord before then...)

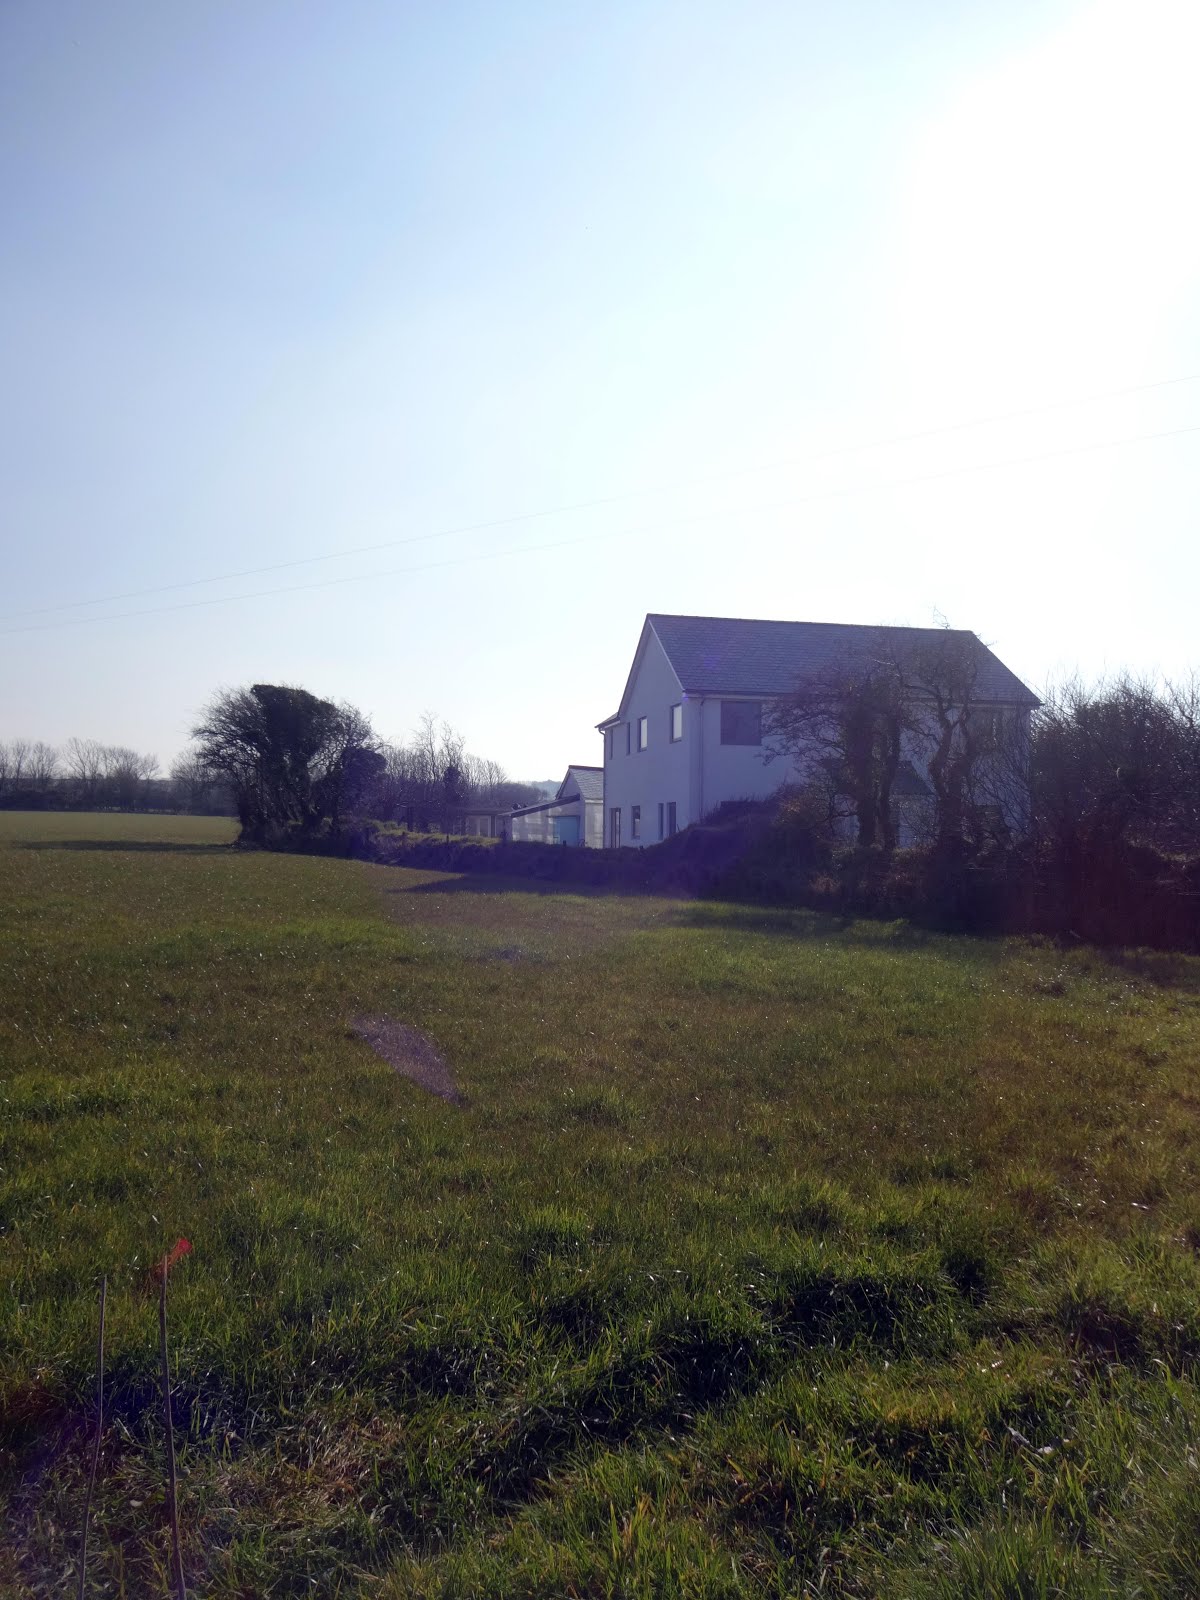
View of our house from the north east field.

We call this one 'sunrise with rubble (and balcony)'.

No comments :
Post a Comment