
The felt shingles fitted in place and awaiting the row of ridge tiles to finish the roof off.


While Alan worked on the roof shingles, I applied a sage green stain to the external timber. The shed was already weatherproof as we'd used tanalised (pressure treated) wood so the stain was really just to add some colour.


Two coats of wood stain applied. Alan made and fitted trim panels to the sides of the roof to cover the edges of the felt and give it a neat finish.


Trim panels stained to match. The sage green stain really helped soften the look of the shed and allowed it to blend in with the plants and trees around it.


With autumn approaching, we needed to get the windows and doors fitted as soon as possible. Alan had planned to make these himself but with so much still to do on the house, it became clear that he wouldn't have time. This posed a bit of a problem as the shed companies charged a fortune to supply windows and doors, however after some digging around Alan managed to find a small manufacturing outfit who make windows and doors... for the shed companies. They agreed to make us a set of custom-sized window and door frames for a very reasonable price (i.e., the window frames were only around £20 each).

After a few minor adjustments with the sander, the window frames slotted neatly into place.


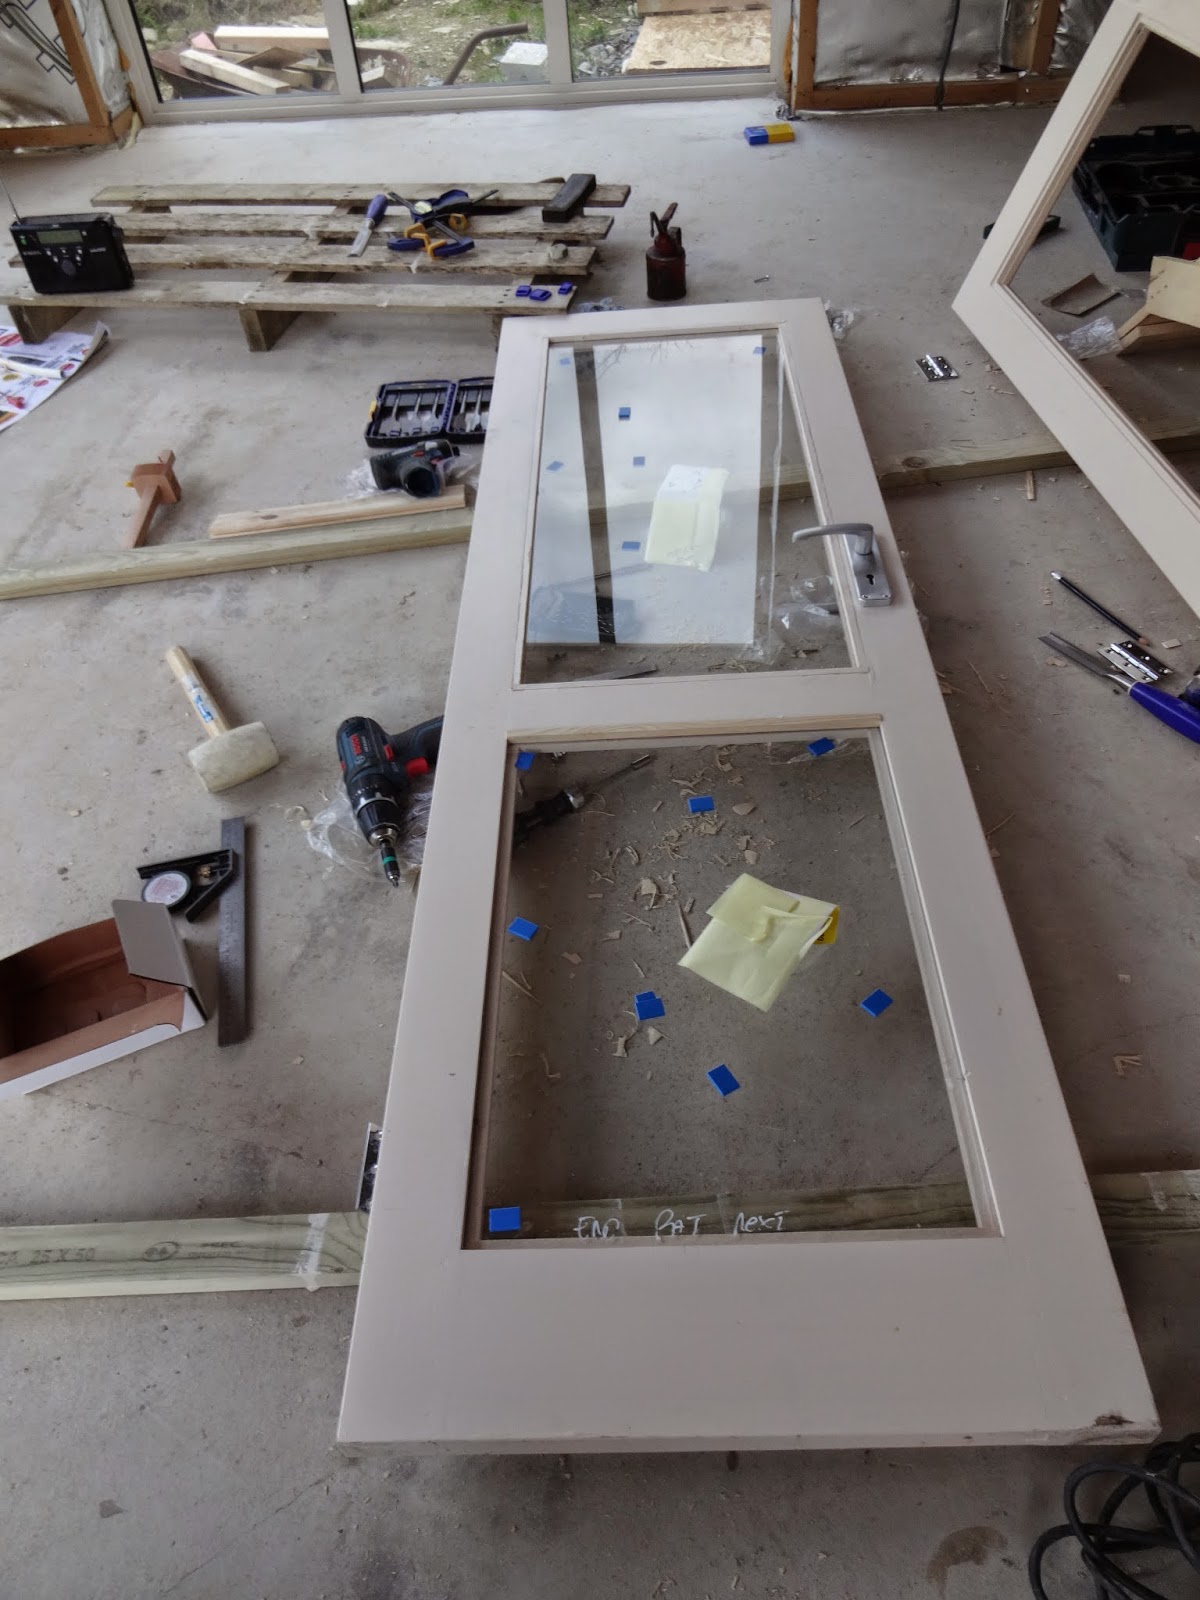
Fitting the doors was slightly trickier.

The first job was to cut the bottom of the doorway out.

Then Alan made and fitted a door liner (a frame to hang the doors on).

After much adjustment, the double doors sat correctly and like the window frames could now be taken off and painted.

Painting the frames took a few days - we used preservative followed by several coats of a good quality exterior wood paint to protect the untreated timber.

Alan ordered glass cut to size from a local company and fitted it into the window frames using timber beads, before finally installing the windows into the shed.


Alan chiseled out sections of the doors and frame for the hinges.


Ta-da! Getting the doors to hang correctly took a bit of time.

Double ta-da!

Now that the doors lined up correctly, it was back to the 'workshop' (what will be the kitchen in the new house) to fit the door lock and handles.


We used toughened glass for the double doors which added quite a bit of weight so Alan was glad he used 3 pairs of door hinges instead of 2.
Alan added timber strips to the inside of the door frame to act as door stops.

Doors and window are fitted just in time for the autumnal winds and rain. One unexpected problem was that the door handle could smash into the window (on the right) if the door swung out fully...

... so Alan made up a decorative trim around the outside of the frame which would stop the door from opening out too far.


A few finishing touches to the handrails...
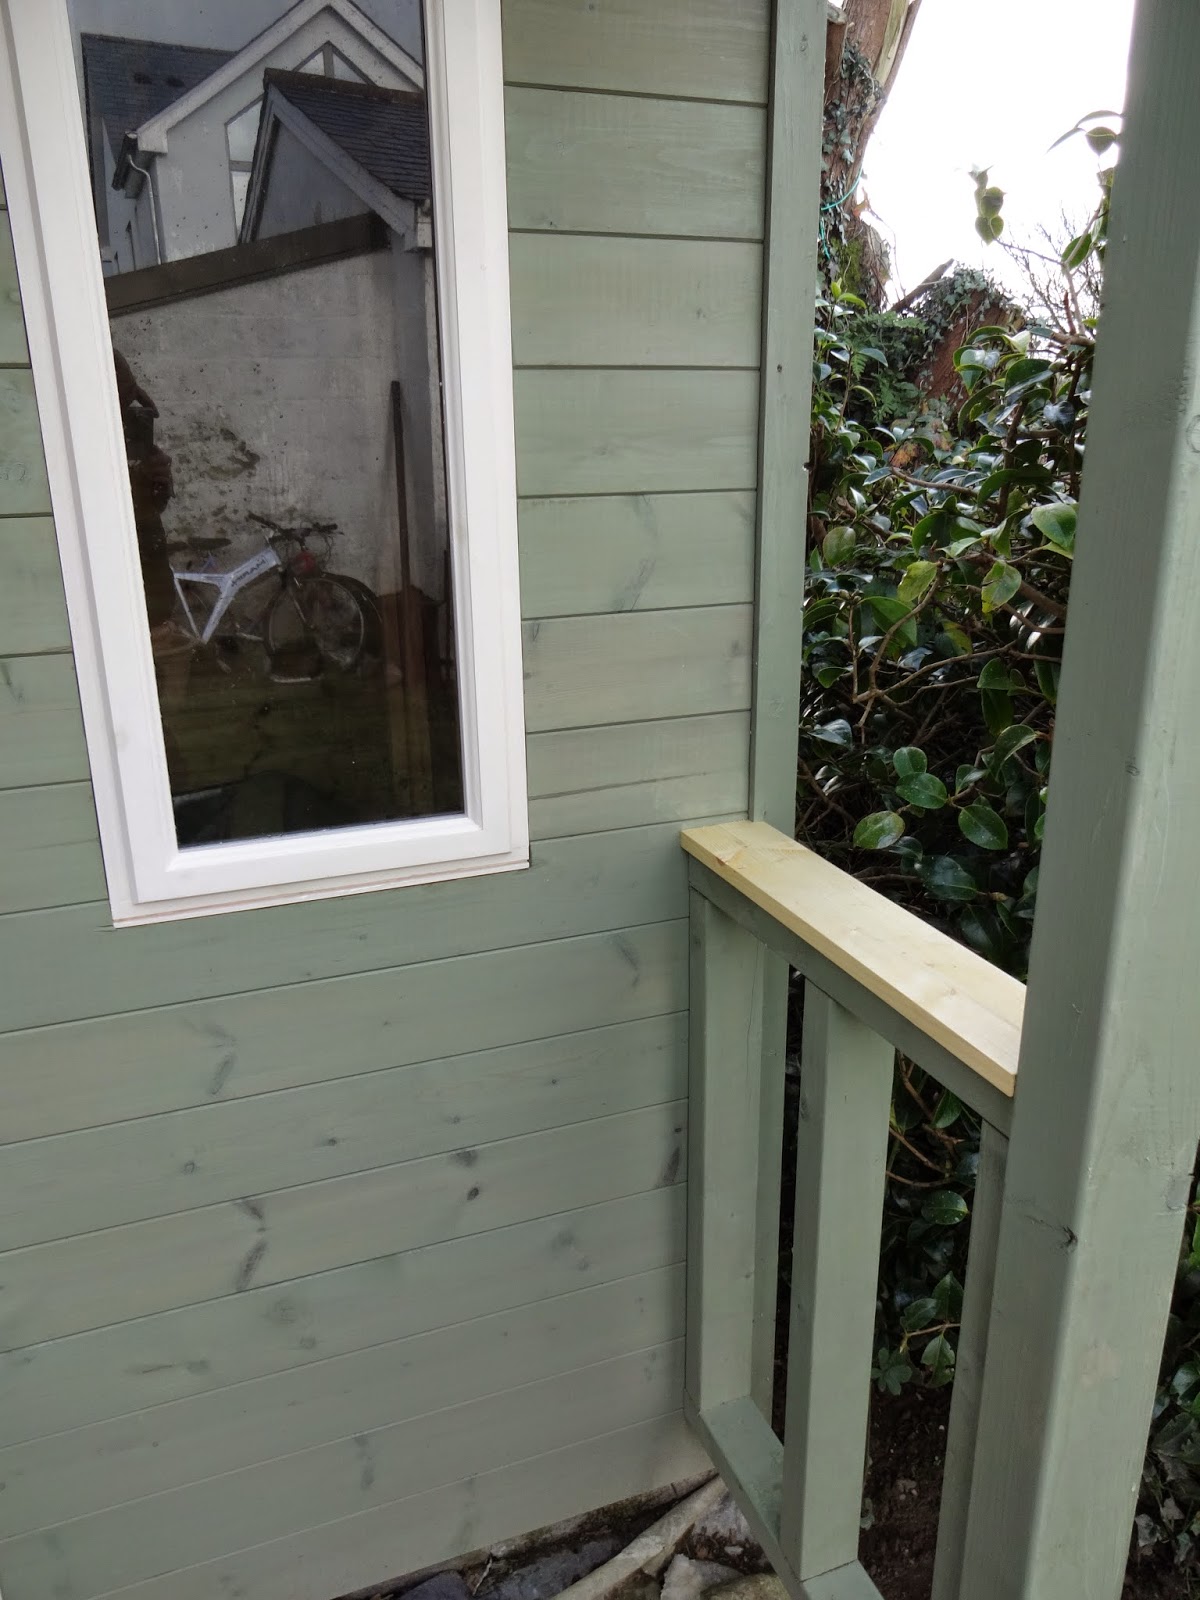

... and extra weatherproofing trim for the centre and bottom of the doors.


Sunrise over the newly-completed shed.

Spot the difference... this is the original image we found online that Alan used to draw up our shed/summerhouse plans...

... and this is the shed/summerhouse that we built from those plans.

Another photo of the shed we used for inspiration. If you want to buy this, it will set you back around £10,000...

... ours cost a few hundred quid in materials (and I'll even throw in the guitarist for free!)

No comments :
Post a Comment