Saturday, 4 February 2017

Heating: RHI application / Painting: study

Building a house involves quite a lot of red tape, with numerous tests and certificates demanded by the authorities (all accompanied by fat fees, naturally...)

One particularly important bit of red tape for us was the air tightness test. Like any new building in the UK, we needed to pass it to satisfy Building Regs, but we also needed to score well to qualify for the RHI payments. This subsidy (essentially for being 'green') should pretty much cover the cost of all our heating and hot water for the next 7 years, so was not to be sniffed at. The only problem was we were running out of time; if you don't apply for the RHI within a year of getting the heat pump commissioned, you lose the entitlement to any payments... and we only had 3 months left to get it all sorted.

Getting the air test arranged was relatively simple (and relatively expensive). Our main concern was the fact that the house was still not finished - for example, we hadn't fitted any skirting boards and there were no finished floors downstairs, both issues that could make the house considerably less airtight. But we needed to ensure we didn't miss the deadline for those RHI payments, so we went round sealing any obvious gaps we could see and called in the tester.


The test measures how much air is leaking from the building. A big fan was fitted to the front door frame and air was pumped into the house. Then, pressure sensors connected to a laptop recorded exactly how much air was being lost through any unintended gaps or cracks in the building fabric (ventilation is all blocked during the test).

Being first-time builders, we didn't know how airtight we had made our house - our approach had been based more on common sense than established building practices. If we'd made a major mistake somewhere and there was a serious air leak, the remedial work might cost a fortune (not to mention having to pay for another air test) and cause us to miss the RHI deadline (seriously costly), so we hovered anxiously around the laptop waiting for the result. 


To pass the UK building regulations, our air test needed to score above 10 (m3 hr/m2).
To qualify for the RHI, we needed to score better than 7.
'Good Practice' is regarded as 5.
'Best Practice' is 3.
We scored an amazing 2.4 (and we hadn't even sealed the floors yet!)

The tester was pretty surprised with the result and praised our attention to detail in the build. He joked that it was so airtight that he was glad we'd we fitted the constant extract ventilation system, as otherwise we'd 'virtually suffocate'. Of course, many upmarket eco-houses score much better than ours, but they are spending a lot of money to achieve it. Having a relatively airtight home on our budget was certainly going to help with the bills, as any heating we put into the house was going to stay there. It was great news.

Completing the air test was the final hurdle to submitting our SAP calculations (Standard Assessment Procedure), which in turn would give us an EPC (Energy Performance Certificate). And the EPC was what we needed, along with an MCS certificate (Microgeneration Certification Scheme) in order to apply for the RHI (Renewable Heat Incentive). Phew! They do like their abbreviations.

The EPC arrived a couple of weeks later and we were pleased to find that we'd achieved our target of a 'B' rating.


Only around 8% of newly-built UK homes manage a 'B' or higher, so to get that with our relatively tiny budget was a very good result. And of those, just 0.09% get an 'A', which demonstrates how much harder (and costlier) it is to improve on what we had.

The energy performance summary was also a glowing 5-star report, with the only suggested improvement being to employ solar power to heat the hot water. Although we had laughed when locals referred to it as the 'eco-house', it did seem as if our home was going to be very efficient after all. 


Although the heating had been commissioned back in April 2016, we weren't in a position to apply for the RHI payments until early 2017. Taking so long on the build inadvertently helped us out, because during that time the government decided to increase the RHI payments significantly for any application made after 14 December 2016... all those delays meant we were now eligible for a 30% uplift in payments! The tortoise beats the hare again.

With the RHI wrapped up, we could get on with finishing the house. When we ordered the kitchen units, we also ordered some kitchen top-boxes that we thought could be adapted for use in Alan's office. Before fitting any cupboards on the wall though, we needed to paint the room. Yet again, the faulty Fermacell boards meant late nights redoing the 'plastering' and sanding the walls.


We were going to use the kitchen top-boxes to conceal the consumer unit and all the AV (audio visual) and internet cabling. This was a change from our original plan, so meant a lot of wires had to be fished out of the wall and re-routed, leaving holes in the wall that we needed to patch.


Having ignored my advice, Alan thought it was a good idea to go for a dark shade of blue ('Hick's Blue') in his office. A small room, north-facing and heavily shaded by trees - could this be a decision he would later regret? (YES!)


The idea was to have the kitchen top-boxes fitted all the way along the wall. Luckily our room was exactly the right length to fit 3 cabinets in place; unluckily when the boxes arrived they were slightly bigger than the stated dimensions - tut!  Having just painted the room, we didn't fancy chiselling chunks out of the wall in order to get the cabinets in, so decided to trim down one of the end cabinets instead.  


We didn't mind butchering the side of this cabinet, as it was also having chunks cut out of it in order to accommodate the consumer unit.


Having cut away large sections of the carcass, Alan glued in some pieces of scrap timber at the back to strengthen the whole thing.


After all that cutting and trimming, it was a relief to find that it fitted neatly over the consumer unit.


The other two cupboards should be a lot easier to fit.

We needed to install a power socket inside the cabinets for all the AV/internet bits, so Alan had taken a cable spur inside the wall from the socket below.


A tight fit but we just about squeezed the cabinets in. It was nice to get the consumer unit hidden away as it always looked rather unsightly in the corner of the room (because of electrical regs, fitting it under the stairs would have cost us a couple of hundred pounds extra, hence why it ended up in the office).


For some reason, office top-boxes like these cost a fortune, but these soft-closing 'kitchen' boxes were only a fraction of the price. Even better, self-builders can't claim back the VAT on office furniture, but they can for kitchen units... so these should work out even cheaper.

One unintended consequence was that the LED downlights in the ceiling reflected off the top of the cabinets, creating a rather nice 'uplit' glow effect.


The next job was to sort out all the AV/internet/phone cabling. Alan installed a power socket and built a backplate (out of an old piece of PVC board left over from the roofing fascias).


When we originally laid all the AV wiring, we'd labelled all the ends, but it had been so long since we'd done it, that all the writing had completely faded. Fortunately, Alan had invested in a cheap cable tester, so it was relatively easy to find what each wire was used for. It was just a matter of sending the test signal down the wire at one end...


... then plugging the other half of the tester in to each socket in the house until it found the signal. Not only did it identify which cable went where, but it also tested that there were no breaks anywhere in the wiring. 


Once all the cabling ends had been made up and routed behind the fascia board into the patch bay, it all looked a bit neater. It's a work in progress, as there are still a few more gizmos to be installed, but for now at least we can route phone or internet signals to any socket in the house. Obviously a lot of this can be achieved wirelessly nowadays, but wired connections are still much faster and better suited to our purposes (i.e., mainly computer gaming and media/movie networking).    

We are planning to install the internet router in the cupboard too, so we left a wire pull-cord in place which should allow us to attach the internet cable from outside and pull it directly into the cupboard at a later date.  


Thursday, 2 February 2017

Kitchen: part 1 - preparation and cabinets

Living in a house, while simultaneously trying to finish building it, is generally a bad idea and was something we'd originally hoped to avoid. But living in the old house next door (cold, damp and full of radon) had become downright depressing, so we really needed to try and make life more comfortable. It was about time we had a kitchen...

The kitchen/diner was the biggest room on the ground floor, so had been used as the main workshop during the build. Some serious tidying up was required.


Using some leftover old pallets, Alan made some 'kitchen units' that we could use temporarily until our new kitchen arrived.


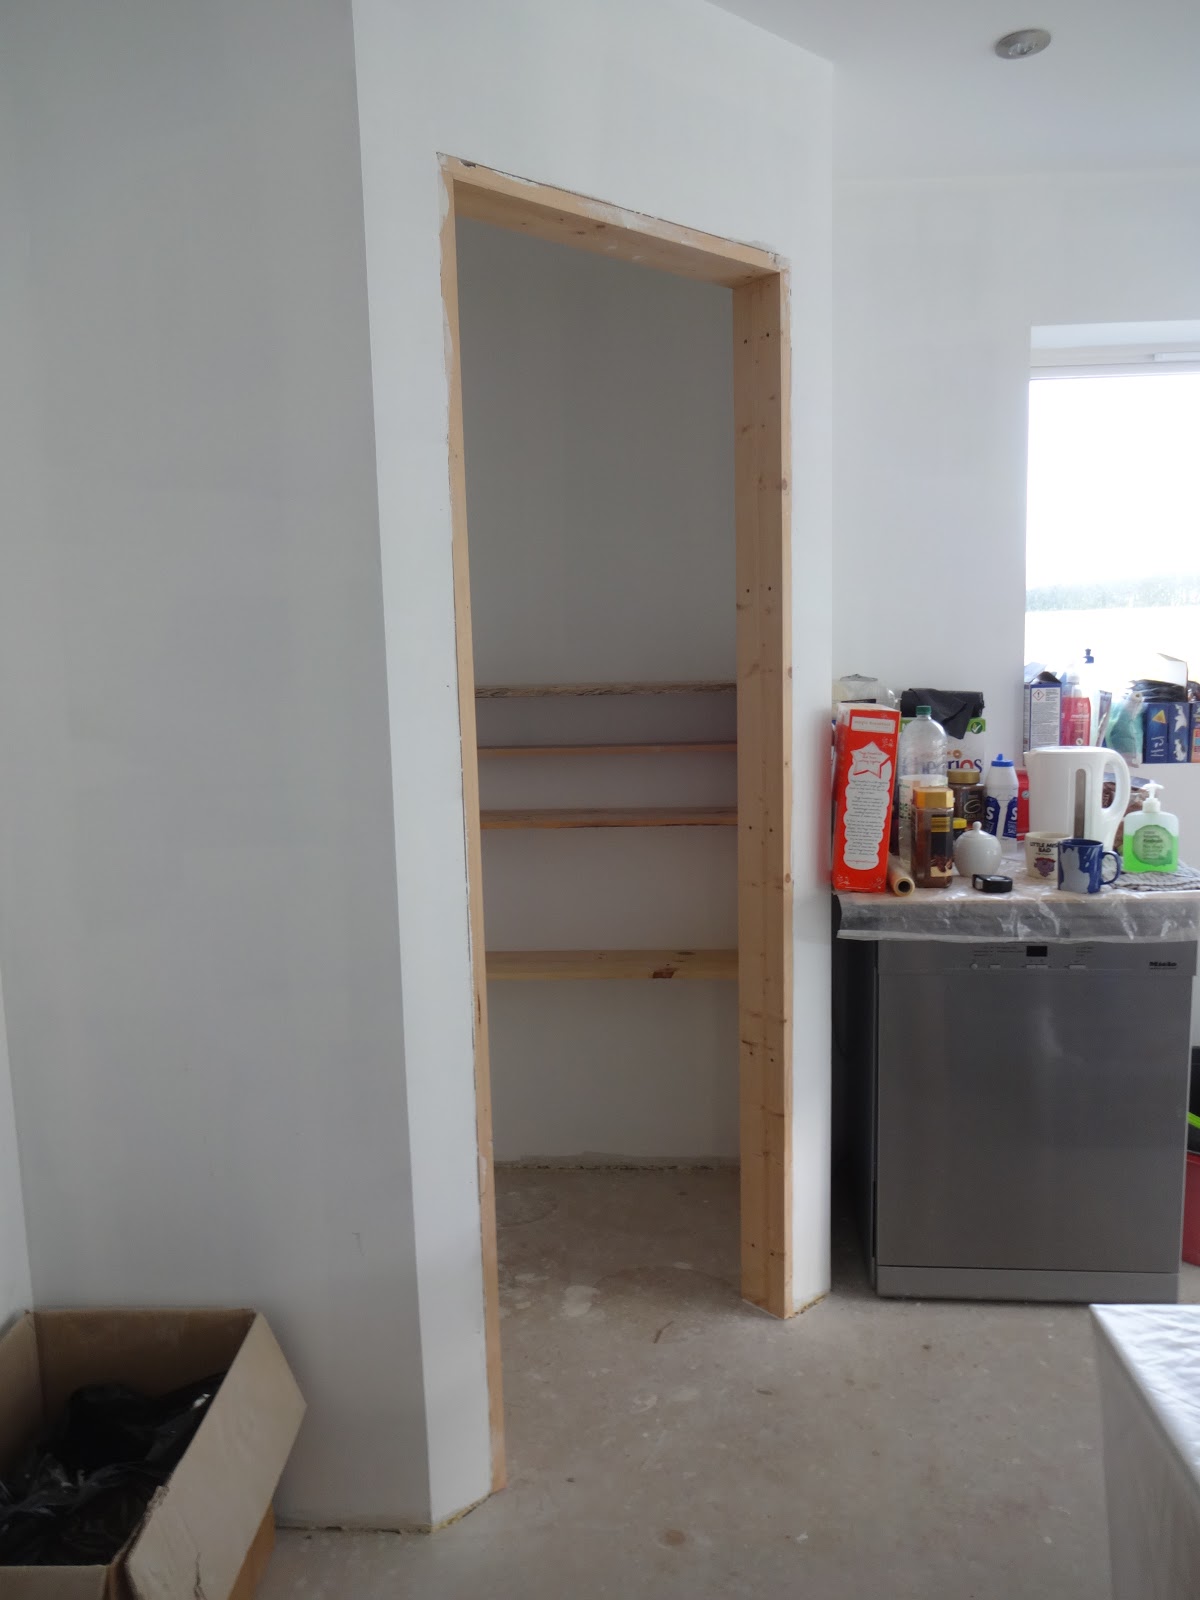
He also made some temporary shelving for the larder. Most of the packet food in the old house had become infested with weevils and other damp-loving critters, so had to be binned. Any food we bought from now on, would be going straight into the new house. The old house was literally falling apart at the seams.


The site inspector was on hand to carry out his usual rigorous tests. If that shelf can support his massive weight, then it can support anything.


Taking a long time over the build did give us some advantages. We'd managed to get some sizeable discounts on appliances for the new kitchen by tracking the prices over several months and pouncing whenever good offers appeared. The American-style fridge freezer was a big purchase (thank you Mum and Phil!)


New houses are required to make provisions for disabled access. It can feel a pain having to install all those slopes, level thresholds and extra wide doorways to satisfy those regulations, but they also make life so much easier when trying to get large items of furniture into the new house. This gigantic fridge could be wheeled straight in on a trolley, without needing any heavy lifting (though that didn't stop the delivery guys from muttering the obligatory gripes and complaints). 


We installed the fridge which fitted neatly into our purpose-built alcove and was easy to hook up to the water pipes we'd installed there all those months ago. Clean drinking water from the borehole was now accessible in the house! After a year filling bottles of water from an outdoor standpipe, having water on tap was going to feel like five star luxury.


We also took delivery of a shiny, new dishwasher. The old one had packed up some years ago after being eaten by rust (the damp in the kitchen next door was really THAT bad).

Once again, after many months washing everything by hand in ice-cold, well-water, this represented a massive improvement in the quality of our lives. It didn't matter that for a time we had to lug piles of crockery between the two houses  - we had a dishwasher! And hot water!


We'd decided on the kitchen layout (some years) back during the design phase of the build and barring a few minor tweaks, it had remained the same throughout. Now, it was quite literally set in stone; even the underfloor heating had been installed and sealed in screed with that kitchen layout in mind - there were no heating pipes in the areas earmarked for the kitchen island or larder, so changing it all around now was out of the question. Some of the in-store kitchen designers had a hard time grasping that fact when we went seeking quotes.

(Kitchen heating pipes laid out ready for screeding back in October 2014)


Our kitchen plan was fairly straightforward.

Building a larder meant we had no need for any wall cabinets. This was done intentionally because 1) it saved money 2) it kept the walls clear and uncluttered and 3) neither of us can ever reach the top shelves in wall cabinets, so anything ever put up there tends to stay put forever gathering dust.  


Bespoke handmade cabinets and designer German kitchens were well out of our budget, but even standard kitchen units seem such a ripoff. After all, even the most upmarket carcasses are nothing more than a few sheets of laminated fibreboard/MDF pinned together, then fitted with standard drawer boxes and runners. Any money we could save on the units could be ploughed into getting decent worktops, where any improvements in quality would be much more noticeable.  

Over the years, we'd gathered dozens of quotes from all the usual kitchen suppliers, but despite having accounts with all the major trade-only suppliers, none could compete in price (and quality) with the new breed of online suppliers. The good ones manufacture their own kitchen units, but sell them directly to the public, effectively cutting out the middle man. The only disadvantage being you don't have anyone providing 'free' kitchen designs, or providing a list of all the bits and pieces you need, but since we'd planned that already, it was perfect for us.

In the end we chose what we needed online from DIY Kitchens and a few weeks later our order was delivered.


The kitchen cabinets arrived pre-assembled (dowelled and glued) with all the drawers and drawer fronts factory-fitted - and they were still half the price of the flat-pack units we'd been quoted for by the big kitchen suppliers... 

The site inspector got straight to work conducting a thorough inventory of the goods.


First step was to unpack all the units, check them for damage (there was none) and lay them out roughly where they would be going. 


The site inspector was a great help.

In order to get the sink unit installed we needed to remove our temporary plumbing (covered in tea stains) and install something rather more permanent.


Using sink drawer units, rather than cupboards, meant that the plumbing wastes needed to be changed around quite a bit in order to fit. Alan installed new pipework that ran closer to the wall and would allow us to push the cabinet right up against it, in line with the other units.


As ever, necessity is the mother of invention... we didn't have a sink, so Alan decided to make one we could use temporarily out of an old plastic tub. Under supervision from the site inspector, he cut a hole in the bottom of the bucket...


... then fitted a sink waste (complete with overflow!) into the tub...


... and plumbed the whole thing in to the cabinet where our permanent sink will eventually go. We had a spare garden tap, so hooked that up to the supply to give us hot water too.  


Lastly, we used an old offcut of plasterboard covered in plastic as a temporary worktop and our bucket sink was complete.


Not the prettiest but it works (and we'll probably see one just like it in some trendy hipster house in a few years time - cue Kevin McCloud: "what a delightful postmodern sink - it looks just like an old empty bucket...")


At this stage, we were only concerned with getting the kitchen units fitted roughly in position. There were a lot of finishing touches, such as glossy end panels and kickboards, that we couldn't fit until we knew what the final floor height would be (and we wouldn't know that for sure until the tiling had been completed).  


We also bought matching cabinets for the utility room.

The decision to move the main water stopcock from its original position under the sink, to the corner of the room had caused us a few issues. Some kitchen designers we spoke to proposed putting in a blanking panel but that would have made access to the stopcock difficult, so we decided to use a wafer-thin cupboard instead.

In order to get the cupboard fitted flush to the wall the pipework had to be dismantled.


It wasn't just the pipework, the cabinet had to be completely dismantled too. Luckily we'd asked the kitchen supplier not to glue this unit together or it would have been impossible to take it apart. 


In hindsight we should have positioned the water supply pipe further from the wall, but considering it was fixed in place before any walls were up, back when we were doing the groundworks, it wasn't that far off. We just had to cut out a few sections of the cupboard in order to accommodate some of the wider pipe unions and that allowed us to get the cabinet pressed close to the wall.


The stopcock valve needed a cutout in the bottom panel in order to turn freely. Most people would just swiftly hack out a large hole, but Alan's OCD-ish attention to detail of course would not allow anything that simple...


The geometrically-shaped bottom panel slotted into place. The cutouts allowed the tap to move in and out as it is turned. A bit of a pain to do, but (for various reasons) moving the pipework would have been even more fraught.


With the pipework back in place, we could assemble the rest of the cabinet parts around it.


Once the corner cabinet was in, the rest of the units for the utility room could follow.


The drawer unit was much easier to fit; just a question of levelling everything up and pushing it into position. We won't be screwing everything in place until after we've tiled the floors.


The temporary plumbing (hastily-assembled in order to use the washing machine) had to be dismantled. As in the kitchen, Alan needed to rearrange the pipework so that it will run as close to the wall as possible in order to fit the sink unit.


With the waste pipe relocated tight to the wall, it could now run behind the cabinet and will not be visible when we open the drawers.


Once the cabinets had been installed, we put back the washing machine and tumble dryer. 

We'd chosen to use freestanding appliances throughout rather than integrated ones. Although we can get all the VAT back on building materials (such as the kitchen units), appliances are not included in this arrangement - even integrated ones. We'd also found that integrated appliances were often compromised in their size, performance and price. Freestanding units are easier to repair/replace and can be taken with us if we move house.