Showing posts with label Roof. Show all posts

Saturday, 22 February 2014

Roof: Part 5 - Trim and guttering

Hindsight can be a blessing, but it can also be a curse. The amount of visible pins in the box ends always bothered Alan (though I don't think many people would even notice these details). So just before the roof was finished Alan took it upon himself to re-do them, this time using carefully concealed fixings.


Ta-da! Pin-free.


A view of the east side of the house. The new house seems to dwarf our old house behind it.


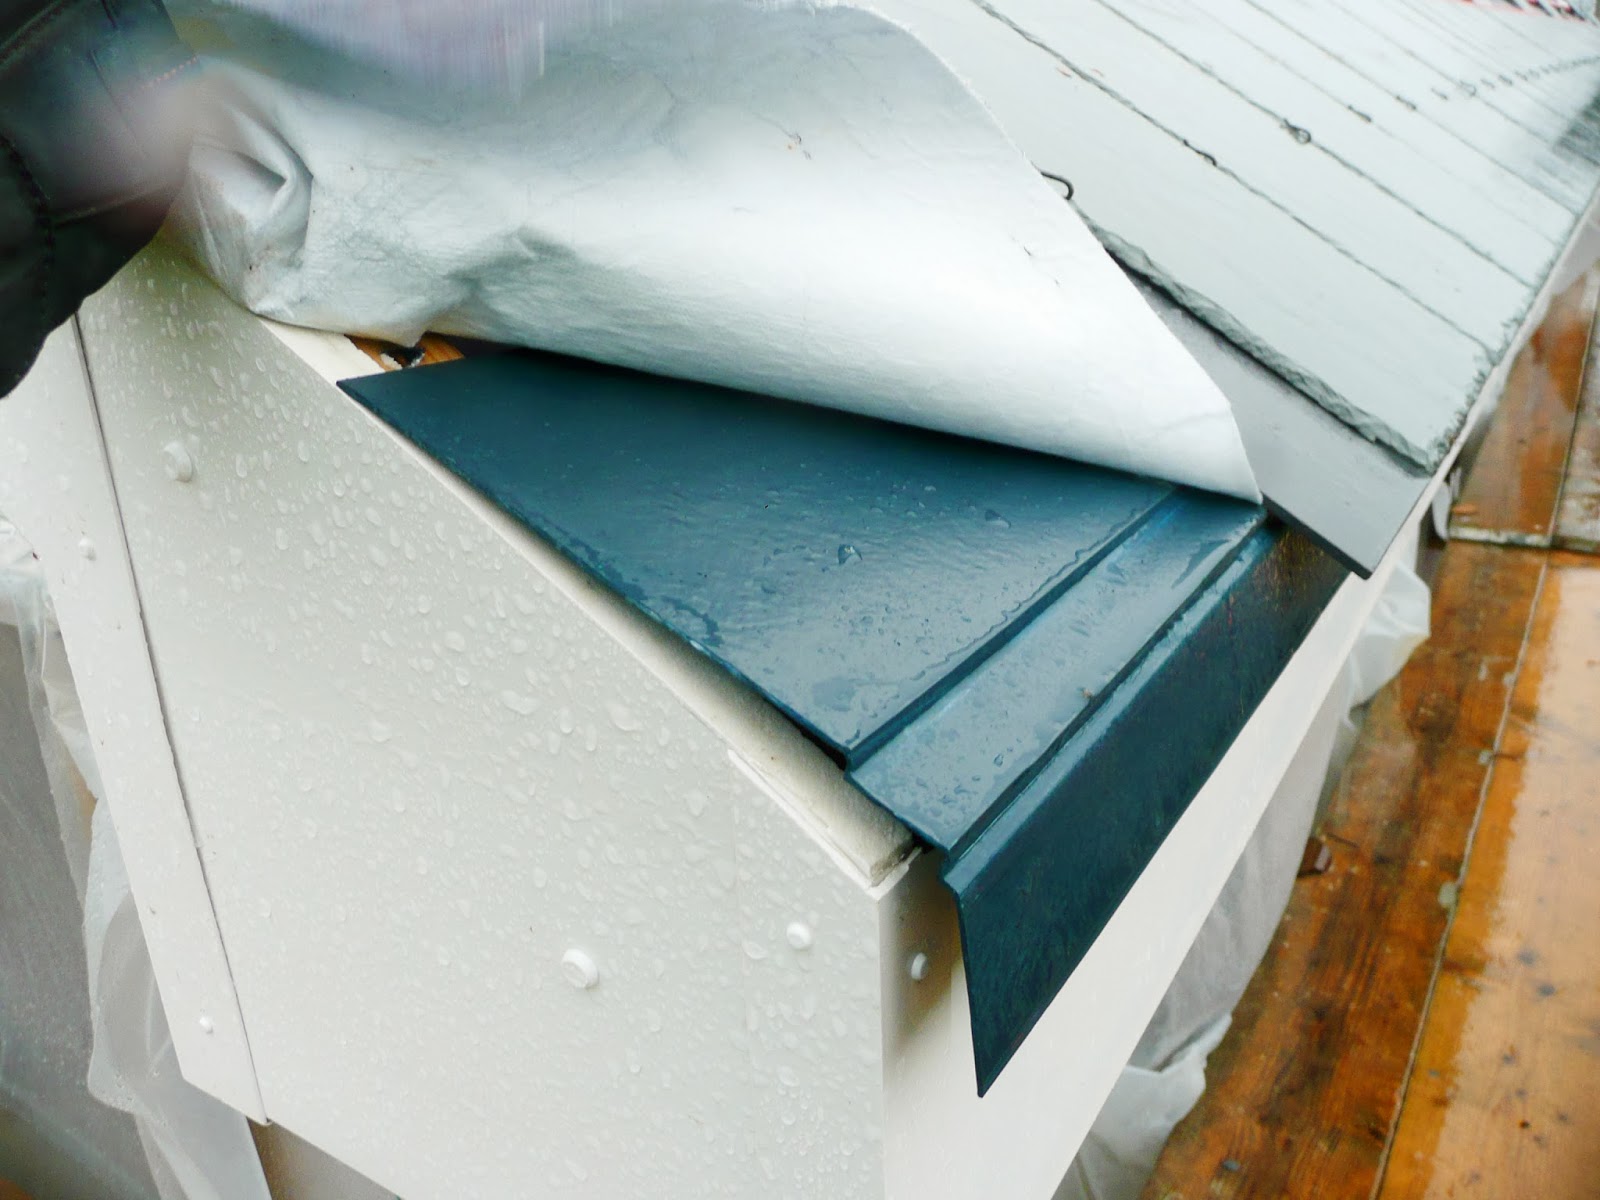
We originally wanted to use a dry verge to seal the gap between the bottom of the slates and the top of the bargeboard, however none of the products we looked at were really suitable so we decided to make up our own trim panels.


Alan fixed the trim at the top of the gable end...


...while I fixed it at the bottom.


It was really tricky to attach and of course the cold winds didn't help.


Ta-da! Trim panels all done (though I give it a month before Alan wants to re-do them).


With the roof completed we needed to get the guttering up quickly to stop rainwater pouring off all the new slates onto the timber frame below.

With our relatively tight budget we thought our only option was to use plastic gutters and downpipes, however after lots of research (and a bit of bartering) we found that galvanised steel wasn't that much more expensive so we chose that instead.

Alan had never fitted gutters before but as usual spent hours researching how to do it on the internet - at least that's what he said he was doing :) The first job was to set out the gutter brackets allowing for a slight fall to help send the flow of rainwater to the downpipes.


Having set the height for both the highest and lowest brackets, the string line was stretched between them and used to mark the angle of the fall.


The remaining brackets were then attached following the level of the string line. Lots of brackets...


Once the brackets were up the Lindab steel guttering was quite straightforward to assemble with most parts simply clipping together.


The only fiddly bit was cutting the holes for the downpipes. Apparently the heat from power tools can damage the galvanised coating (internet research strikes again) so Alan used tinsnips and a hacksaw.


The gutters for the front of the house completed.


Same again for the back of the house - the brackets were set out using a string line.


Alan remarked that his school metalwork teacher wouldn't believe his eyes if he saw this.


It is important to cut the gutter straight to avoid leaks forming where they join.


As it was the highest point of the gutter run, the corner section below the valley was a bit of a tight fit.


The back of the house completed.


The east side only needed a short section of guttering.


Ta-da! The guttering is all complete.


Thursday, 6 February 2014

Roof: Part 4 - Laying slates

A couple of days after the battens had been secured the roofers returned to start laying the slates. Matt began on the north side of the house whilst Aaron carried the slates (all 2500 of them) up two sets of ladders to the top.


The eaves protection system (the green plastic thingy) was fitted along the whole length of the fascia. It helps direct water into the gutter, preventing it from pooling at the bottom edge of the membrane.


Despite the constant rain Matt was able to progress quickly as he was using hooks rather than nails to attach the slates. Hooking the slates is better for windy, coastal areas like ours because it holds the front face tight to the roof which prevents wind getting underneath and blowing them off. An added bonus of using hooks is that slates can easily be replaced in the case of any damage.


End of the first day of slating and three-quarters of the north side was done.

The Brazilian grey-green slate was an easy choice as it was the contemporary light colour that we wanted (and luckily it happened to be the cheapest too).
Considering the famous Delabole slate quarries are only a few miles away from us, it seems absurd to use Brazilian slate flown across from the other side of the world. Unfortunately the Delabole slate costs around eight times more than the Brazilian, plus the waiting list for delivery is apparently several years.


The following morning the roofers started early to make the most of a calm, bright day.


Matt started work on the valleys that run diagonally down to the gutters at the line where the two roofs meet.


We opted to use modern fibreglass valleys rather than the more traditional lead versions. Lead is more expensive, has been known to be stolen for its high scrap value and we don't think it makes any difference to the roof's overall appearance.


A string line was attached to the verge in order to neatly line up the slate overhang. The corners of each slate were shaped with an angle grinder to direct water towards the gutter and keep it from running over the verges. Aside from its practical purpose it gave the roof edge a nice decorative appearance.


The north side of the house completed.

The roofers complimented Dan's handiwork on the roof structure, saying his accuracy in fitting the roof trusses and rafters made their job much easier and enabled them to create a very neat, level roof.


After a few days lost to more bad weather, Matt began work on the south side of the roof.


The site foreman's enthusiasm for all the hard work on the roof knew no bounds...


The east side gradually taking shape.


Cutting the slates for the valley edges took Matt some time but the results were very impressive.


The finished valley with slates neatly cut on either side.


After several weeks trying to build the roof in torrential rain, gales, snow and hail, the sun typically decided it was time to shine just as the roof was being completed.


The last job for the roofers was to fit the ridge tiles onto the top of the roof.


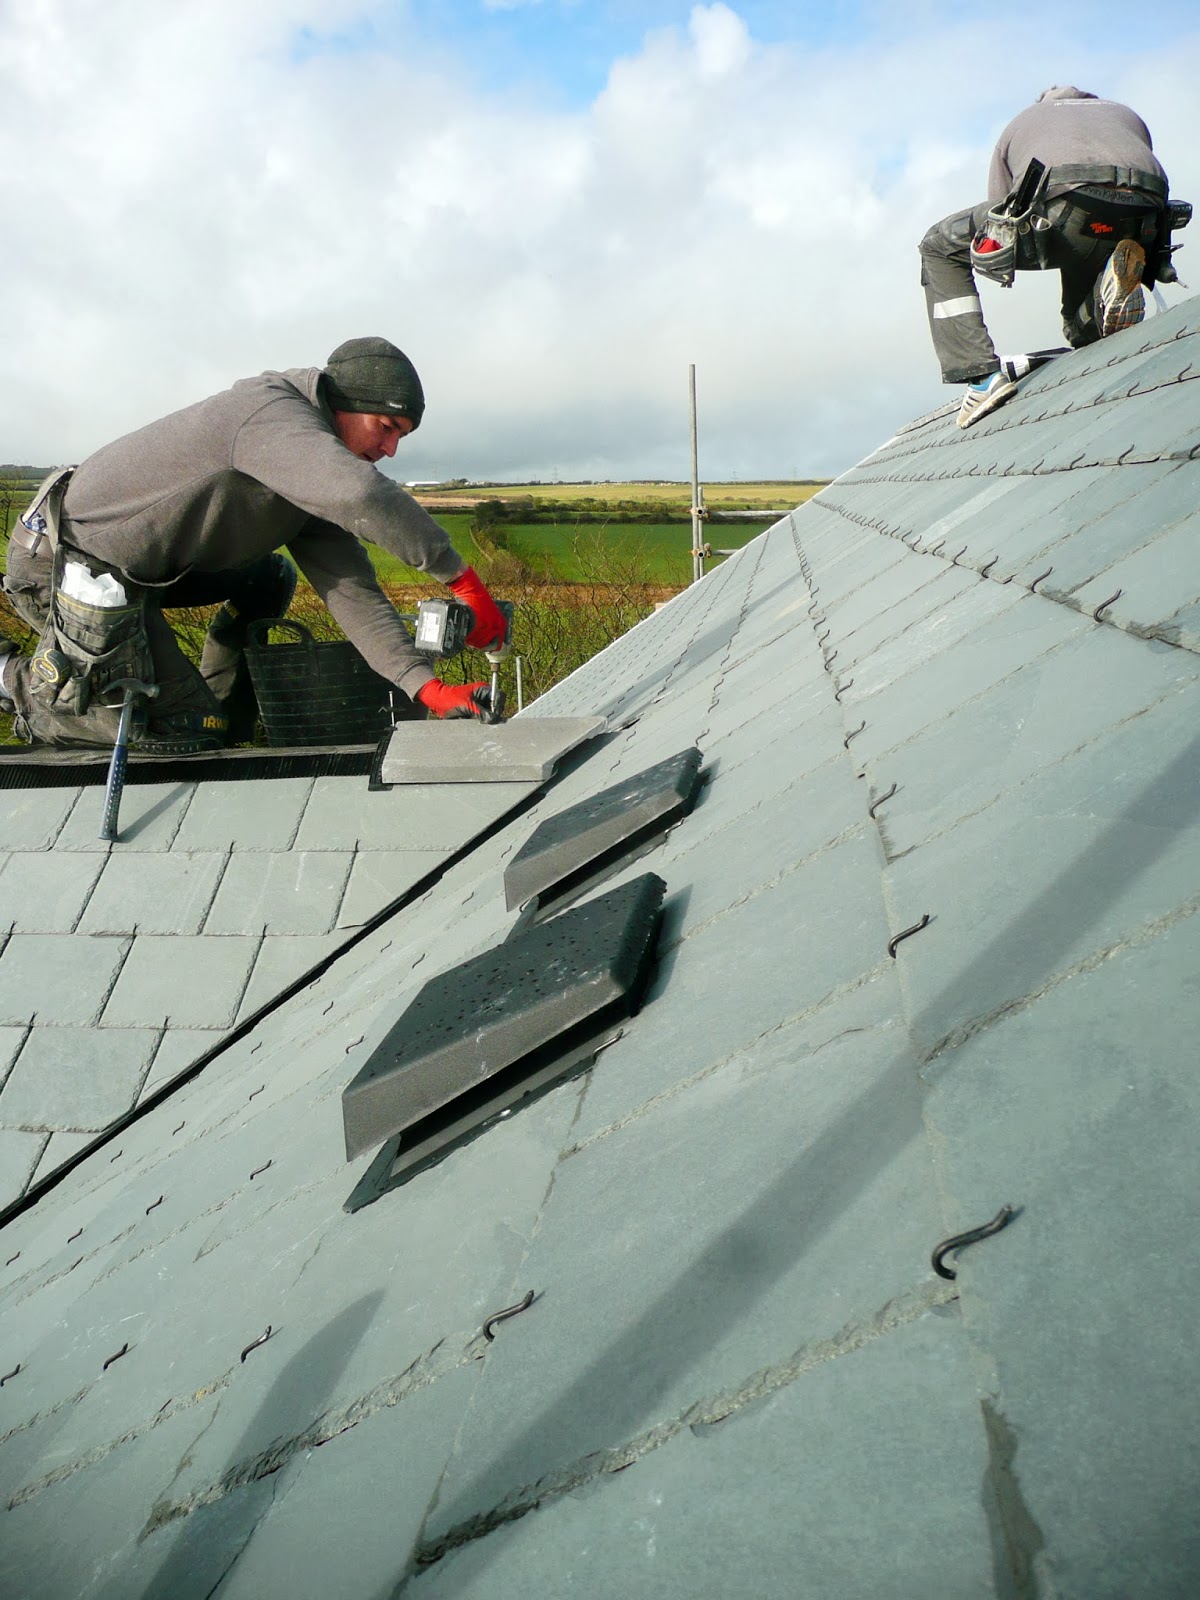
Traditionally ridge tiles are fixed to the roof using cement mortar, however we used a modern dry ridge system. In exposed coastal locations like ours, mortar tends to crack and crumble over time, so it made more sense to use a low maintenance system instead. The dry ridge tiles are also ventilated to allow air to flow under the slates from the fascia vents (as shown in the previous chapter).


Health and safety officers look away now. The roofers balanced precariously whilst sticking down the ventilated gasket that runs underneath the ridge tiles.


The ridge tiles were screwed down onto the gasket to make a watertight yet ventilated seal.

The vents in the foreground are joined to ducts in the loft. One will be connected to a breather pipe for the soil stack (toilet pipe) and the other will be connected to an extractor fan in the loft to remove moist air from the kitchen and bathrooms.


The roof is completed. Hoorah!