Boarding.


More boarding.
With hindsight, had we known how long the boarding was going to take using Fermacell, we'd never have chosen to use it. Boarding all the ceilings in the house using conventional plasterboard had only taken us a couple of weeks, but to board the walls using unconventional Fermacell had already taken us months.
And we still hadn't finished...
The last rooms to be tackled were the bathrooms. We couldn't board them until all the pipework had been completed, but having been less-than-impressed with the local plumbers, we'd ended up doing all the plumbing ourselves. That was saving us a lot of money but of course meant that everything was taking much longer.
Before sealing any pipework in the wall forever, it was obviously a good idea to be certain that it didn't have any leaks. Since we didn't have any testing equipment, the easiest (and cheapest) way for us to test the pipework was just to connect it up to the pressurised water supply (remembering to cap off all the open pipe outlets first!) and see what happened. If there were no leaks after being under pressure for a day or two, then we could be reasonably confident it would be OK (famous last words).

After testing out the main bathroom shower, it all seemed to be leak-free so it could finally be buried in the wall.

Alan also connected the concealed toilet cistern to the water supply so we could finally board around that.

As ever, we used a laser to accurately mark out the board and ensure that the cutouts for the toilet pipes and supports were in exactly the right place.

As you can see, months spent boarding has slowly driven us mad.


The back of the toilet cistern sits inside the landing cupboard. We shouldn't ever need to access it as the clever design of these toilet frames mean that all the serviceable parts can be reached via a front panel that sits under the flush buttons. So to keep everything neat in the cupboard, we boxed it in.

The back of the cistern boxed in.

Back in the main bathroom, we had always planned to have a decorative light around the bath so began work on what would be an illuminated mini-alcove.

Once we'd established the centre of the window, Alan made a wooden frame that would support the alcove boards.

We lined the inside of the alcove, then began boarding around the outside. We left a lip at the top as we wanted to conceal the LED striplight and create more of a glow than a direct light.

Before we could finish boarding around the alcove, we needed to complete the pipework for the bath taps and spout. We preferred them in the centre of the window, so Alan fitted a noggin behind the silver membrane that would hold them in position.

To ensure the bath would fill extra quickly, we'd used the wider diameter 22mm pipes all the way from the water cylinder. Annoyingly, most of the bath taps we looked at were now designed for 15mm pipes which would have acted as something of a bottleneck and restricted the flow.
After much internet searching, we did find a suitable set of taps and our 22mm pipes fitted directly into place.

The side of the bath will conceal much of the wall, so it was another good opportunity to use up some more of the Fermacell offcuts. Once the excess glue has been removed and the joints covered with compound the panels won't be visible anyway.

How the bath will look under the alcove.

While doing the bathroom, we also took the opportunity to board the window reveals (more on the delights of doing them later...)

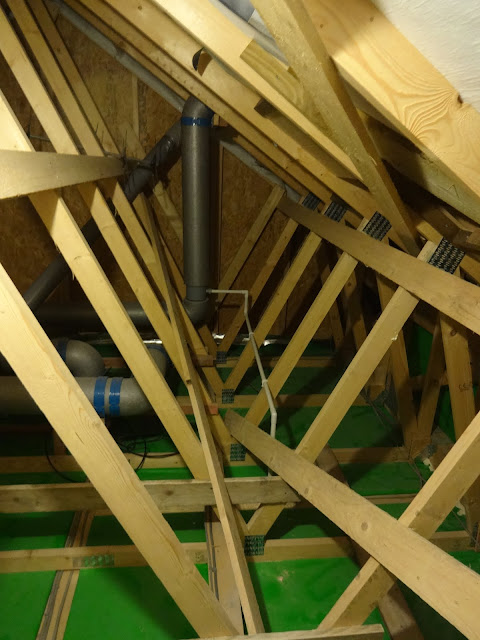
Once the bathroom was finished, we moved on to the en-suite. The first job was to run a pipe down from the ventilation system. As per building regs, we'd fitted a condensation trap in the loft that is designed to catch any water that might form in the ventilation pipes and this needed to be drained to a waste pipe somewhere.
We could have connected it to the main soil stack (via a P-trap to stop any stink coming back through the extraction ducts) but preferred to run the pipe directly through down from the loft to the en-suite bathroom.
The small white pipe on the right runs from the grey condensation trap...

... down to where the basin u-bend will be located.

We had made the landing cupboard a central conduit for all the pipes and cables that run from the first floor down to the ground floor. Since the en-suite backed onto the landing cupboard, we needed to get any pipes and cables properly sorted before boarding. The black cabling in the picture below is the coaxial cable that goes to all the TV aerial sockets.

Inside the cupboard, we trimmed all the coaxial cables and attached plugs to them. We'll be joining them together via a splitter (and possibly a signal booster, if needed) at a later date.

More soundproofing went in...

... then on with the boards.

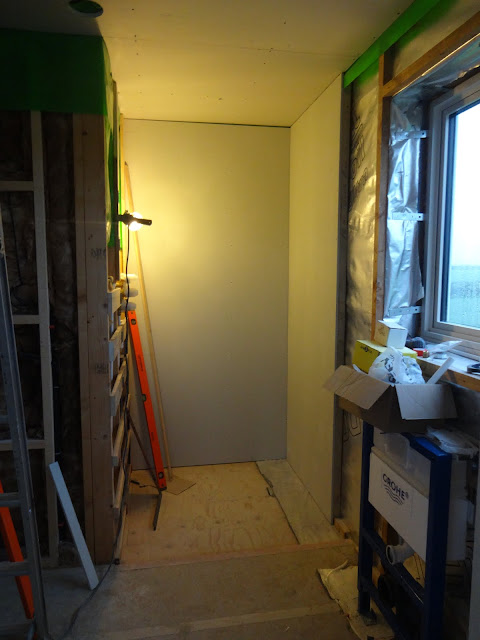
The walls of the en-suite shower needed to be brought in a bit closer to match the size of the shower tray.

As ever, the studwork walls were not very straight (grr) so Alan built out a set of timber supports that aligned with a laser.


We fine-tuned the position of the wall using packers.

After much struggle, the walls of the shower were in.

With the shower wall perfectly level, this picture shows how wonky the studwork originally was. The rest of the room could now be boarded.

Beginning to get an idea what the shower will look like when finished.

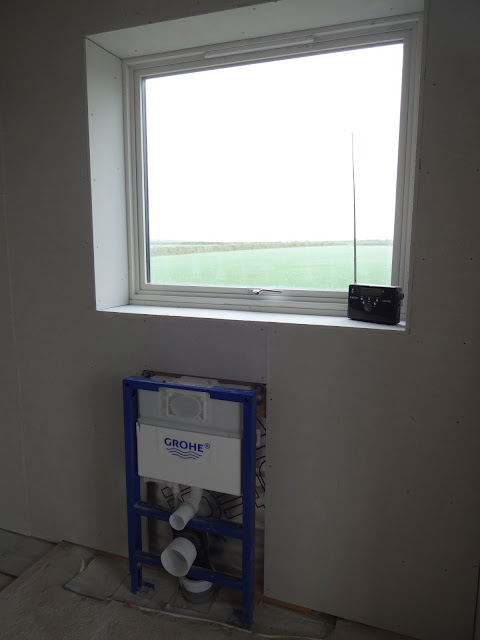
The last bit of boarding in the en-suite was around the toilet frame.

First we fitted the window reveal above the toilet.

Although it's possible to attach boards directly to the face of the metal frame, we needed to construct a wooden support to hold the boards firmly in position all the way around.

A sheet of Fermacell cut and drilled to size for the toilet frame.

Still plenty of finishing to do (whoopee), but at least that's the boarding for the en-suite finally done.

The ground floor WC was the last toilet to be boxed in so Alan made another wooden frame. The pipes for the heat pump (just visible at bottom left) also sit neatly behind.

Boarded.


No comments :
Post a Comment