
The heating company had given us a checklist of all their requirements; where the water supply should be located, what flow rate and pressure was needed, dimensions of concrete plinth, etc. Rather helpfully, they also phoned regularly and paid us a visit to check on progress, prior to the installation date so we were confident everything had been set up correctly.
The heating engineer, Richard, about to drill holes through the walls for the heating pipes. We had visions of the render getting smashed to smithereens or the drill going straight through the wrong part of the wall...

Phew! No problems with the render and a nice clean job.

Insulated flow and return pipes fit neatly into the holes. These will carry the heated water from the heat pump to the underfloor manifolds and hot water cylinder, via pipes (fitted ages ago) that run under the screed.

The other side of the drilled wall, showing where the flow and return pipes enter the WC. We removed the toilet cistern and frame for access. It's a tight squeeze to fit everything in, but should result in a very tidy job once it's all boxed in.

The flow and return pipes finished off, tested for leaks and insulated.


The flexible metal pipes attached to the heat pump outside the house are heavily insulated to minimise heat loss and make the unit as thermally efficient as possible.

Richard plumbing in the water cylinder and making all the connections to the underfloor heating manifolds that we installed. It's so nice to watch someone else working for a change.

We got Richard to install the two pressure vessels (the small grey and white cylinders) as low and as close to the water cylinder as he could, to allow as much room as possible for the stairs.

The water cylinder plumbed in and pressure-tested. The pipework around the back of the cylinder meant that it couldn't be pushed as far into the corner as we'd hoped, which could cause us big problems when eventually fitting the stairs. (Oops. With hindsight, we should have had the stair plans drawn up before fitting the cylinder...)

We used a laser to calculate exactly how high the stairs would be and crucially, whether they would clear the cylinder or not. It looked very, very tight...

We even tried making up a cardboard template to test whether we had enough room. Maybe, just...

Richard was pleased that we'd left the utility room wall open, as it allowed him to make some changes to the pipework to ensure the installation was as neat as possible. Alan re-did the pushfit plumbing pipes that connect to the new water cylinder, while I insulated all the heating pipes. We also re-routed all the wiring which had just been shoved away from the pipework while it was being soldered.
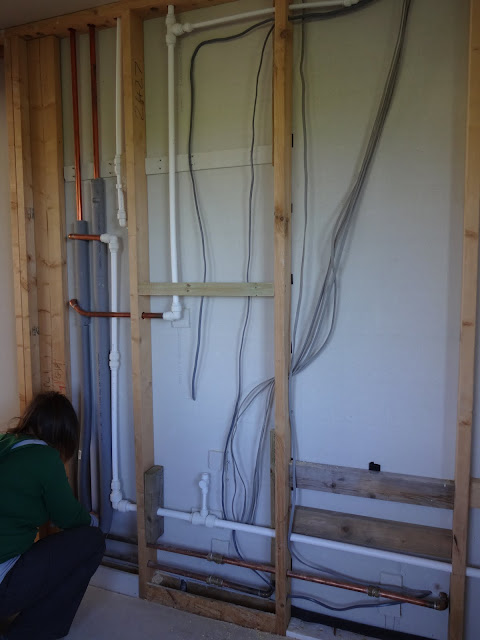
While the utility room wall was open, Alan also ran a new pipe to the kitchen alcove so that the fridge/freezer will have its own water supply.

Plumbed.

Soundproofed.

Boarded.

The site inspector took a much-needed break from all the inspecting.

No comments :
Post a Comment