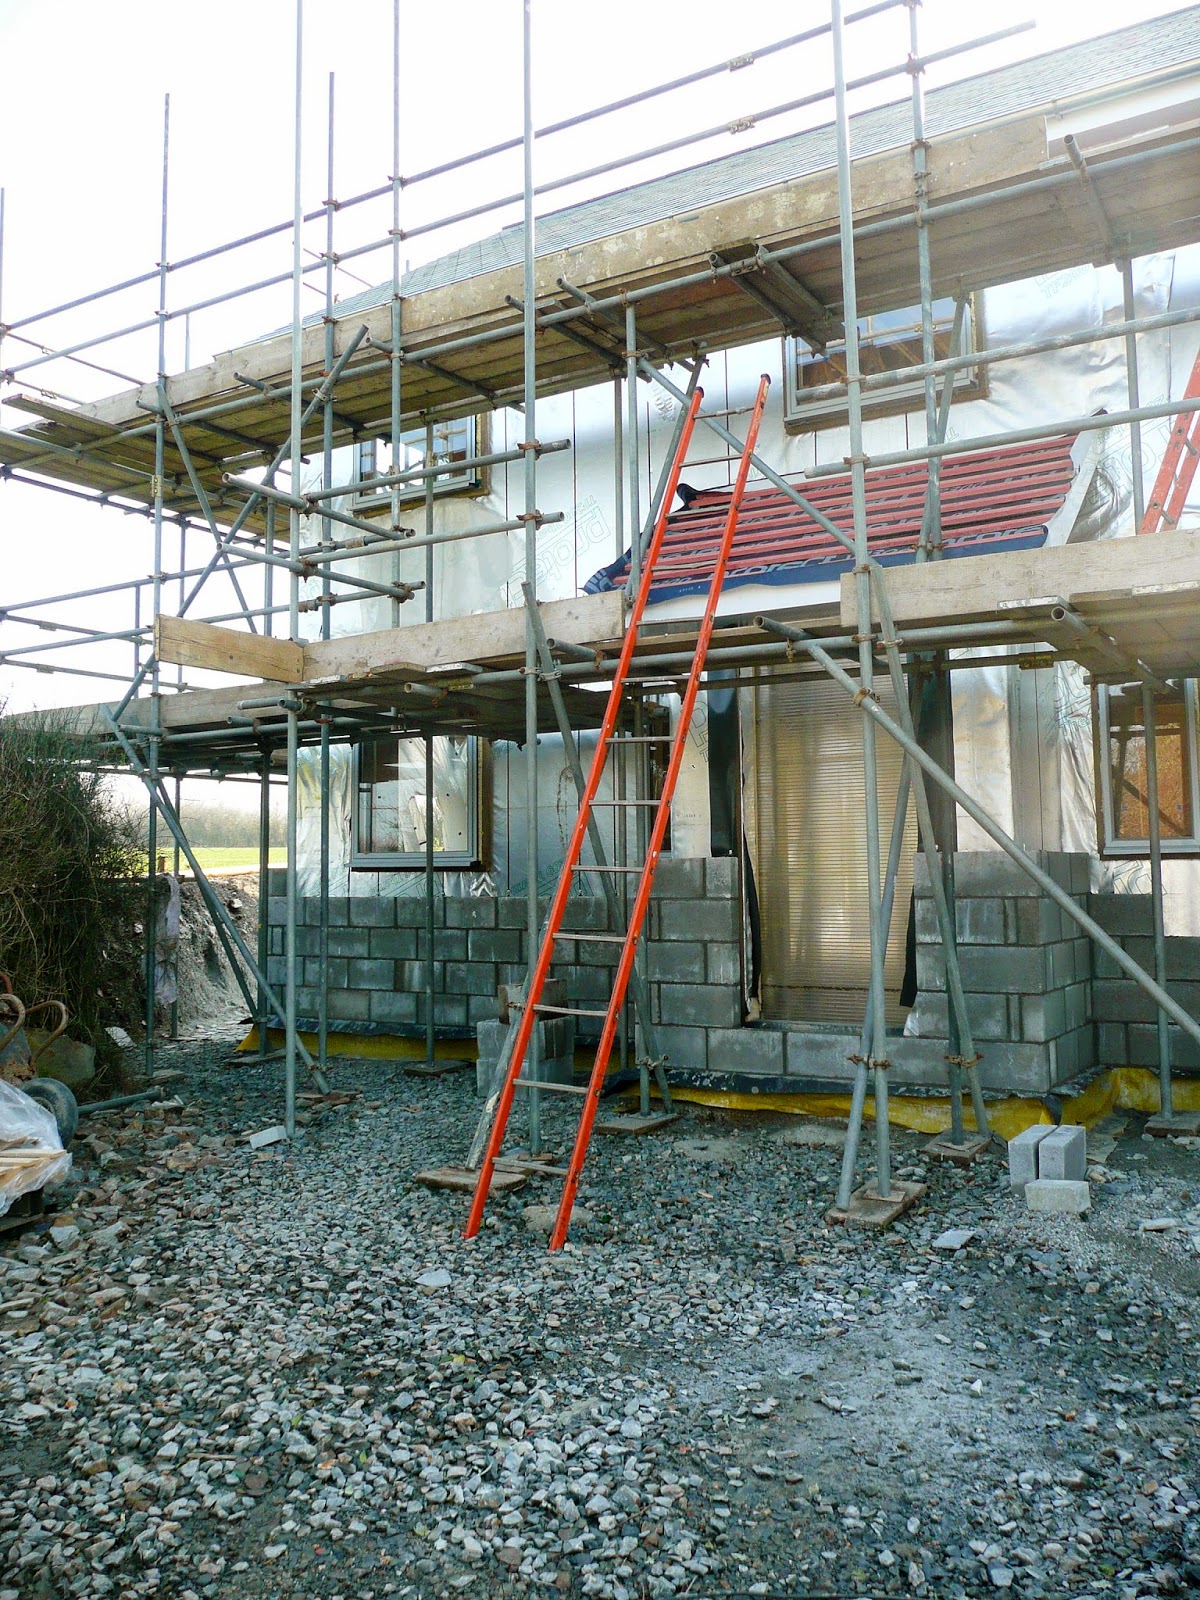
Lots of blocks.

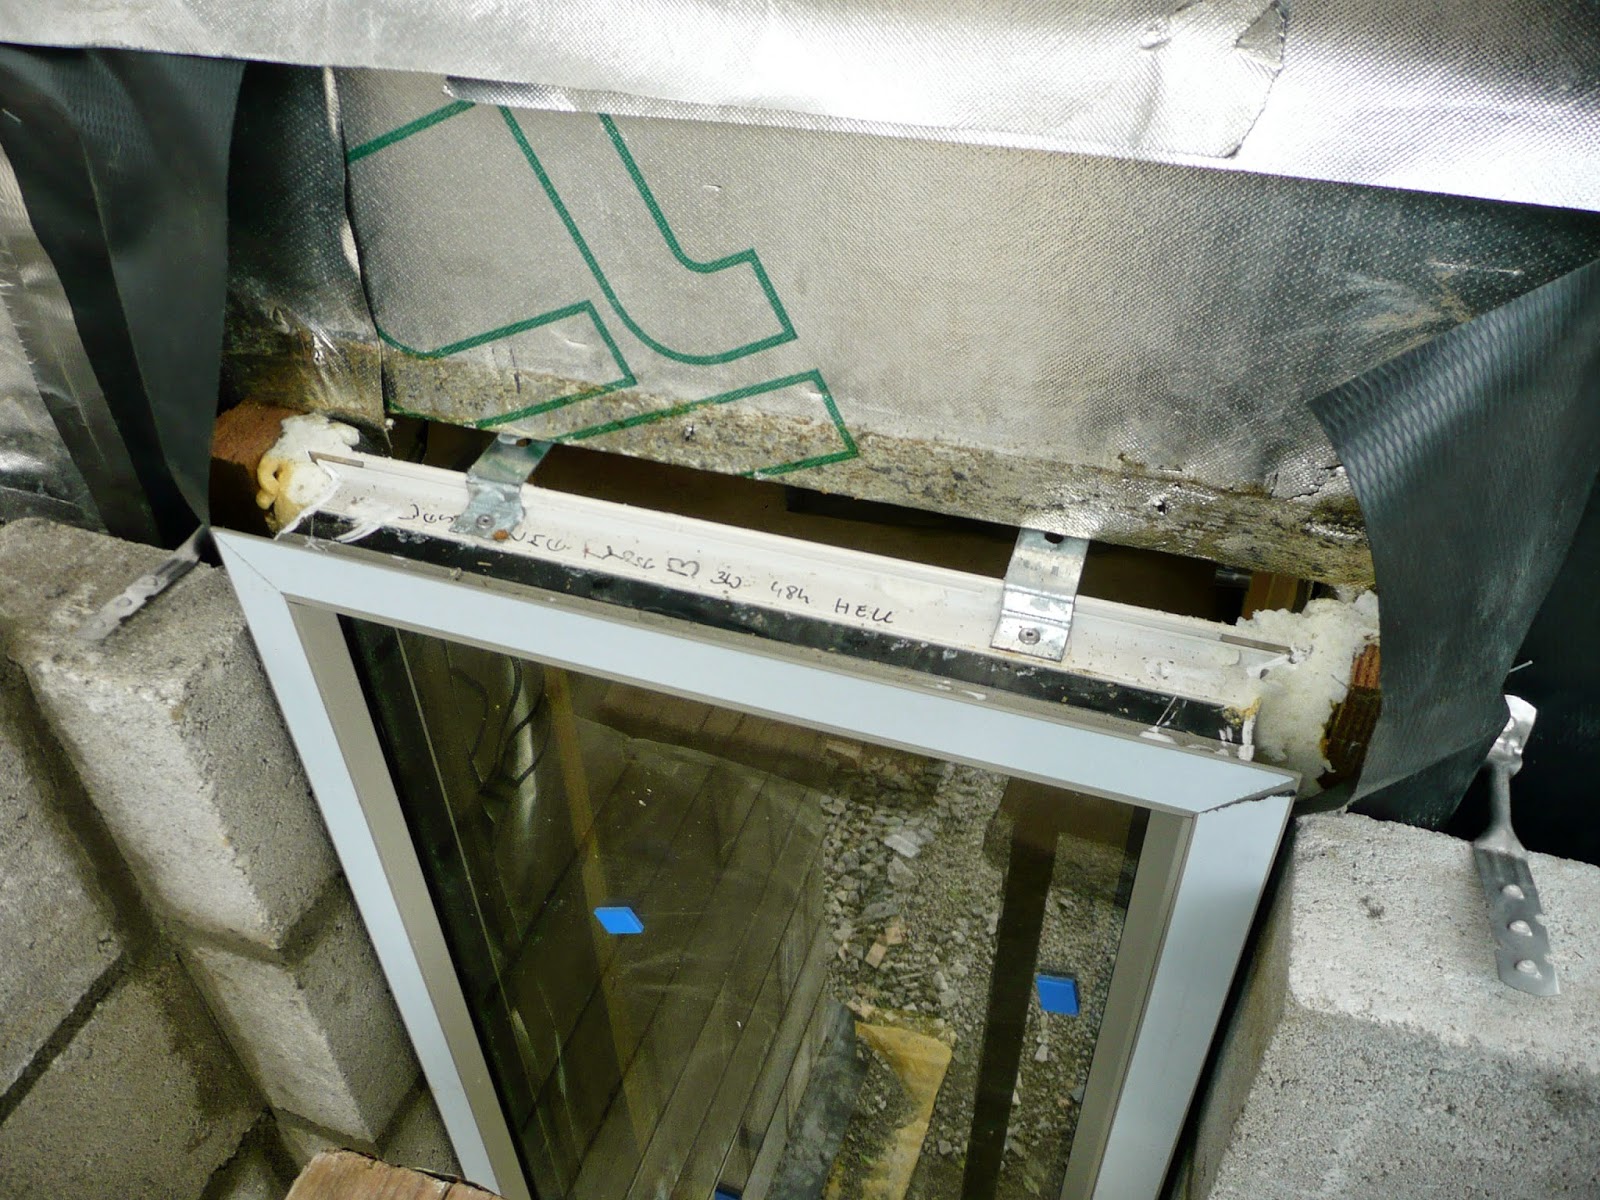
We hit a slight snag when it came to fitting the lintels above the windows. The battens that the timber frame erectors had used were too wide to allow the lintels to sit correctly. With time so short we worked fast to try to correct the situation so that the blockwork could continue.

With 26 battens to sort out, we set up a mini production line. Alan removed all the battens...
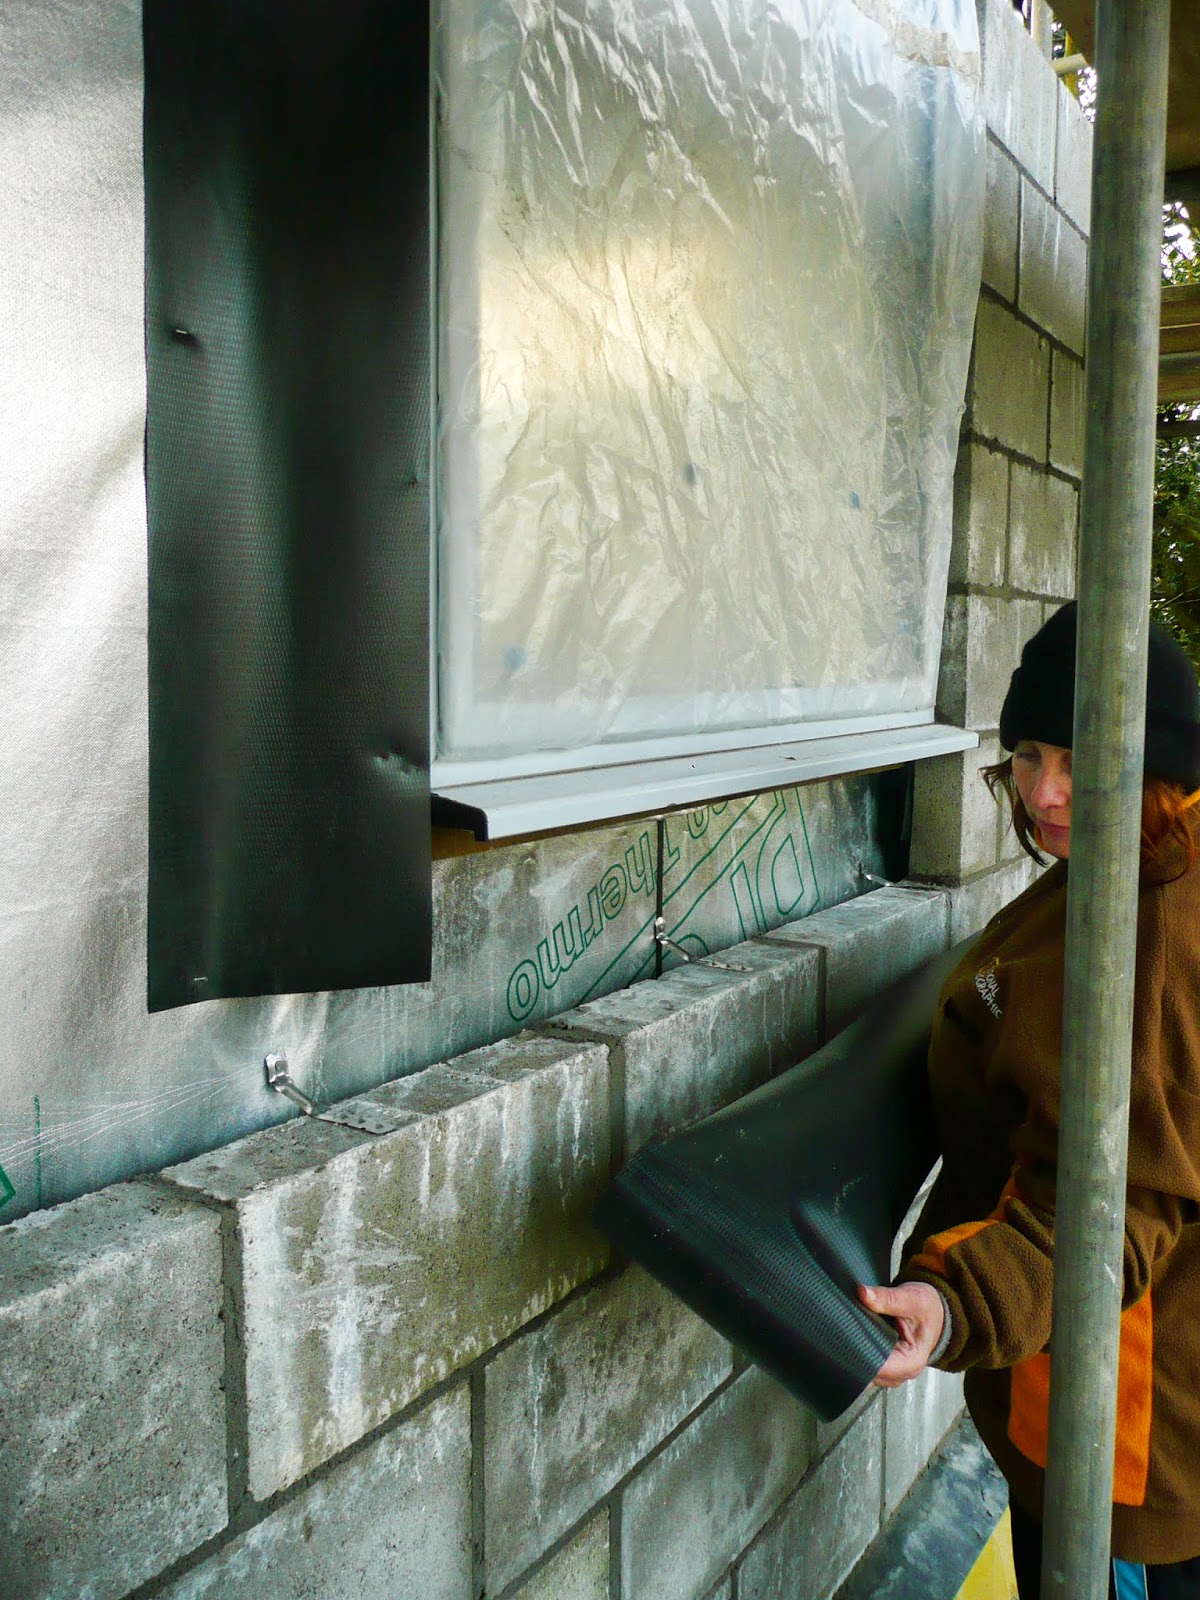
...whilst I removed all the old spray foam and cleaned the silver membrane...

...and Nick trimmed the battens to the correct size...

...then Alan refitted all the battens.

The plastic makes its unwelcome return to protect the windows from falling mortar as the blocks are laid.

Alan and Gary fitted the lintels above the windows.

Space for the electricity meter box.

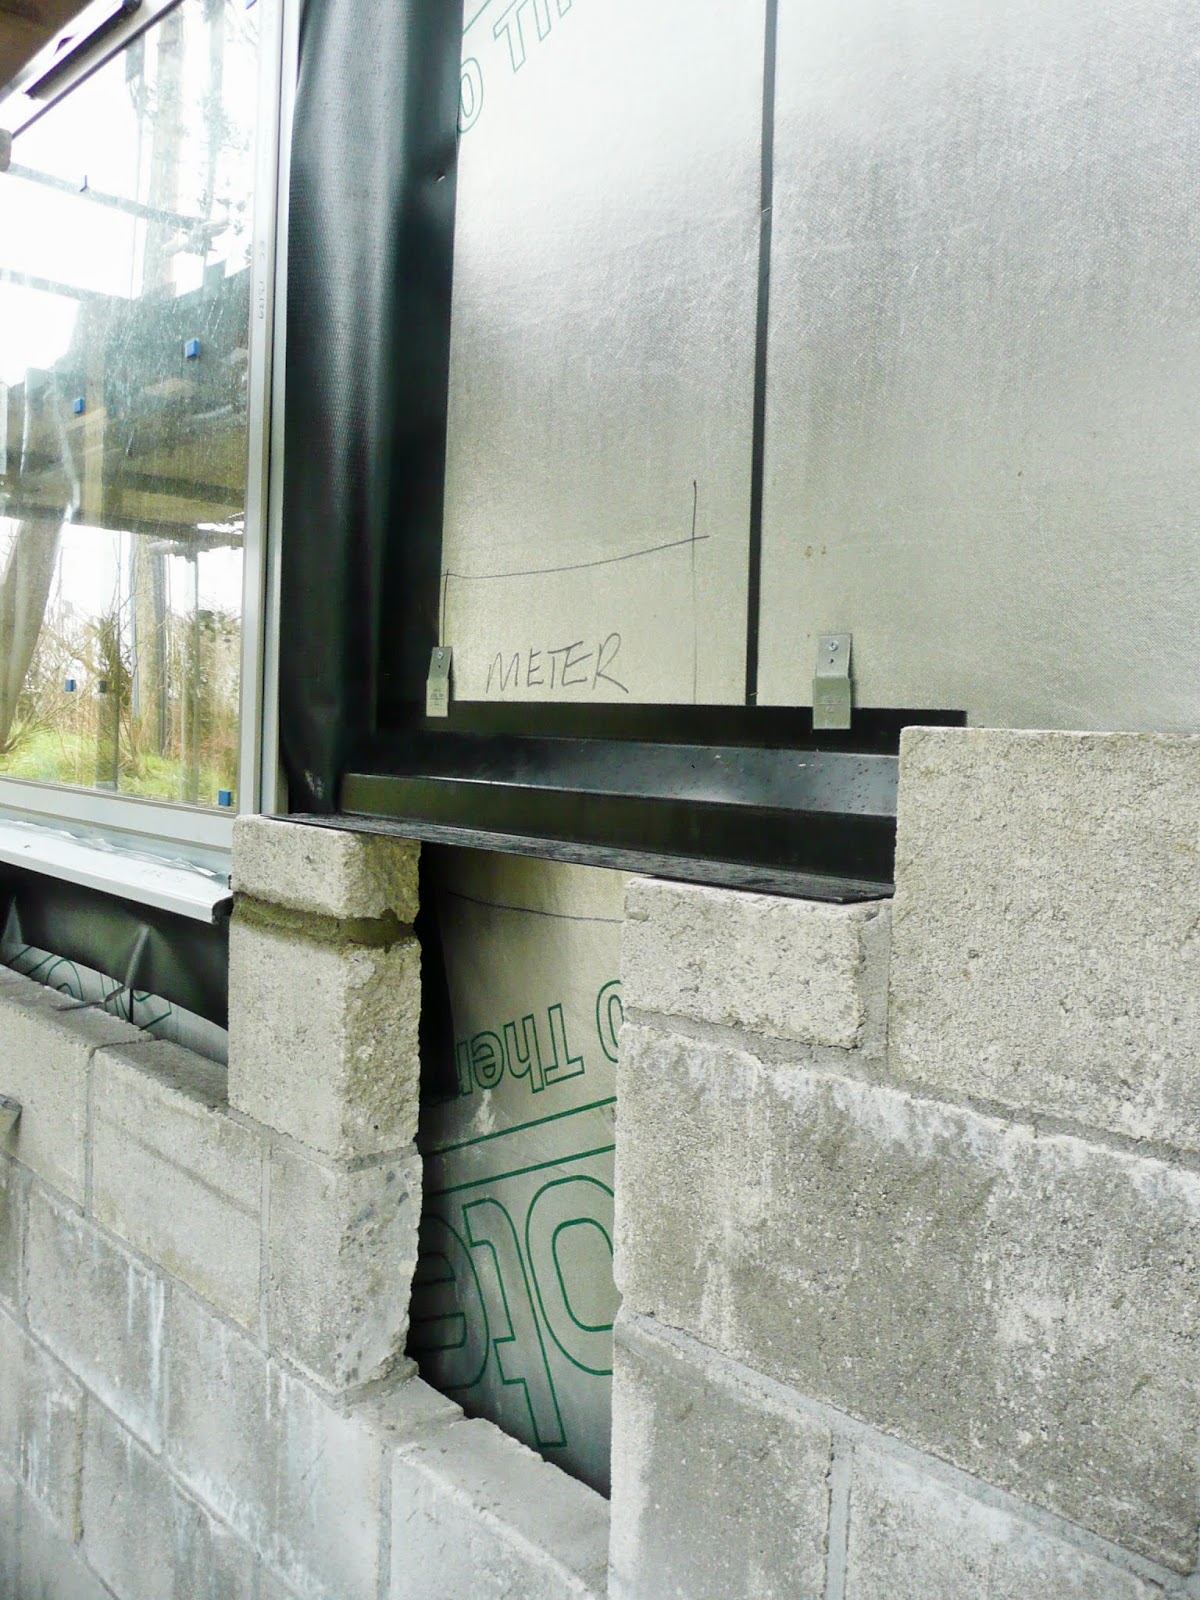
Like every aperture in the blockwork, the meter box needs its own lintel to support the weight of the blocks above.
The first row of blocks laid on the lintel.

Alan made wooden supports to help brace the lintels while the mortar dried.

The supports for the windows were trickier as the sills sat in the way.


With the lintels all in place on the ground floor windows and doors, the blockwork could finally continue.

Having lost half a day sorting the problem with the battens, Alan helped Gary load out all the blocks up onto the scaffolding...in lieu of being charged for any 'extras'!


Some fancy blockwork going on under the porch.


The steelwork around the feature window needed to be insulated before the blocks went up.

Cutting and fitting the insulation was relatively easy.


Once past the lintels the blockwork went up a lot quicker.


A view of our house from across the field.

Spot the house.

Fitting the lintel above the porch roof proved a bit fiddly.

Wooden supports were fixed in place across the full length of the porch so that the lintel could sit securely.


The blockwork is almost at the top.


Nick lays the final row of blocks at the front of the house.

The firesocks are tucked in behind the top row of blocks.

A small gap is left above the top row of blocks to allow for movement as the timber frame settles.


Alan tied empty firesock bags to the scaffolding poles to use as makeshift downpipes.


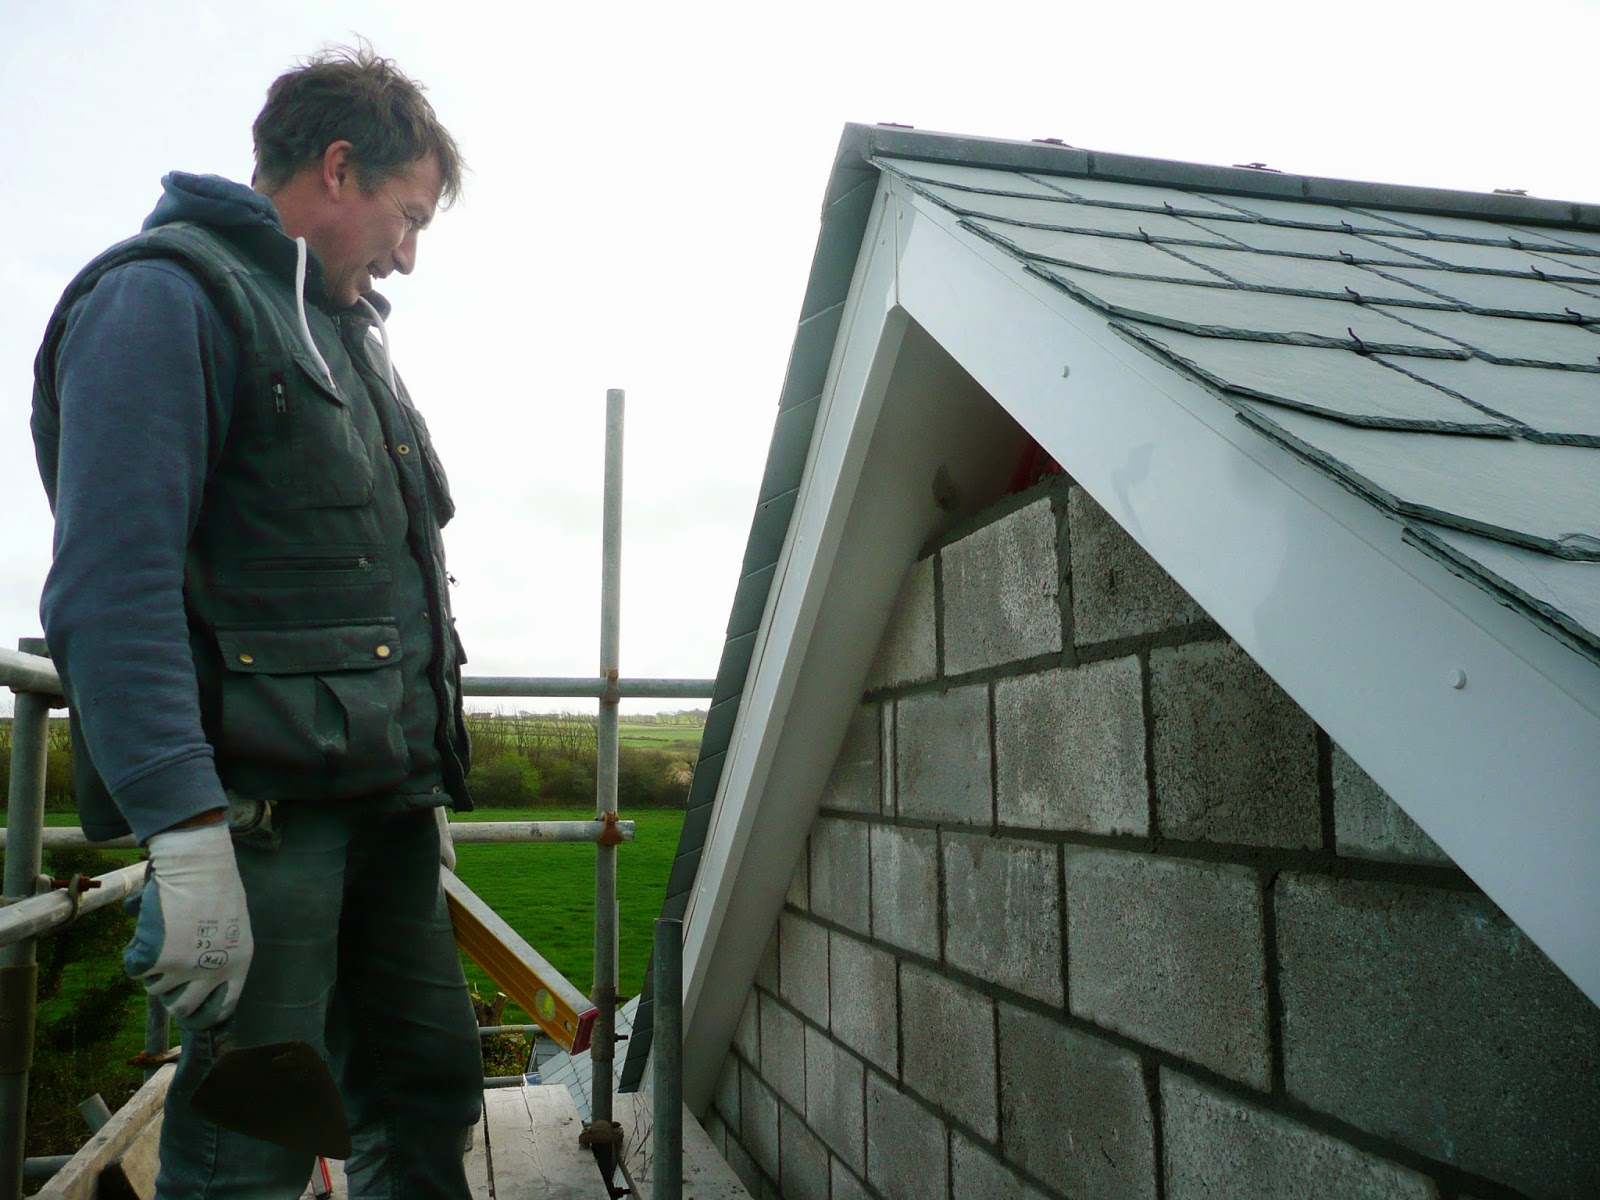
Just the gable ends to go. Nick worked one side...

...whilst Gary worked the other.

Hooray! One more block to go, Nick looks relieved.
Done.