Monday, 28 October 2013

Groundwork: Part 1 - Clearing & levelling

At last after months of preparation and planning the diggers rolled in and we finally got started on the building work.

The first stage was to clear and level the site.


A section of the bank was excavated to create our side entrance.


The bank on the other side was lowered.


We knew there was a view there, somewhere...


With so much heavy site traffic anticipated, we laid down 60 tonnes of stone (luckily we live around the corner from the quarry). This stops the heavy vehicles from sinking into the mud during the construction and also provides a solid base on which we can build the driveway later on.


Saturday, 26 October 2013

Moving day for the fish

Unfortunately the fish pond needed to be removed as it was right in the middle of the site for the new house.

The fish pond before its annihilation.


The temporary 'pond' was set up in the back garden, behind our home and well away from the construction of the new house.


Some of the old pond water and the plants were transfered to the new, luxury 160 bedroom complex that includes room service, internet and digital HD - fish TV.


The pond water was slowly pumped out and the lining taken up gradually, making it easier to catch the fish. We put them in a bucket of water and wheeled them over to the paddling pool, their 'Winter home'.


We will be adding thermal protection to the outside of the pool to help against the cold weather and frost using old blocks and roof insulation.

The total count was around 160 fish, 5 toads and 2 frogs. They have settled in nicely.


Thursday, 22 August 2013

Services: Water borehole

It made sense to have the borehole drilled before starting work on building the house, not least because a lot of trades would need copious amounts of water. To comply with health regulations, the borehole needed to be sited over 50 metres away from our septic tank. This was a bit of a squeeze on our site and unfortunately one of our nicest flowerbeds bit the dust.


The drilling rig arrived on a trailer accompanied by a giant compressor to power it. The business end of the drill was a tungsten carbide drill bit, not much bigger than a football but so heavy that one person could hardly lift it.


The drilling rig was set up in the corner of the garden (goodbye flowers) and drilling commenced. The plan was to drill to a depth of around 40 metres which would hopefully hit a decent supply of water. No drilling company offers any guarantee though; the nearest farm to us had to drill 80 metres deep and even then ended up with iron-heavy water that looked like a thick orange sludge.
We weren't sure what we were going to find and how much extra it was going to cost us if they had to drill beyond 40 metres.


Drilling the borehole...


Each drill shaft was a metre and a half in length and they were screwed together as the drill descended.


To protect the shallowest part of the borehole from contamination, a plastic pipe was installed for the first 6-7 metres and backfilled with concrete. Once the concrete had set, drilling restarted.


Luckily we struck water within a few hours. The drillers tested the flow rate and it looked very promising. For most domestic properties they look for a flow rate of 1 gallon per minute - ours was already flowing at 10 gallons per minute and was also looking remarkably clear.


Having hit such a large vein of water at 31.5 metres the drillers thought it pointless to drill any deeper just for the sake of it. There was also the risk of hitting a seam of iron or manganese which is very common in our area.

A lot of crushed slate was produced from the borehole leaving us with lots of clearing up to do.


Once drilling was completed the borehole was lined with perforated pipes.

A concrete cover was cemented into the ground to protect the borehole and to house some of the pump equipment...It almost looked like a gravestone in rememberance of the desolation to our poor flowerbed.


Though it's good that we found so much water, there's a lot more to do before we can just turn on the tap for a nice drink. Next we'll be installing the pump and getting the water tested to find out what type of filtration we need.

Saturday, 20 July 2013

Drought

Summer eventually arrived in July and with it was the good news that full planning permission had finally been granted. Hooray! Time for a trip to one of the local beaches.

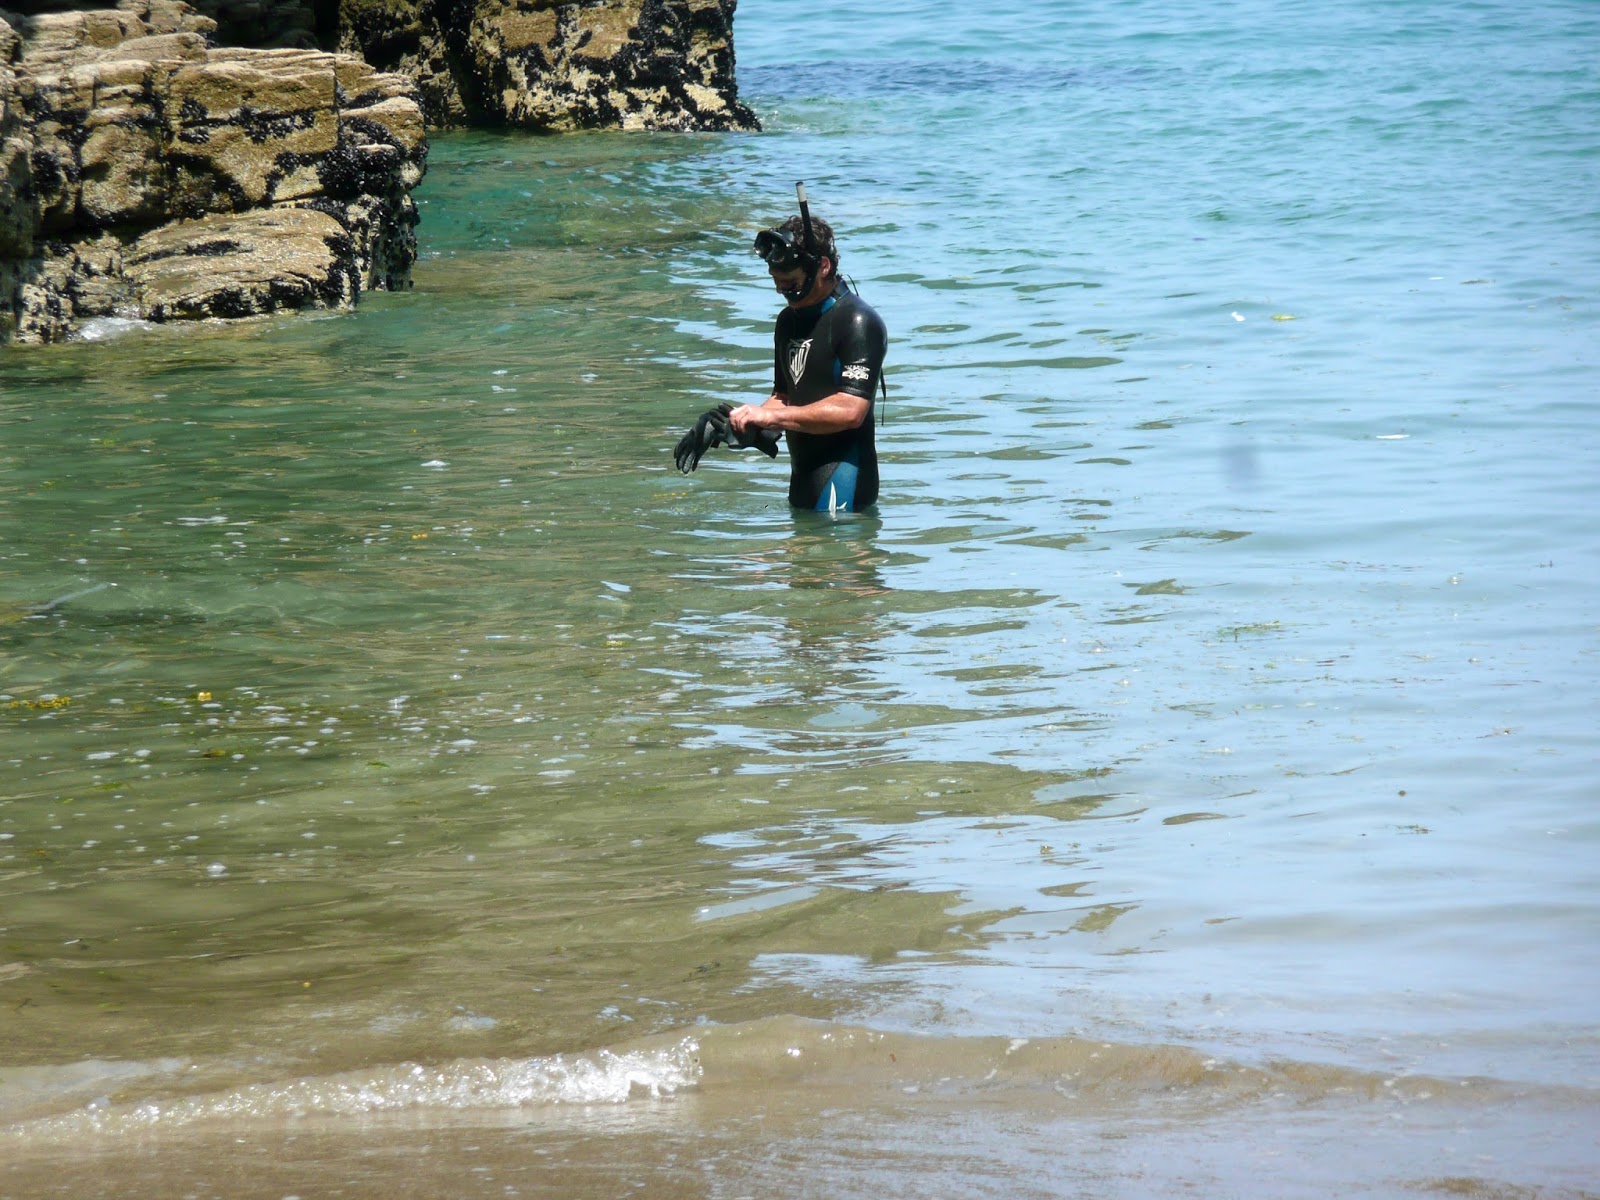
Bossiney Bay


Alan snorkelling.


But the good news was short-lived.

Whilst the rest of Britain basked in the Summer sun we looked on in horror as the water level in our well began dropping rather dramatically.

As we suspected (and despite the contrary claims of the vendor) our well was simply not good enough.  And if it couldn't supply enough water for the existing bungalow with just one toilet and one bath, it certainly wouldn't provide enough water for the new build with three toilets, one bath and two showers.

The well is about eight metres deep. The water level in this picture is only about a metre and a half from the bottom. Normally, it is five or six metres higher than this (usually between the knotted orange rope and the blue marker on the black supply pipe).


The water level in our fish pond was also dropping rather swiftly and we resorted to emptying the rainwater from the water butts into the pond as an emergency measure.


Living without water is no fun, especially in such hot weather. We bought hundreds of litres of Tesco value water for drinking but were severely restricted with all everyday tasks. We were unable to use the washing machine and dishwasher, could only flush the toilet once a day (even saving cold bathwater to fill up the toilet cistern). Baths were few and far between, but luckily some friends five miles away kindly invited us to use their guest cottage for showering.

The decision was made for us, the plot needed a better water supply and a borehole was our only option...


Wednesday, 27 February 2013

Designing the new house

One of the advantages of having an isolated plot is that it can give more freedom with planning permission. There are no neighbours to upset and there is no street scene to conform to.


The first intention was to knock down the house on the plot, allowing us to build over the original footprint (many local councils insist on this) whilst continuing to rent a house nearby.

However, it made a lot more sense to build the new house alongside the existing one; we would save a large portion of our budget by not paying any rent for a year, have the added convenience of being on site at all times (better than living in a caravan) and would also gain a far larger south facing garden, once the existing house was demolished. Luckily the planners were happy for us to do this.

We started with a rough idea about what kind of shaped house we'd like and where to position it (as well as what our budget allowed).


Living in the existing house allowed us to take into account the environment around the plot - for example the position of the sun throughout the day, seasons and weather patterns during the year, surrounding farmland and the track leading to our house.

The layout of the rooms was also very vague at this stage. We thought about all the homes we'd lived in through our lives - what aspects inspired us and what problems day-to day-living threw at us.


The design changed around a few times before we settled on a final design.


The final design.


Tuesday, 26 February 2013

Cutting down the Leylandii tree

The Leylandii tree at the back of the garden was very pretty and a welcome evergreen sight especially in Winter when everything else looked bare and miserable. However, it had grown quite large and was blocking the sun from shining on the house and garden throughout the day. Unfortunately, it had to come down.


Not too keen on using a big chainsaw whilst perched in the tree on a windy day, Alan used a pole-pruner (a mini chainsaw on the end of a long pole). This was safer, though it took several cuts to get through the larger branches.

The chopping begins...


The view from halfway up the tree whilst cutting it down. Note Blenny supervising the proceedings from his vantage point on the roof of the house.


Whilst Alan chopped the tree, I cut the chopped branches into more manageable pieces ready to be dried out and eventually burned.


We managed to salvage and store the larger branches for future fuel should we choose a wood burner for the new house. The amount of wood that the tree produced should give us at least a few months worth of fuel. There is more wood stored further on in the picture, behind the black metal oil tank. We want to do away with using oil for heating in the new house as it is costly (and the cost will only continue to rise).


The remains of the tree stump (left) and a clear, bright view.