Thursday, 26 March 2020

Demolition: Old House (part 2): front extension

The Covid lockdown presented us with an unexpected opportunity; suddenly we had time off work to tackle the demolition of the old house. It had been almost 3 years since we hastily knocked down the lean-to at the side of the house (primarily to get the building de-listed from the council tax register) but we now had the chance to demolish the rest of the house. 
 
Here's a reminder of how the house looked when we bought the site back in 2012:


And here's how it looked after the new house was built.

Although classed as a 'replacement dwelling', our planning permission allowed us to build the new house alongside and just to the north of the old house. Which also meant for a while we would have two houses... 


Some people had suggested that we should apply to keep both houses; that we should fix up the old house to use for guests or even rent it out for holidaymakers. (Even the postman asked us if we would rent it to him!) Financially, it may have been advantageous, but this would ruin the planned setting of the new house, which was designed to maximise the size and views of the south-facing garden.  


During the build, we'd spent a few years living in the old house, but despite that there was no sentiment about demolishing our former abode. It had not been a nice place to live; it was cold, damp, full of Radon and held no pleasant memories. 
 
Since moving into the new house, every morning we awoke to the sight of it staring back at us gloomily through our bedroom window. It was a miserable place and we actually looked forward to flattening it!  


Looking out from the kitchen, the old house blocked out all the light and greenery.


Since moving out, we'd been using the old house for both storage and as a workshop, so before demolition could begin, we had to clear out the whole thing.
 
After much selling on Ebay, numerous trips to the dump and dozens of trips carrying boxes into the attic of the new house, we'd barely made a dent in the piles of old possessions that were stacked up in every room. It was taking far too long and we needed to get started on the demolition while we had the good weather. And to complicate matters, the blue tits who regularly nest in the corner of the old house had returned and wouldn't be leaving until June...

So we devised a plan to knock down the house in stages. We'd shift all the stuff to one side of the house, where it would remain dry and buy us a few more months to sort through it. And in the meantime, we could begin dismantling the opposite side, well away from our blue tit friends who hopefully wouldn't be disturbed.
 
We finally got started on a crisp March morning.


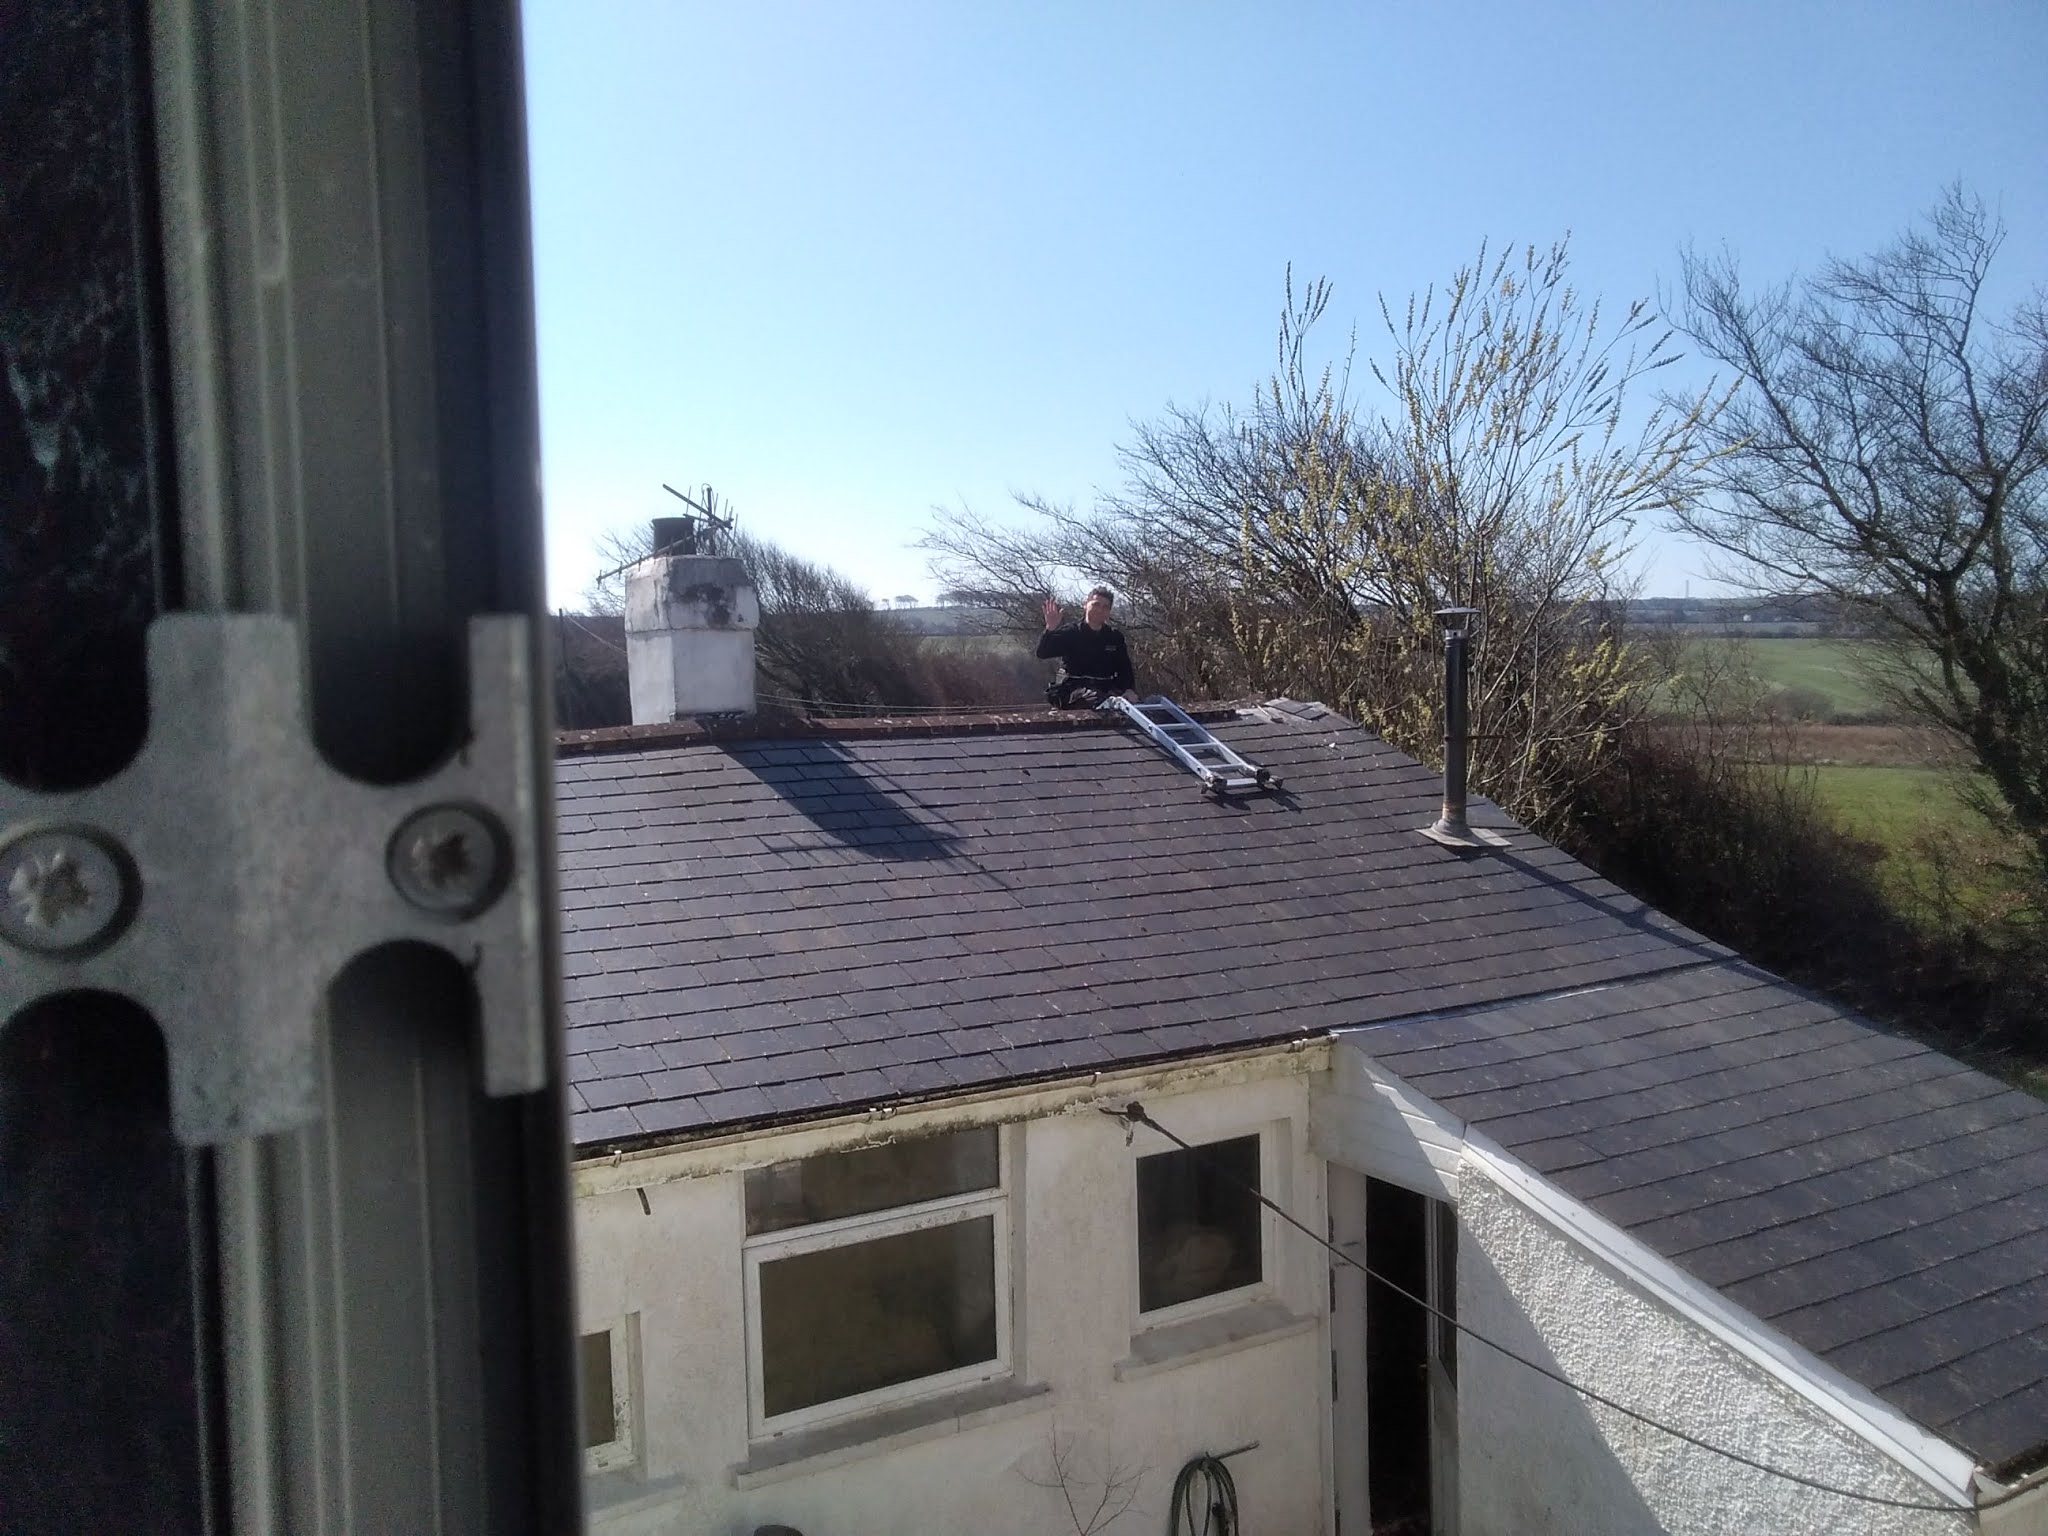
It made sense to demolish the small extension first, but in order to remove its roof, we would need to remove the overlapping slates above it.


We were keen to preserve as many roof slates as possible, in order to sell them. This slowed the whole process as the slates had to be carefully removed, then carried by hand down the ladder.


Once the main roof slates had been removed, we finally had access to the slates covering the extension.


It wasn't too difficult to remove the slates.


Once the slates, battens and felt were off, we could get at the supporting timbers below. Although the extension was a relatively recent addition (late 90's we think), the build quality was appalling, with no insulation anywhere and bodged-together solutions wherever you looked.    


With the supporting timbers out of the way, we could start getting the walls down.


The walls were single skin, so had no cavity and no insulation. Hardly a surprise that the house was so cold and damp then... what on earth where they thinking?
 
It soon became clear that a large sledgehammer was not going to be enough. The blocks were enormous, almost like trench blocks and appeared to have been welded together using just cement rather than mortar; it was built like a concrete bunker and was clearly not going to be giving up without a fight.

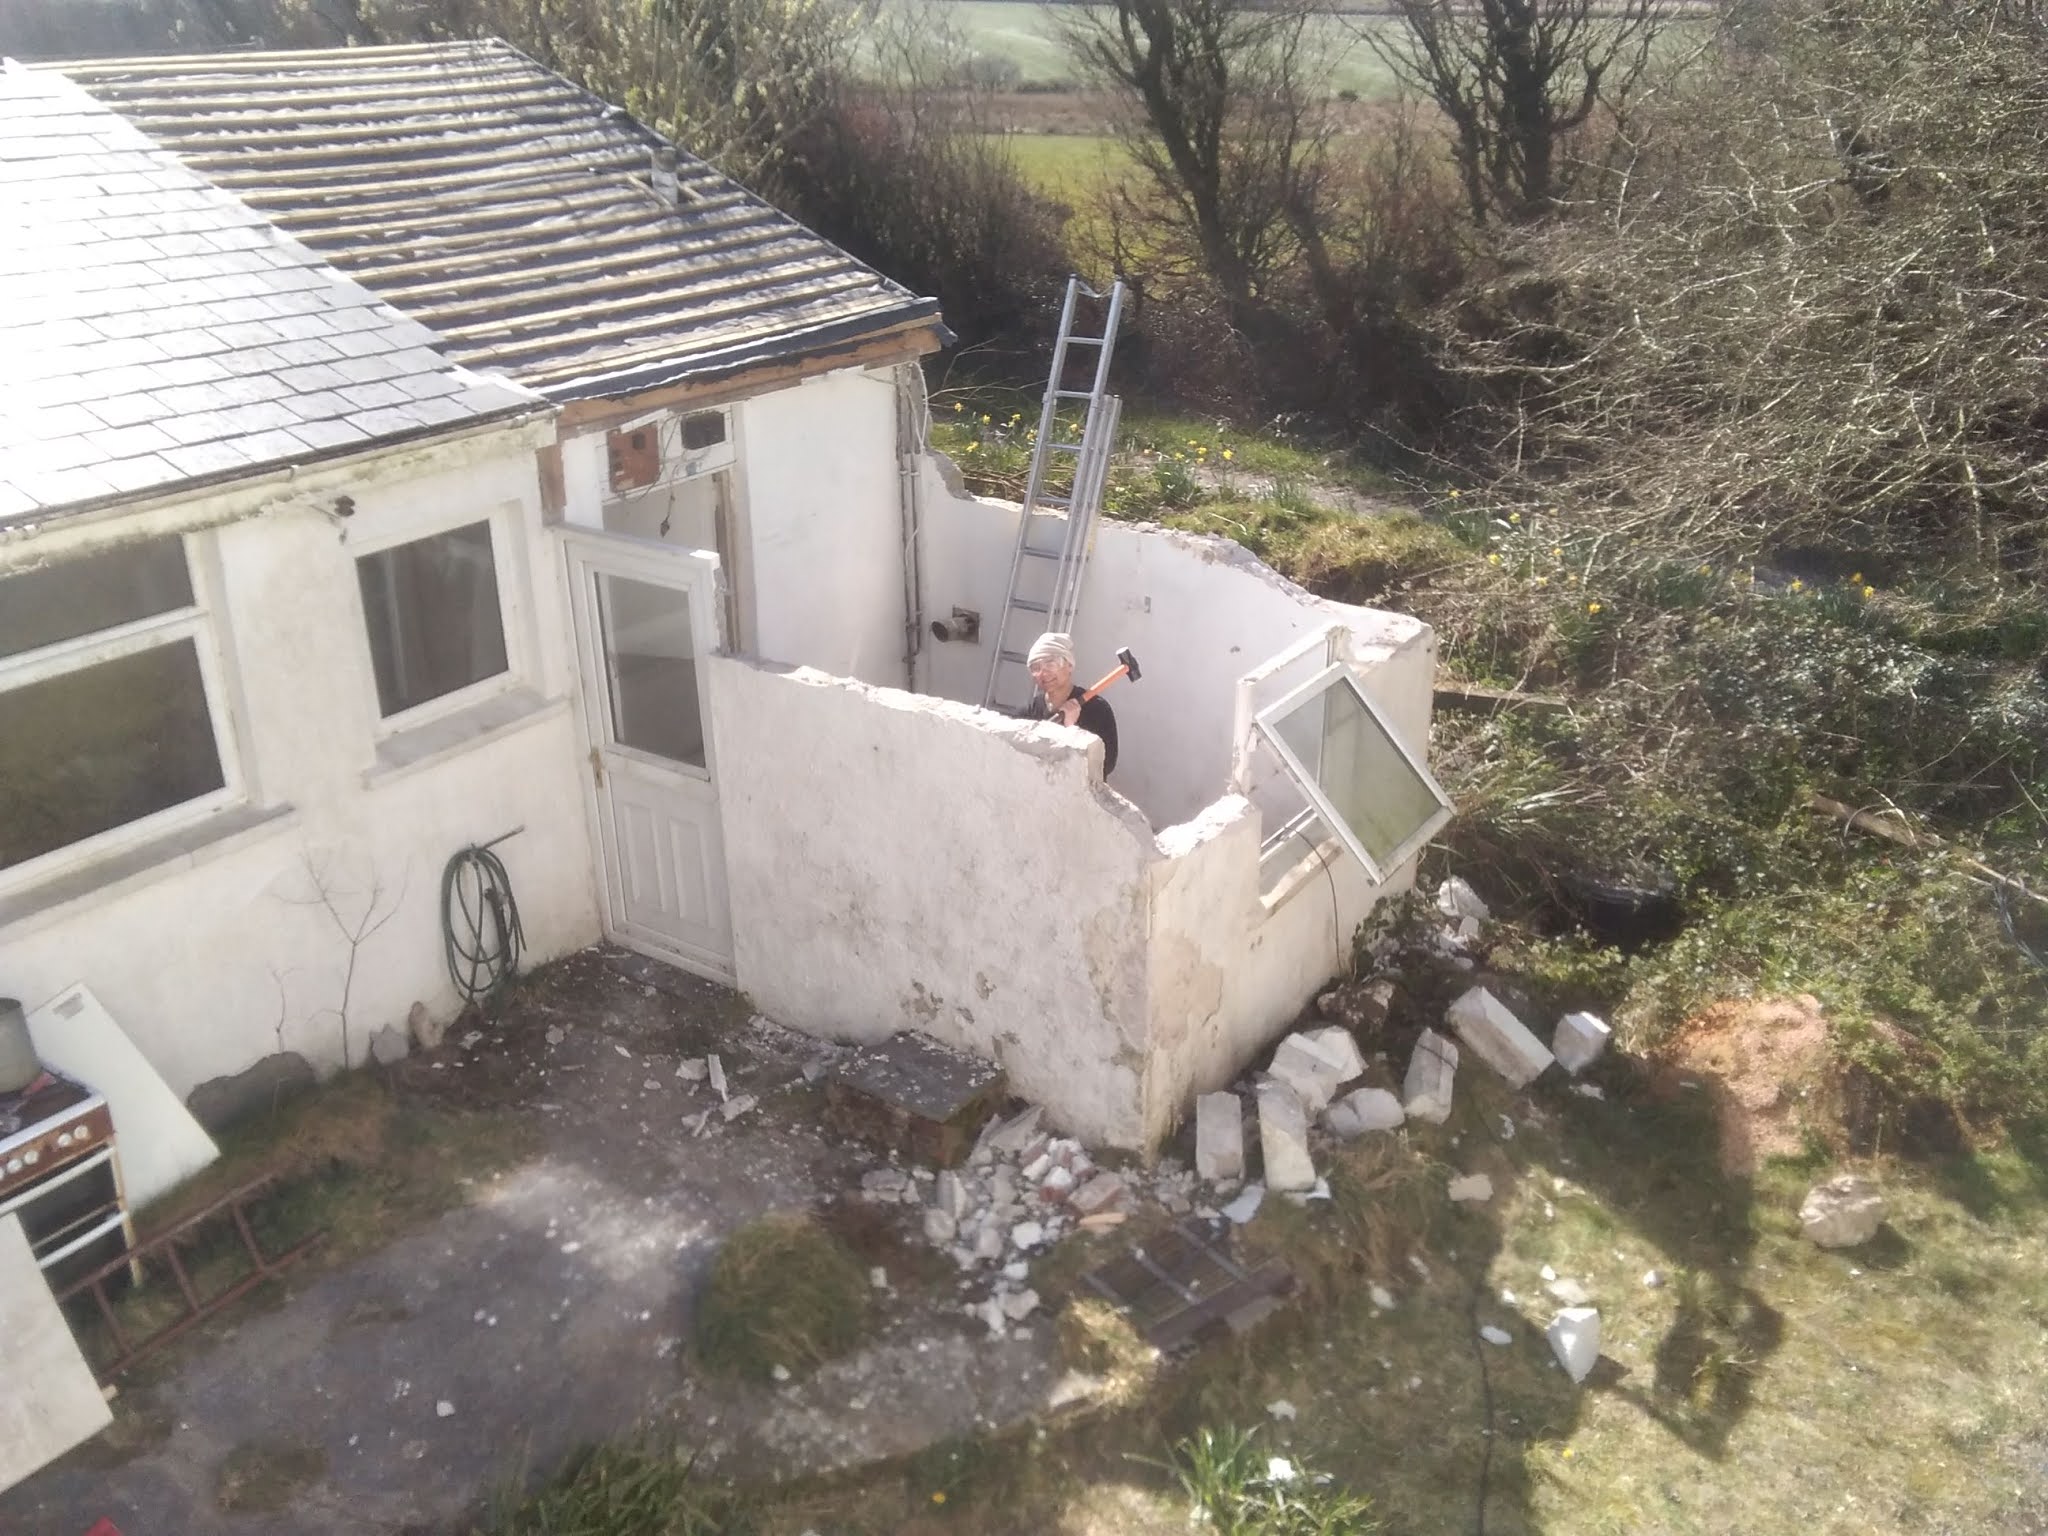


Removing the blocks was painfully slow. It really was like trying to smash through a solid concrete wall and was back-breaking work. Luckily the site inspector arrived and he proved a great help by climbing onto the roof...


...and sticking his head down a hole.


Demolition work had to be paused while attempts were made to entice the site inspector back down.


Regrettably, since he was not wearing the correct PPE, the site inspector had to be forcibly removed from the area.


Using a large hammer drill and a sledgehammer, we managed to gradually prise apart these giant blocks one by one. Not only were they over-sized, but they were also incredibly dense AND layered on both sides with thick concrete render, so were almost impossible for one person to lift. 
 
This job was proving a lot more difficult than we'd hoped; it really felt like the house was resisting our attempts to demolish it at every turn.  


It was a relief to get down to the final blocks. It was clear we'd need to get stronger tools (or even hire a digger) if we wanted to tackle the rest of the demolition ourselves.


The reward for all that hard work was to finally unveil the views that the old house had been blocking. We could now see the winter sun setting over the hills from our kitchen window.  


Saturday, 1 February 2020

Skirting Boards: part 2

Over the following months, we gradually continued fitting skirting boards around every room in the house. Some of the rooms were relatively straightforward, but others were a bit more tricky.

The upstairs landing caused us a few headaches. A few years back, when we fitted the floor, it wasn't always possible to get the oak floorboards absolutely level. We're only talking a couple of millimetres out, so it would never normally be noticeable, however as soon as you lay a piece of skirting board down onto the floor, it shows up every tiny little imperfection...  

The picture below shows a typical example; the floor dips slightly lower as it goes into the corner, meaning we would be left with an unsightly gap under the skirting if we just fitted it without modification. 


The faint pencil line on the left was scribed by dragging a pencil along on a spacer so that it transferred any uneven contours from the floor directly to the skirting. Then we just planed down the edge so that it matched the pencil line and, if everything had been measured correctly, it should be a good fit.


After planing, the skirting board followed the contours of the floor more closely, with no large gaps.  


The newly-scribed board in place under the window, with adjacent boards also fitted either side.


As in the previous blog chapter, we cut and pre-glued the outside corners before fitting as it made it much easier to get nice, sharp corners. Getting all the angles right before gluing took a while as not all the walls were precisely 90 degrees.


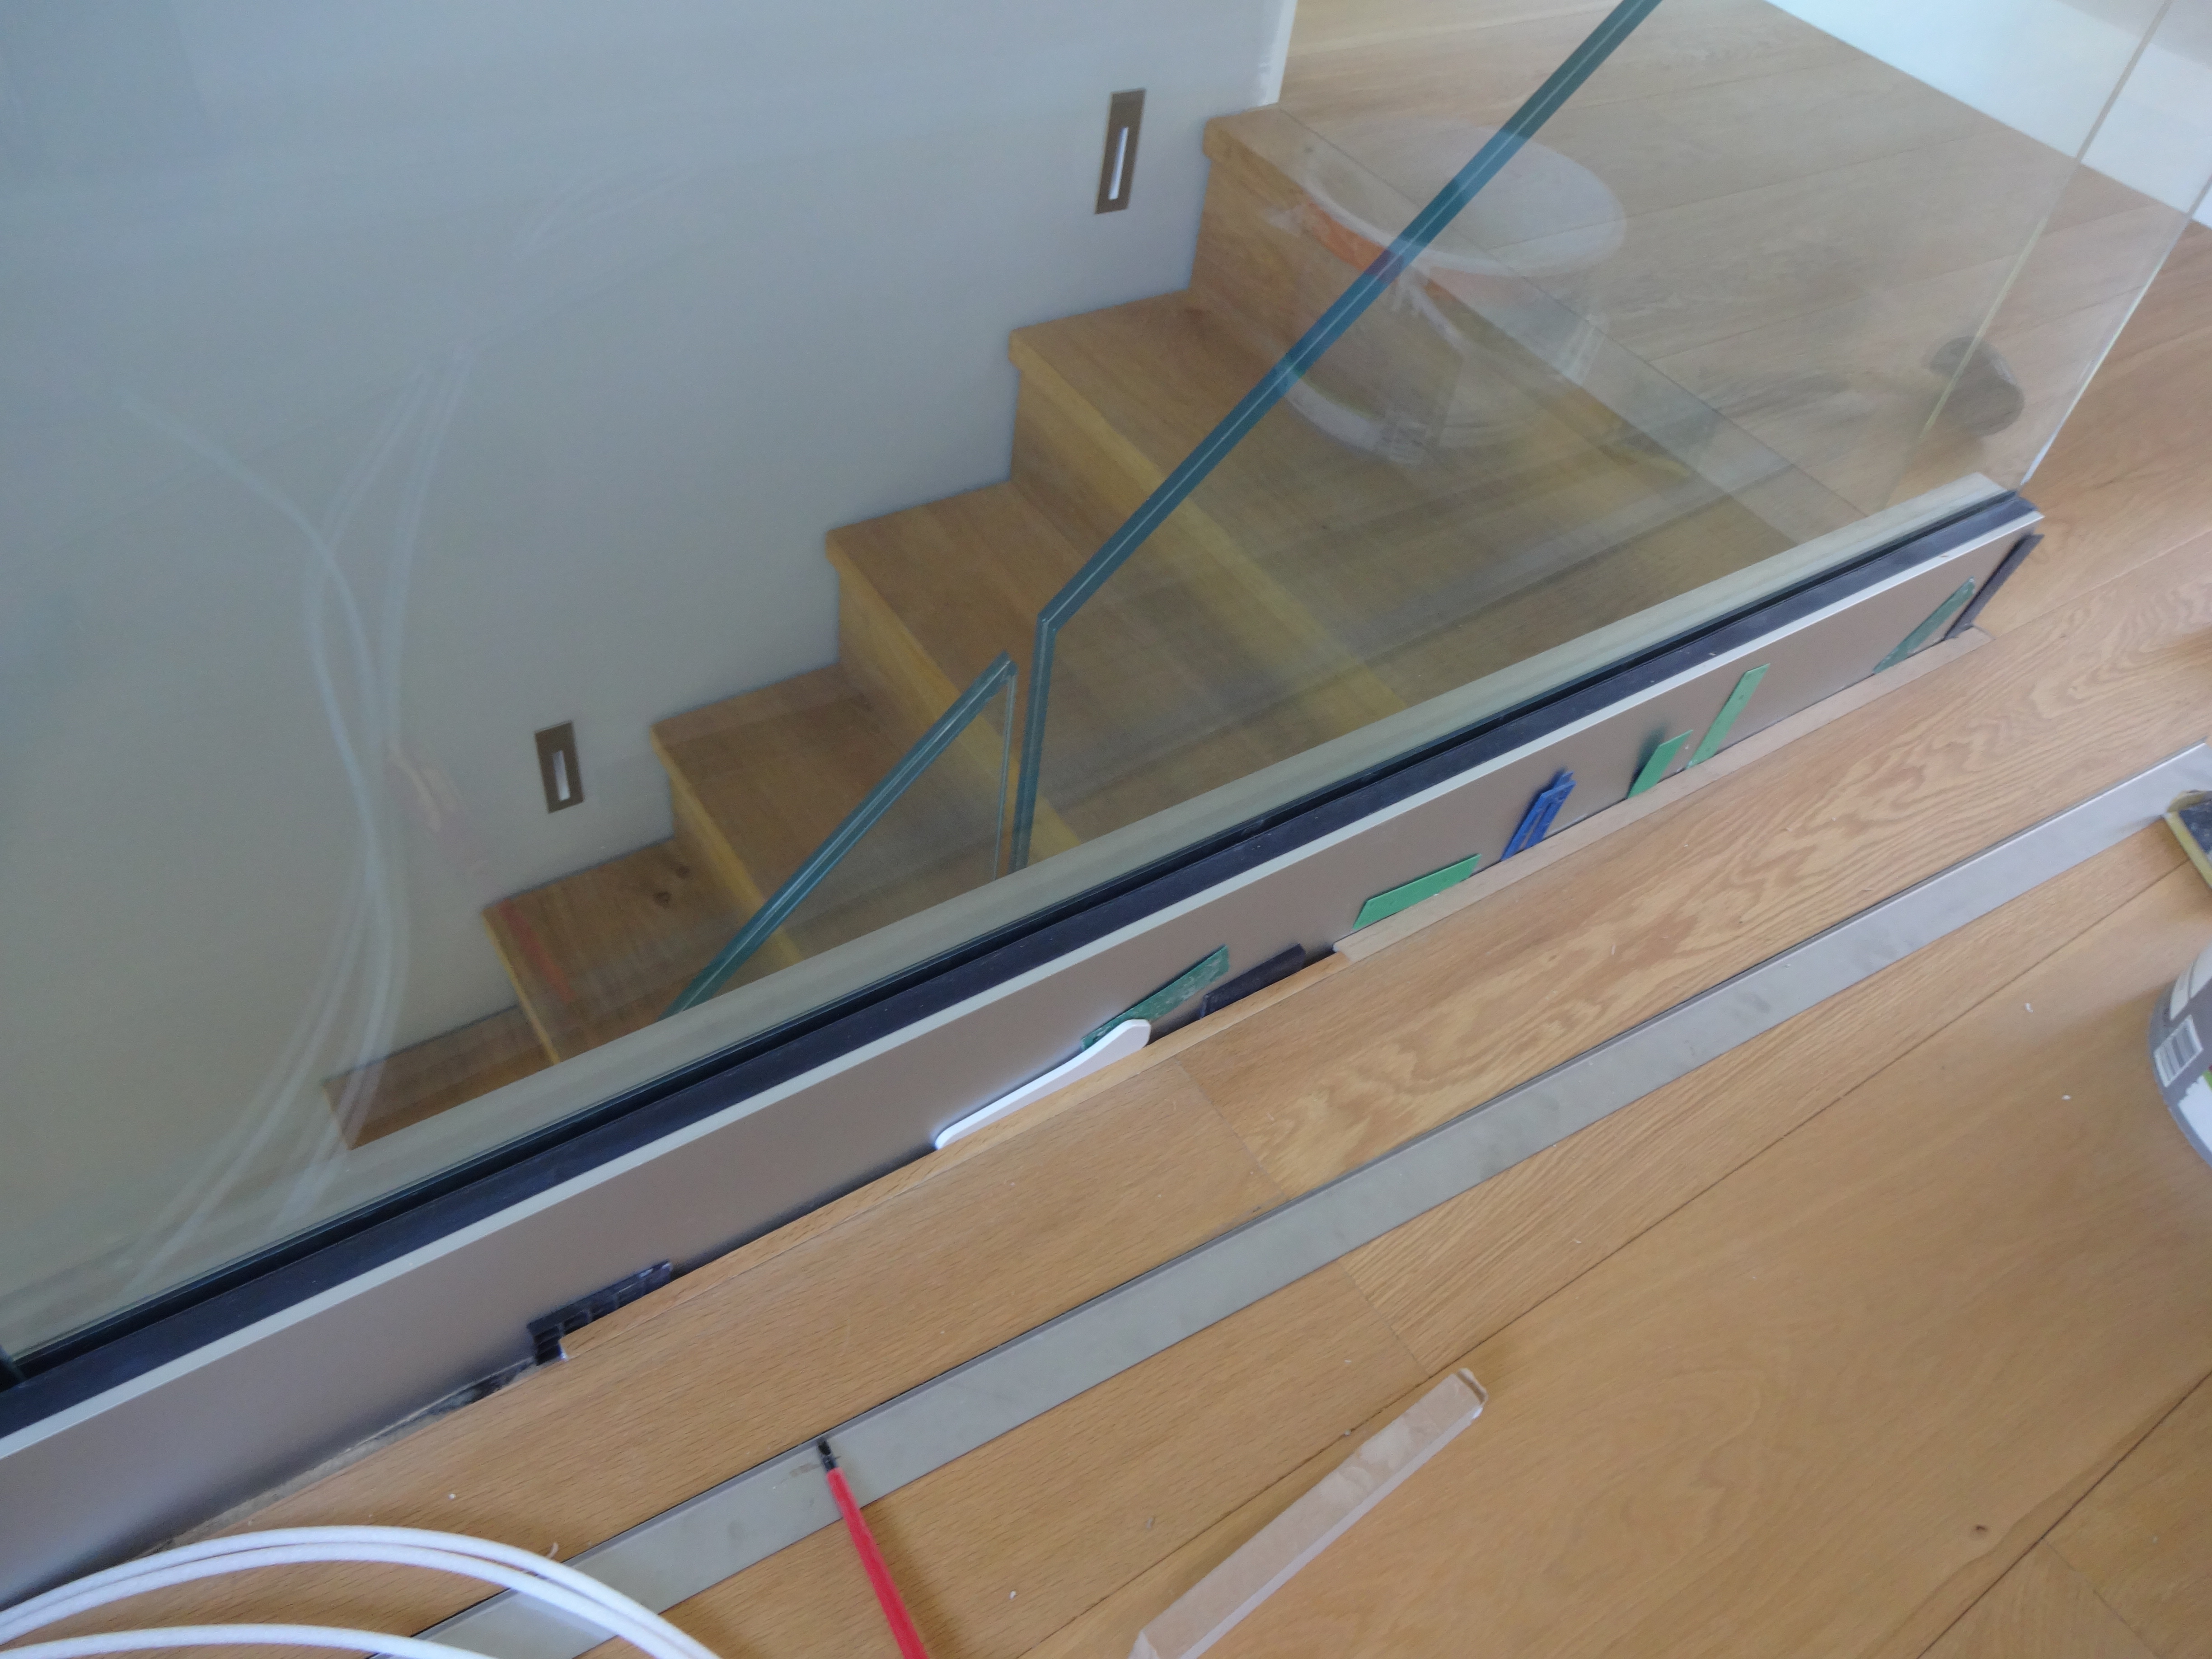
Fitting skirting along the frameless glass balustrade proved the trickiest part of the room. The first job was to fill all the gaps in the floor around the metal base.   


Luckily, we had kept several offcuts of oak flooring to use for finishing and repairs. We cut and glued a thin strip in place at the end of the balustrade.    


We also had to cut some long strips of oak flooring to fill the over-generous gap that ran down one end of the aluminium base as the skirting would not quite be wide enough to cover it. (We were a bit over-zealous with the expansion gaps when we originally fitted the floorboards...oops)   


Once the glue had dried, we applied the same hard-wax coating to the new strips so they matched the colour of the existing boards. You will barely see them when it's finished though, as the skirting will conceal all but a few millimetres.


Same issue at the adjacent wall; once again we had cut the boards with too much of an expansion gap meaning more unnecessary work making filler panels out of oak... 


Another filler panel wedged in place while the glue dried. After this oak strip had been waxed to match the boards, we were finally ready to fit the skirting to the back wall. 


That's the skirting fitted to the back wall under the window. 

Next we needed to make another piece of skirting, slightly lower in height, that would be glued to the side of the aluminium base that held the glass. 


This brushed aluminium base might have looked quite nice left uncovered, if it had all been made up of one continuous length... but to save money we'd used offcuts from the stair design company and that had left an unsightly join in the metal that needed to be covered up.  

Once we'd cut a section of skirting to length, we laid it alongside the much lower metal strip and marked out how much height needed to be cut away.


The sawdust from MDF boards is not particularly good for your health, so (weather permitting) we always tried to do as much cutting as possible outside. 

Here the board has been clamped in place and the plunge saw is poised to trim it down to match the dimensions of the aluminium strip.  


Once we were happy with the fit, this section of skirting could be glued to the metal base. We used clamps and wooden braces to wedge this tightly in place while the adhesive dried.


That's the lower section of skirting glued in place, but that still left an ugly seam visible on top.


Luckily, back when we had the stainless steel kitchen worktops manufactured, we'd thought to have some L-shaped strips custom-made for this purpose.


Again we applied some good quality adhesive (in this case CT1) to the top of the skirting... 


... and glued down our stainless steel trim panel, leaving it clamped and pressed down with heavy bits of wood.


After observing the drying process carefully, the site inspector reluctantly approved our modifications. 


A close-up of the strip glued in place. The bottom of the picture also shows how little of the oak 'filler' strip was visible when finished, but was still important as without it there would have been an ugly gap.


Almost finished. Just need to make a capping piece to fit on the end of the balustrade, where the glass meets the floor (but that will be done at a later date).


Before fitting the skirting, the other side of the stairs needed a small oak filler panel. 


We cut a piece of the oak floor to size and then glued another small section of oak to the front so that the ply would not be visible.


The detail section glued in place...


View from above shows how the filler section was used to match the floor on the other side. It's only a small finishing detail, but it all adds up!


Once the floor was sorted, we could fit the small section of skirting above.As ever, the wood will be filled and repainted (plus the chips on the wall will be taken care of too).


After much faff, the skirting all around the landing was finally done. On to the next room...


For the kitchen, we needed to cut grooves in the skirting alongside the floor-length windows in order to accommodate the blinds. The most accurate way to do it was to make up a 'jig' - essentially a wooden pattern that the router can run along - in order to cut all the boards at once. 


The jig was hastily-constructed out of a load of scrap materials and the workbench consisted of rusty old kitchen appliances; it looked like the yard out of Steptoe and Son, but did the trick...


The skirting boards with the groove cut to identical depth and size.


These narrow aluminium window frames meant that the blinds had to run close to the wall or they wouldn't completely cover the window. But without any grooves, the blind could only come down to the top of the skirting, leaving a big gap underneath...

When placed in the window reveals, according to our measurements, the grooves should be in exactly the right place for the blind so that it can drop all the way to the floor.


Phew! It worked.


Once we were satisfied that all the blinds worked as planned, we could get on with fitting the skirting. Here's two sections trimmed to size and mitred ready for screwing into place.


Drilled and screwed.


And filled and painted. The grooves are hardly noticeable once painted to match.


Working our way around the room. Another tricky section cut to size...


... then fixed, filled and painted.


Really pleased that the blinds drop neatly into the groove without any need for adjustment.


Having to cut grooves was a bit of a pain, but were another of those little details that were well worth the effort as the blind looks so much neater running close to the wall and floor.


The angled larder door required a slightly unusual treatment for the skirting.