We managed to find some Brazilian slate paving stones online at a discounted price and because we were laying them spaced out in a "stepping stone" effect, were also hoping to get away with using just one crate load.
They were really good quality and perfectly matched the colour of the Brazilian slate roof tiles - which kind of made us wish we'd also used them for the path instead of the concrete block paving. The landscapers laid them out roughly first, so we could suggest any tweaks or adjustments to the layout.

The path snakes its way around both sides of the house from front to back.
This is the west side...

...and roughly how it curves to meet the patio.

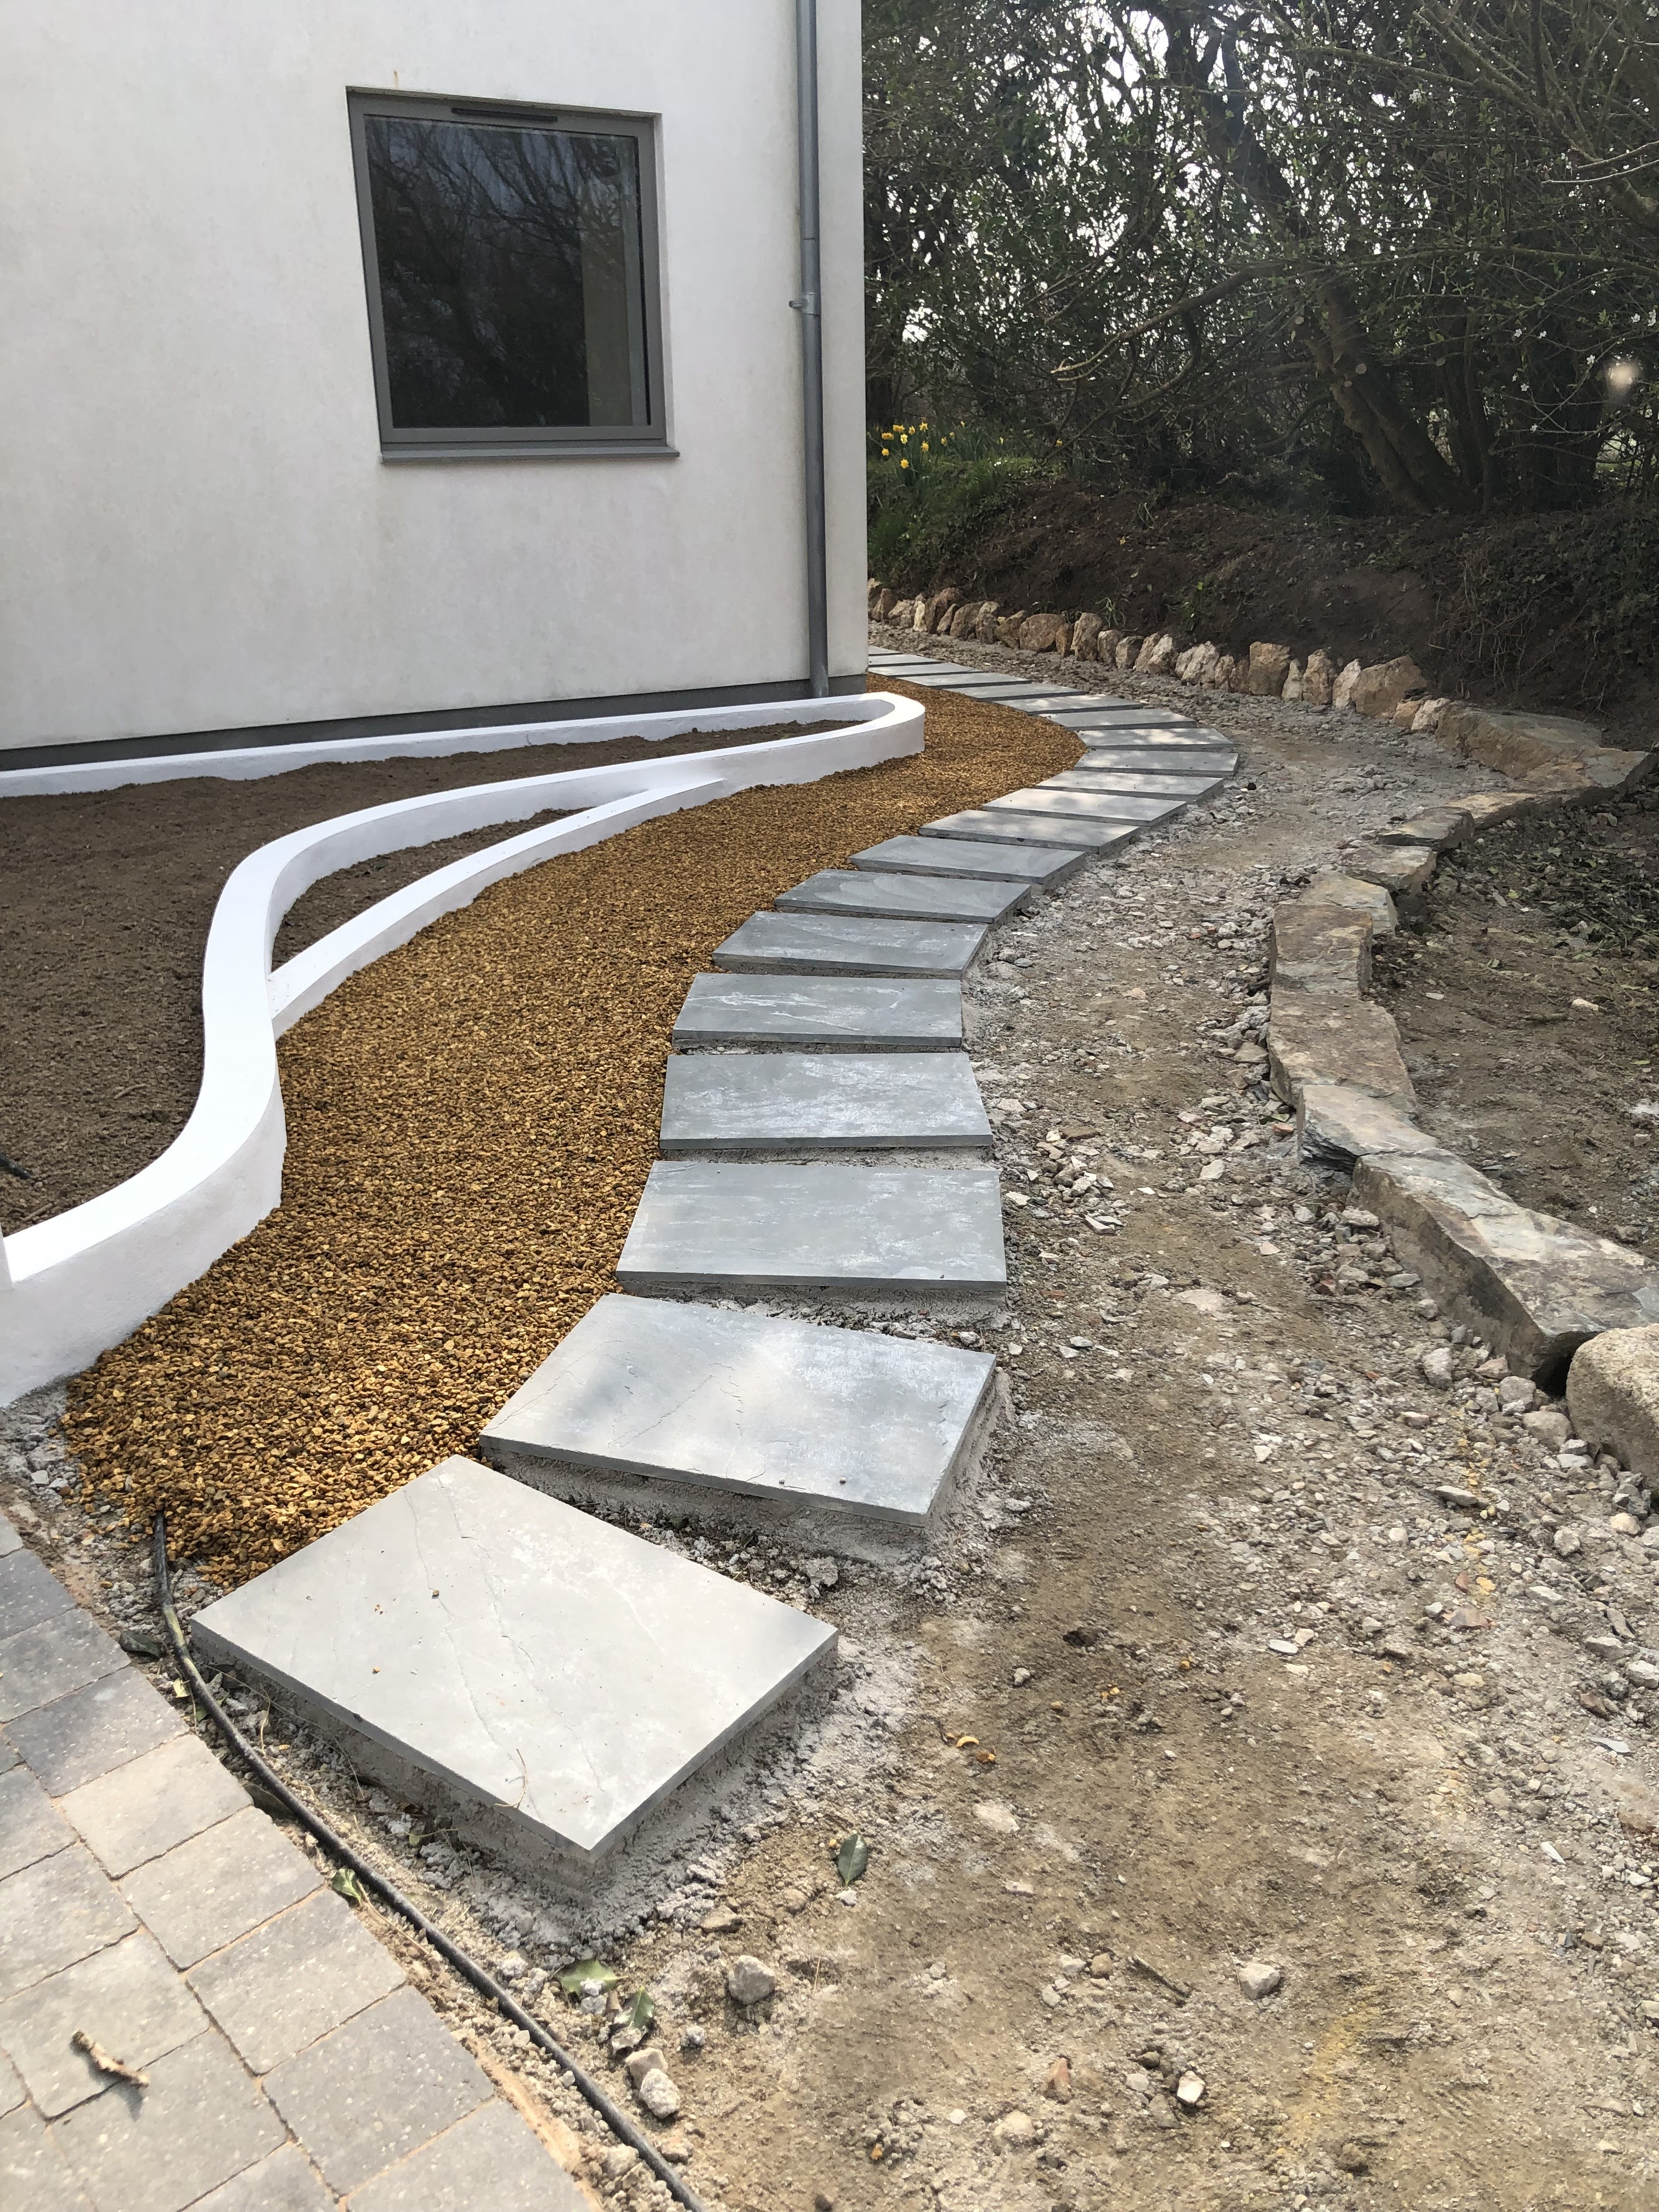
Once we were happy with the layout, the landscapers began cementing them down into place. (The picture also shows the armoured cable that we fitted in order to install garden lighting at a later date).

The front part was cemented first...

...and progressed around the side. Each slate was carefully adjusted to make sure the spacing and level was correct before being cemented down.

The last part of the west side path fixed into position.

There will be another flower bed on the right of the path and we will need a border to hold in the gravel, so we placed bricks to roughly mark out the area.


We wanted to have a hard border to separate the grass banks from the gravel, as we had done on the east side (see previous post), so we re-purposed some more of the old quartz stones that were dug up from under the old house.
Once again, this was something we did ourselves at the weekend to save having to pay the landscapers (who were reluctant to do it anyway because it hadn't been in the original plans).
This big triangular slate was too good a shape not to use... we used it
as a corner-piece to mark the end of the slate flower bed border and the
beginning of the quartz.

Most of the big slates used here and around the pond were part of the original foundations of the old house, so it was really nice to re-use them here.


As on the east side, we dug out the bank in order that the quartz spar stones would be embedded and look as if they had always been part of the base of the bank.
(The grass bank looks a bit battered in the middle because we'd removed a huge section of ugly concrete that had been part of the model railway layout that ran around the whole garden in years gone by - we will sort that later).

Once we'd got all the quartz stones in place, we did our best to clean up all the spilled soil as we didn't want plants growing through the gravel that will surround the paving stones.

Much neater... though that bare bit of bank will need a bit of re-planting

It was the same process for the side path on the east side.

As before, the slates were laid out roughly...


...all the way round to the patio.
We'd also marked our design for a curvy flower bed using some old heating pipe and the landscapers used this as a template for the walls.

It looks a little more cluttered on the east side, due to the heat pump and the two new air-con units, but the benefits of having a lovely cool house more than made up for that.

The paving was cemented down as the curvy flower bed wall was being built.

The landscapers had saved any good topsoil from the excavations around the old house to use in the flower beds and some of this was piled up inside the new walls in preparation.

The whole thing was looking so much neater already and we could really get an idea of how things were going to look when it was completed. It made such a pleasant change after living on a messy building site for so many years.

We were really pleased with our design for the curvy walls for the raised flower bed. Similar to the flower beds at the front of the house, this wall was rendered and then painted white.


The landscapers brought several samples of gravel with them and were pushing us to use some very dark gravel that they'd used before. After the letdown with the block paving, we didn't want to be pressurised into making a rushed decision, so took some time out to drive to a (not very) local gravel supplier and choose some for ourselves.
We really liked the way the golden gravel looked around the pond, and how it seemed to glow warmly in the sun, so were pleased to find the suppliers also stocked similar gravels available to order by the tonne.

The dark gravels and grey granite were produced locally, so were cheaper, but they all looked a bit miserable on grey days, so we chose to use two different types of golden flint (brought in all the way from sunny Kent!)
...10mm for the paths (which felt nice and soft underfoot)...

...and the bigger 20mm size for the driveway (so it doesn't get stuck in car tyres and get lost everytime you drive away).

A lorry load of 9 tonnes of loose 10mm golden flint was duly delivered to site and the landscapers used wheelbarrows to spread it around the side paths.

The raised flower bed had been rendered by the landscapers and painted by us before the gravel could be laid.


A powdery dust covered all the gravel, making it seem much more orange than it was.
Over the following weeks, we gradually washed it down with a hose to restore it to its normal, lighter colour.

It is possible to buy tray lids for the square drain covers. These can also be filled with gravel to disguise their appearance, but were really expensive so might be something we do at a later date.


We used granite cobbles from a local supplier for borders and another flower bed. The landscapers cemented these in place to act as a retaining border for the path gravel.

We added more quartz stones under the honeysuckle and jasmine bushes to provide another neat edge for the gravel and after that, all that was left was to fill in the gaps

As a break between the fine path gravel and the larger driveway gravel, we were going to have two small areas of grass, once again bordered by the granite cobbles.

It seemed quite shallow, but the landscapers reckoned it would be fine for growing grass.


Topsoil was sifted and placed into the new half-moon flower bed and the small grass bed.

More topsoil was also added to the large flower bed at the side.

Some areas were left clear of gravel to allow easy traffic for the wheelbarrows, but once all the heavy materials had been shifted to the rear of the garden, the gaps could be filled in.


The design incorporated a strip of decorative pebbles between the patio and the pond. Once again, a line of granite cobbles were used as a border to hold them in place.

The landscapers laid down a membrane to prevent plants growing through, then the pebbles were used to fill the space.


We were quite pleased with the pastel colours of the pebbles. For variation, we also bought a selection of larger pebbles to scatter around the area, but these would be added after planting.

Before the landscapers completed the patio steps, we painted the newly-built and rendered section of wall behind.

The porcelain tiles for the steps had a bullnose profile (rounded). This was a custom-order that cost a fair bit extra and caused a long delay in delivery.

Some of the bullnose tiles had darker edges than others. Considering the large extra cost and long waiting times, we weren't all that impressed by the quality...

... but the overall effect worked reasonably well.

The last job on the patio was to fill all the gaps between the tiles with grout.

We didn't want to use a dark grout and were pleased that the colour we'd chosen matched the patio tiles pretty well.


We were pleased with the look of the finished patio, especially once the winter sun started brightening things up.
