The original plans that the landscapers presented for the front garden were rather disappointing, so once again to try and show the kind of thing we were after, Vicky sketched out some ideas to use as a discussion point. The landscapers were extremely enthusiastic about her rough plans and immediately decided to adopt them into the design.
The landscapers drew up new scale plans on their 3d modelling software, and presented it on a laptop which allowed us to 'walk through' the whole thing from various angles.
Screenshot of new design:

That colourful garden design looked a long way off... the house looked rather stark and grey, surrounded by tons of crushed stone.

The curvy design for the flower beds was marked out on the ground using spray paint.

We specified a back wall being built to keep the flower beds (and potential source of damp) completely separate from the walls of the house. We planned to fill the narrow channel in-between using decorative gravel, which would also double up as a drainage channel.


We wanted something curvy and assymetric to offset the straight lines and symmetry of the front of the house.
One side done...

...and on to the other.

The walls of the flowerbeds didn't take long to build.


We ran an armoured cable at ground level so that we could fit lights at a later date. With hindsight, this was probably overkill, as many garden lights are now low voltage LED so it's perfectly safe to use much cheaper rubber cable.

Although shallow, the flower beds should be able to hold enough soil for all the plants as these are all intended to be relatively small.

The walls were going to be rendered and painted white to match the finish of the house, so beading was added to all the edges.


The design also incorporated a sloping path built to the front door.
Building regulations specify that all new build houses should provide wheelchair access. It was crucial to get this right, as it was something that the Building Inspectors still needed to sign off.

We had previously used a large piece of slate to make a front door step (see this post) but we decided to remove this in order to build a new, unified path.
Once again the path was marked out with paint; some of the hardcore would need to be removed in order to get the right angle for the slope.


A scratch coat of render was applied to the back walls of the flower bed...

...and also to the walls on either side of the front path.
A layer of fine hardcore was used to create the slope to the front door. Building regs are quite strict about the maximum angle of the path and also specify a level area by the front door (to allow a wheelchair to stop without rolling back).

Scratch coat on the path walls:


As we live in such a remote area, most of the building products we buy have to be ordered online. This can be useful for shopping around for a good price, but not so useful when the pictures don't represent the product accurately... this was the case with the block paving.
We were under pressure from the landscapers to get these materials ordered as soon as possible. But thanks to the great Covid/Brexit debacle, everything we wanted was either out of stock or had tripled in price (or both!).
The landscapers recommended these concrete path blocks - they were in stock, relatively cheap and looked good in the photos online - so we ordered them.

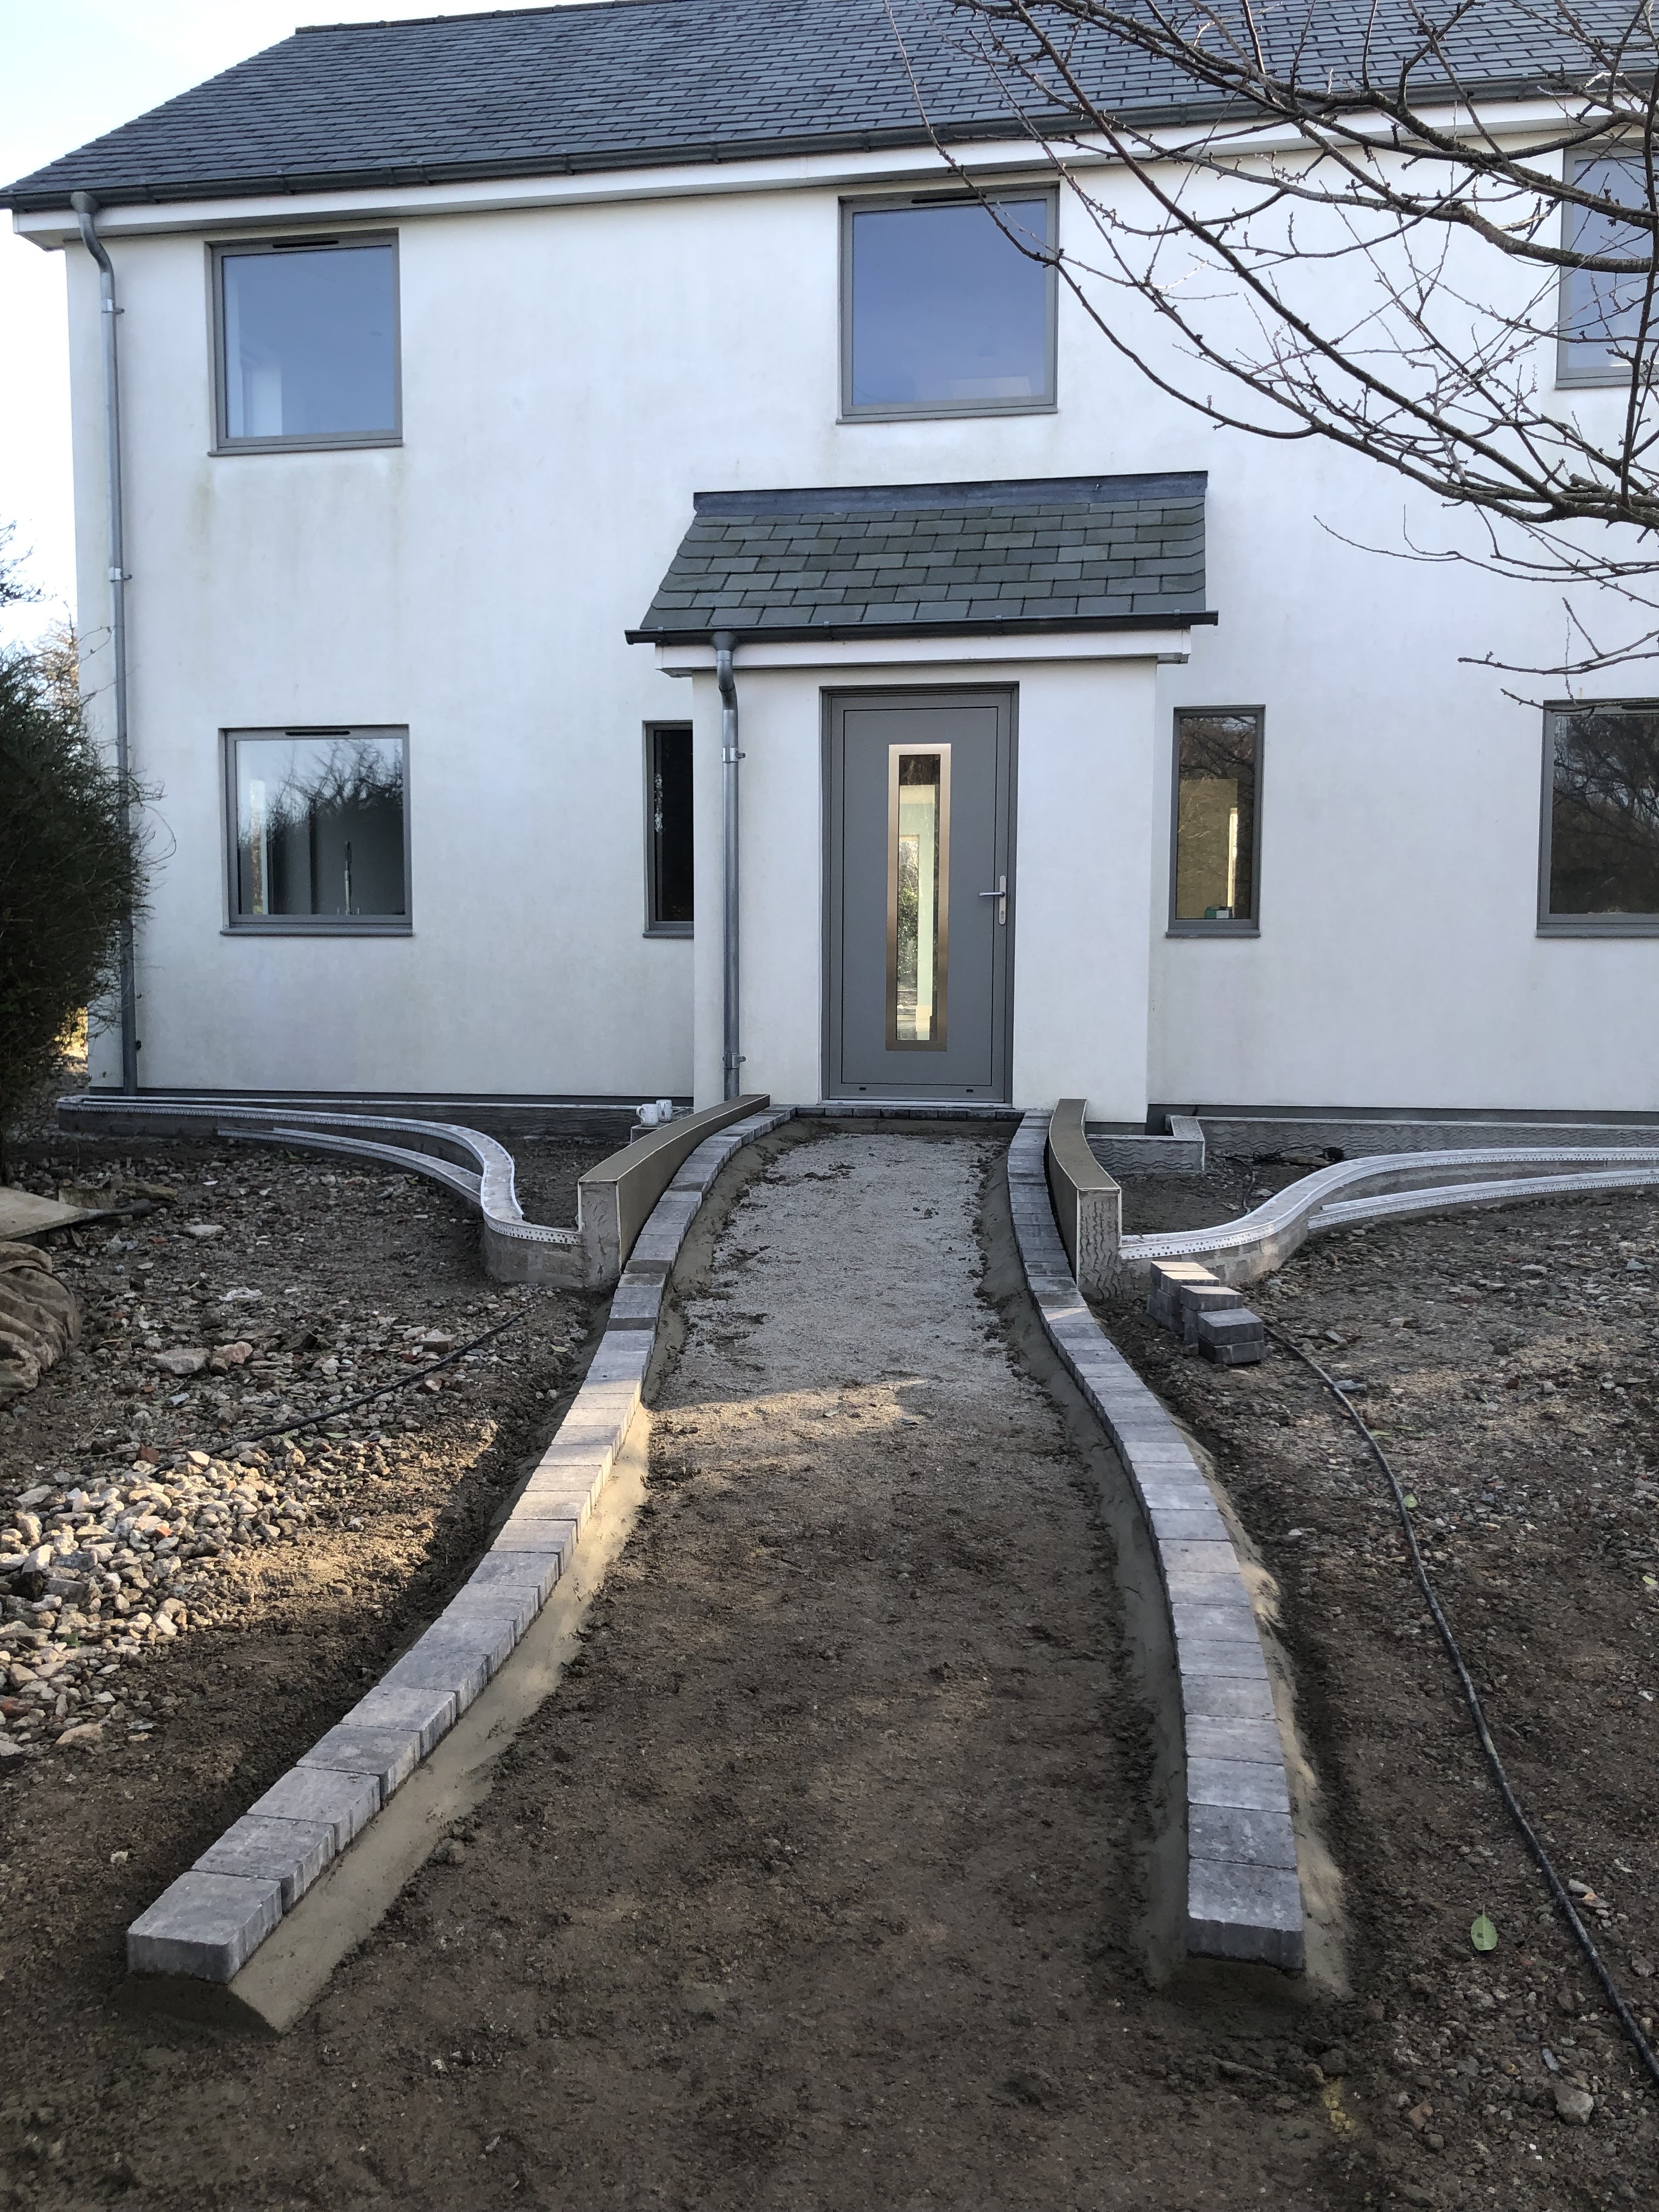
They started out by cementing all the blocks that ran around the perimeter of the path.

Once the block paving was down, it was clear to see the level area by the door required for the wheelchair access...

...with the path gently sloping and snaking down to the edge of what will be the driveway.


The rest of the paving blocks are just placed onto a layer of sand, set out and levelled using a mallet.

The blocks are light grey but look a lot darker after getting wet in the rain. The overall effect looked OK but was not quite what we were after and with hindsight we wished we'd gone for a natural stone instead.
Also we'd expected the blocks to be laid in an offset pattern but the landscapers just set them out in a grid instead. It just wasn't the layout we had agreed upon and we were disappointed with the results.
Still, since most of the blocks are just sitting on sand, it's something we can always change at a later date if we still feel the need.


The flowerbed walls needed to be painted before the planting, so as soon as the render was dry we got painting.

Oh dear. It's only the first coat but it showed that the rest of the house was in dire need of a good clean and a repaint. We'll get that done later in the Spring once the weather starts getting drier.
