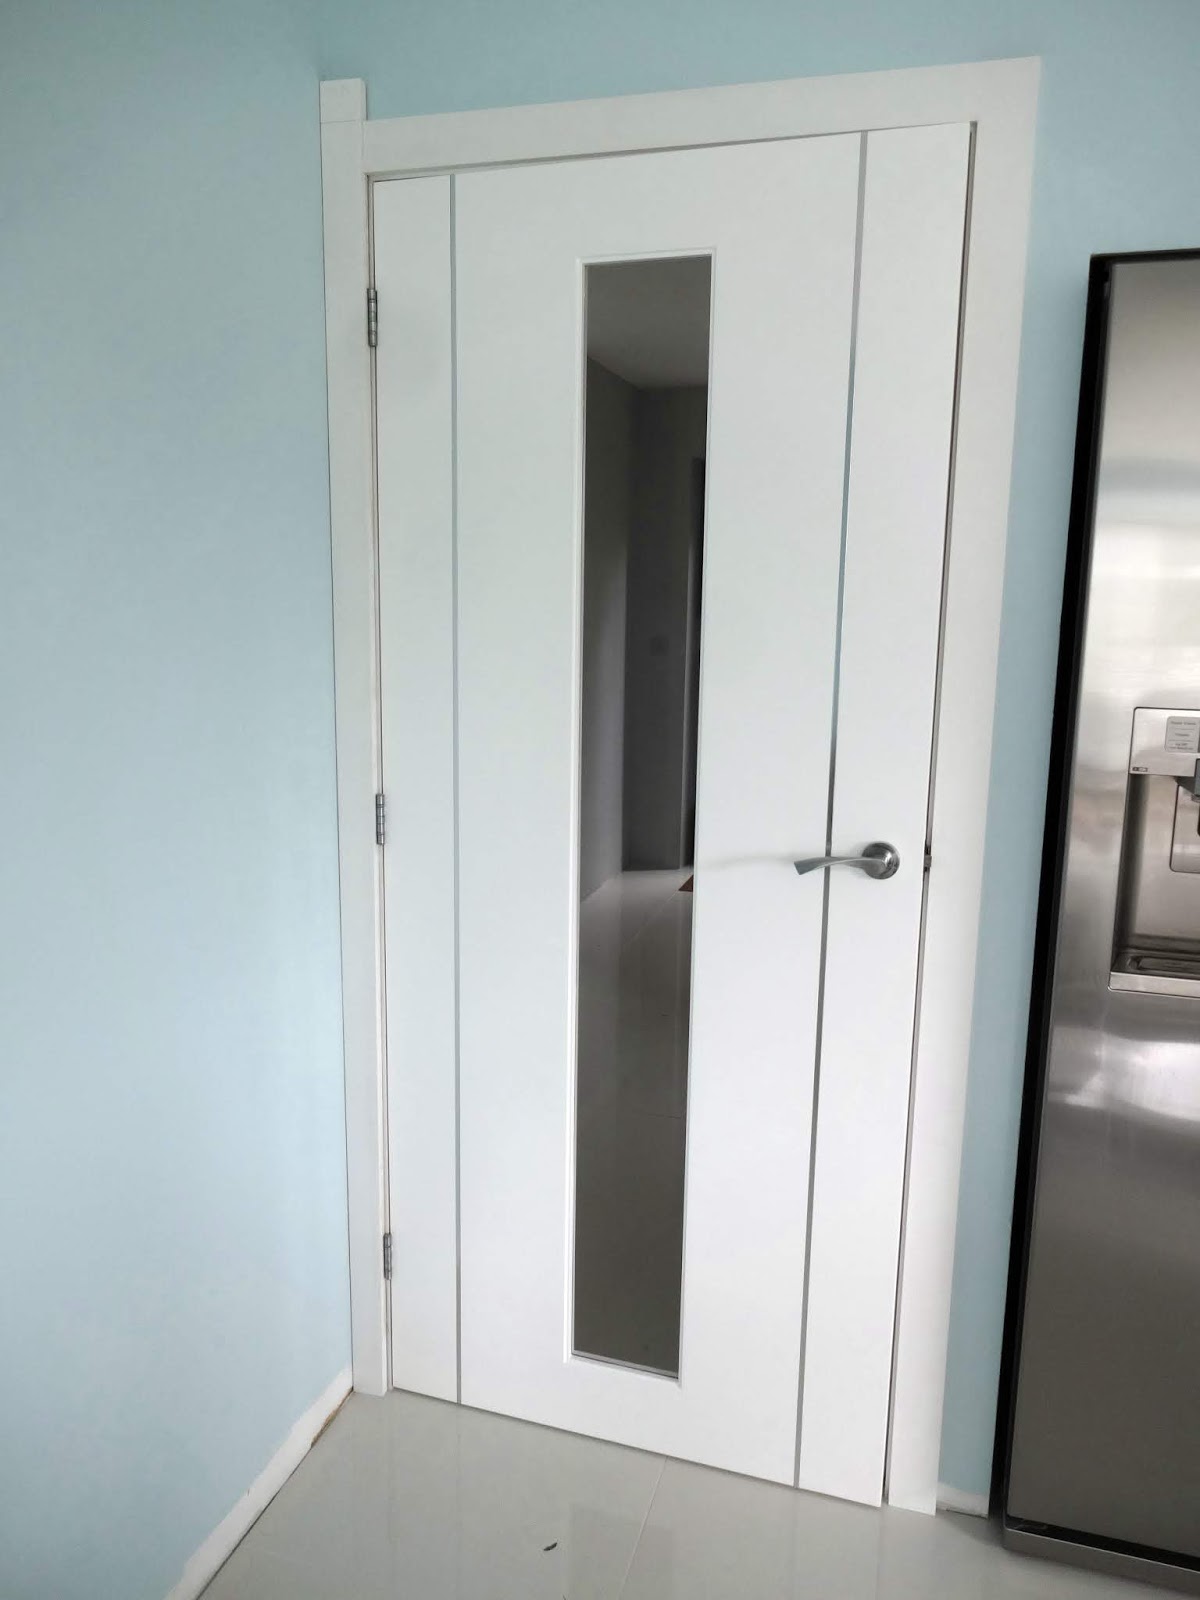
We concentrated on getting the easy ones done first, like this one in the kitchen. We found the best way to get a precise fit was to clamp the top section in place and cut the side pieces so that they lined up.

Once painted, we screwed them in place using 'lost-tite' screws.


The 'lost-tite' screw heads are tiny and the holes are easy to fill.

We used two layers of wood filler; a coarse filler first...

The coarse filler expanded slightly when dry and sat proud of the holes (as pictured below). After that, we sanded it flat and filled again using very fine (almost liquid) wood filler to cover up any tiny imperfections. One last coat of paint and any holes were completely invisible.


We worked our way around the house putting up architraves; this is the office door (before the holes had been filled)...

... and same thing in the lounge.

As ever, we encountered plenty of unexpected problems. Some were easy to put right, others took a good deal more effort.
Outside the main bedroom door, we discovered we'd been a bit too generous with the expansion space for the floorboards, so needed to cut a small piece of oak flooring to cover the unsightly gap before fitting the architraves.


That did the trick. When we fit the skirting boards, they will cover the rest.

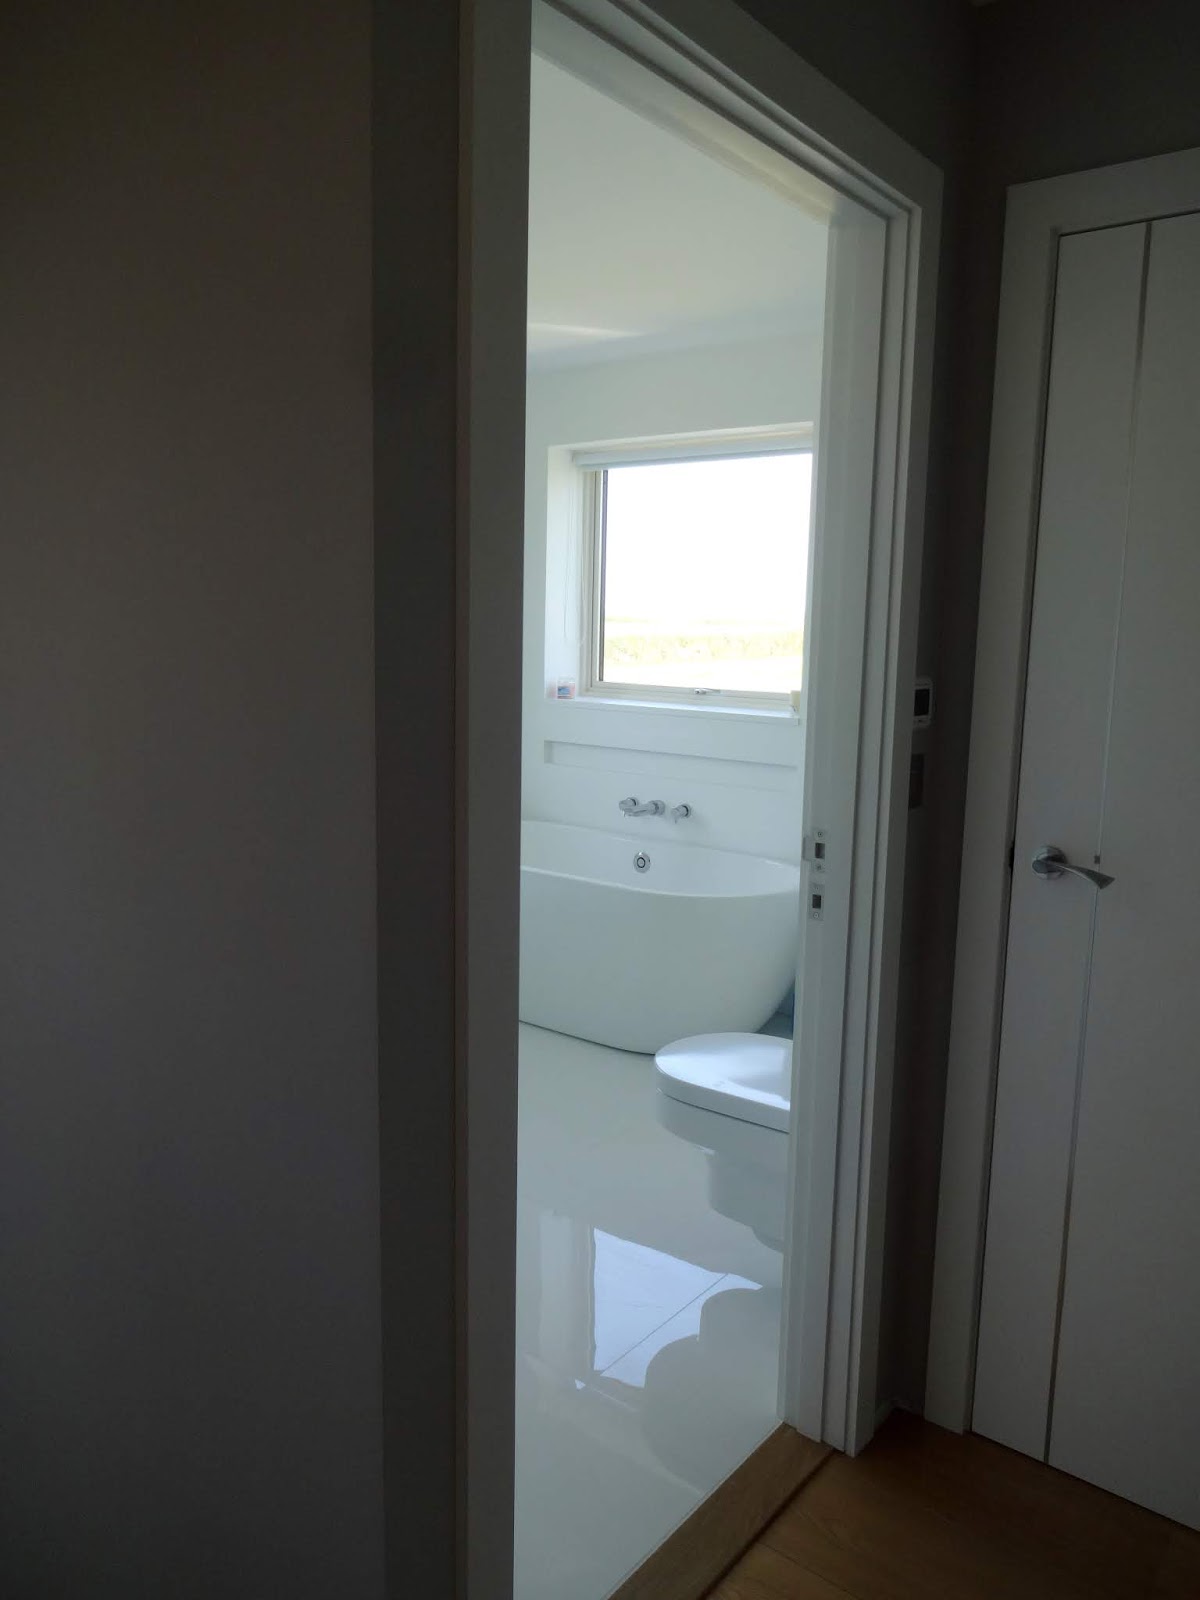
A trickier problem was where our Fermacell walls jutted out beyond the door linings, like inside the en-suite bathroom.

No matter how hard we tried (and we really tried) it was not possible to get every wall and door lining perfectly aligned. Some edges sat proud of the lining (see below) and that caused us issues when it came to fitting the architraves.
If it was slightly out, we could just sand the walls down, but the Fermacell is a tough, cement board and would raise huge clouds of fine dust that spread mess all over the house so it wasn't very practical. (We should have done it before we moved in, but being new to house-building didn't realise this would be a problem).

After some thought, we decided it would be easier to cut grooves in the back of the architraves using the router.
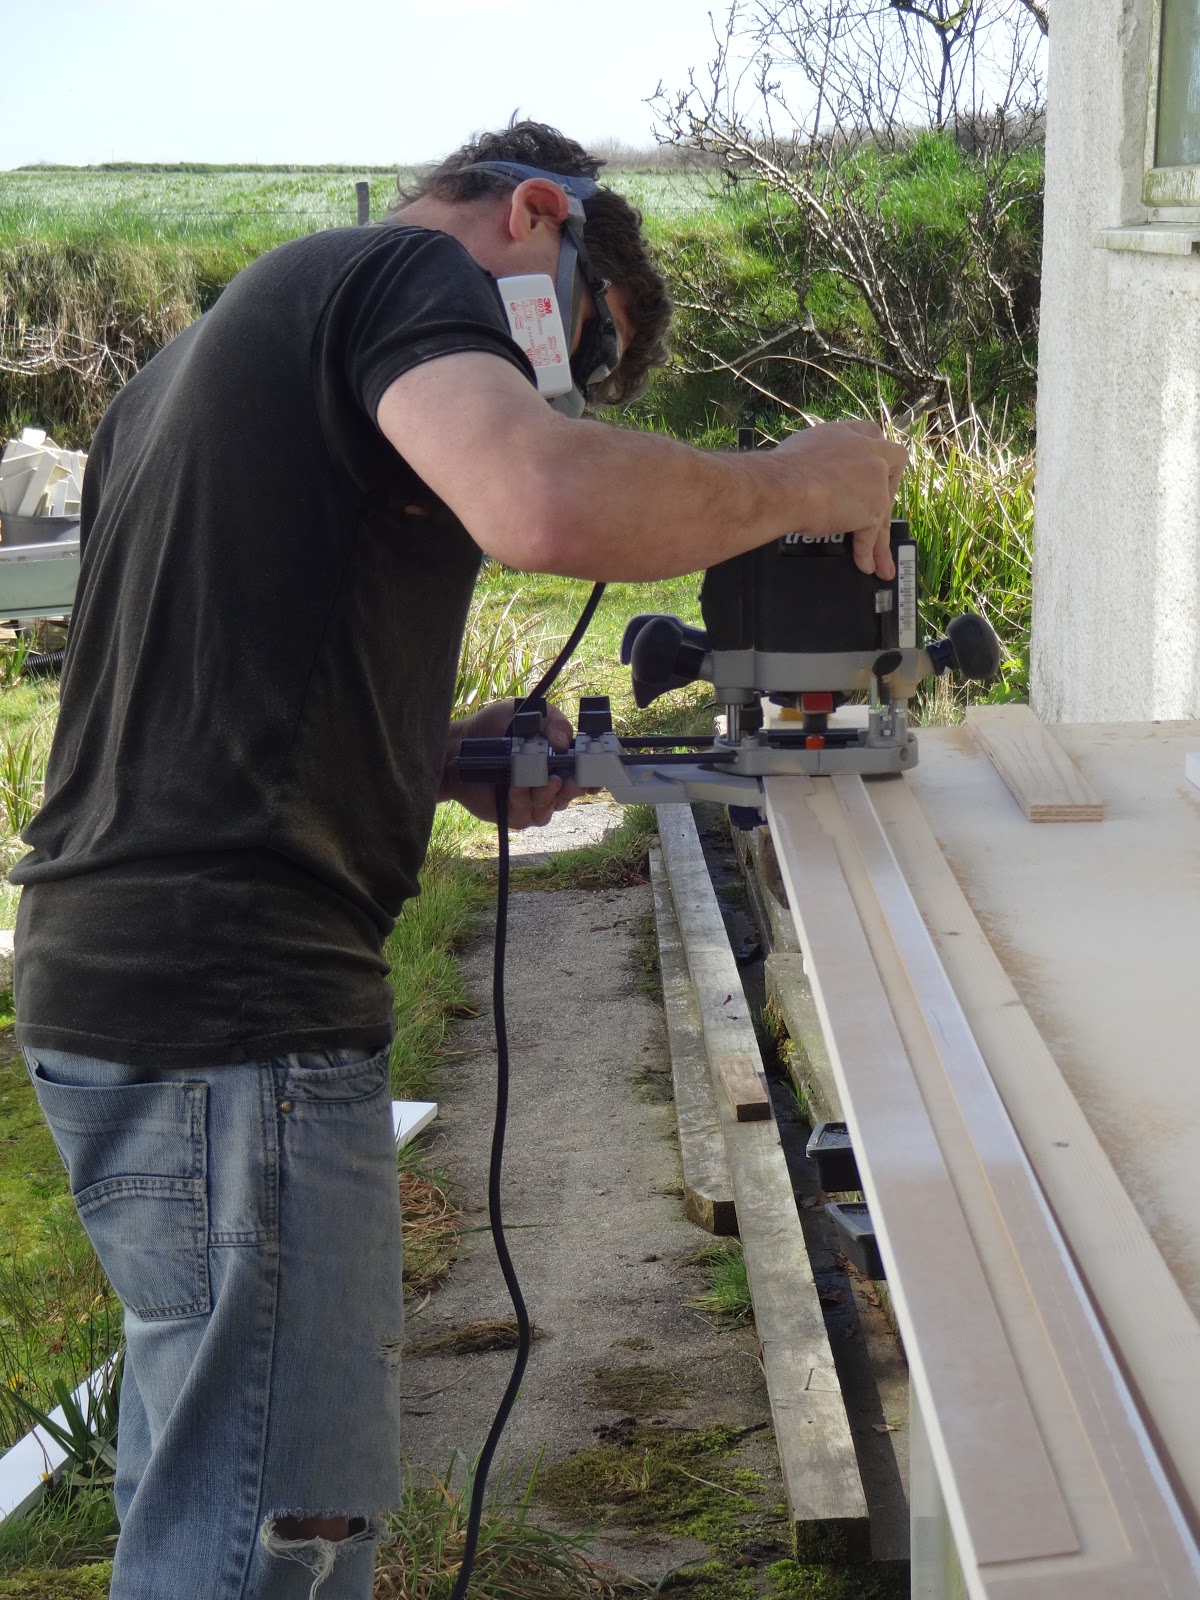
The grooves allowed the architraves to sit flat against the wall.

The en-suite also threw up more issues as we needed to cut out a section to fit around the bathroom counter top.

After much faffing about cutting and trimming grooves, it could finally be clamped in place.


Got there in the end... nobody would know how much aggro this little architrave had caused!

The main bathroom had an even bigger problem for us to solve.

We had a serious overlap to contend with here, with the wall sticking out proud of the lining by a huge amount.

After much head-scratching, we decided to employ some left over door stops to fill the gap. These were carefully trimmed to size and glued and pinned in place...

... then sanded down until no perceptible joint could be felt.

Same at the top. This was a bit trickier as the wall sloped in, so we needed to plane a tapered edge into the timber to match.

Once we'd painted the door lining, the architraves could be fitted as normal with no nasty ridges to deal with.
Thanks to our modifications, the bathroom door lining was now slightly wider than any of the others on one side, but it really was impossible to tell that any corrective work had taken place.


Once again, being new to house-building we hadn't realised how (frustratingly) imprecise house plans were. Although everything is planned out to the millimeter before construction, the tolerances for the actual building and materials meant that some of our walls ended up wider than they should have been.
("Oh really?")

Which meant that some of the carefully-designed gaps between the wall and the doors were now smaller than they should be...
("Mmm yes I see [yawn] that's very interesting")

... so we would have to cut many of the architraves down their length and shape them to fit the contours of the wall.
("Mrmmphhh")

It was going to be a bit of a pain, so we put this part of the job off until the very end
("Zzzzzzzzzzzz...")

No walls are perfectly straight. So the idea is to scribe the exact contours of the wall onto the wood so that it fits neatly in place with no unsightly gaps. (We did consider cutting them straight and filling the gaps but the movement of the door would likely cause the filler to crack and using flexible caulk always ends up looking messy).
To scribe, we clamped the full width section of architrave against the wall...

... and using a plastic packer as a spacer for the width we required, ran a pencil all the way down the wall. This transferred all the contours of the wall onto the architrave and following that, we just planed down the wood outside until it matched our pencil line.

Both sides of the door leading from the utility room to the kitchen needed scribing, but worked out rather well with a nice, clean fit.

We had about ten of these to do (sigh). Same process in the kitchen.


The entrance to the spare bedroom also required both sides to be scribed.

Trickier than the others but we were pleased with how well it turned out.

And finally the main bedroom.


The smaller width architraves aren't that noticeable as they are often hidden behind the doors. Though next time we will save ourselves a lot of work and make sure we design the openings with more generous tolerances.
With the architraves completed, we'd finally finished off all the doors.
