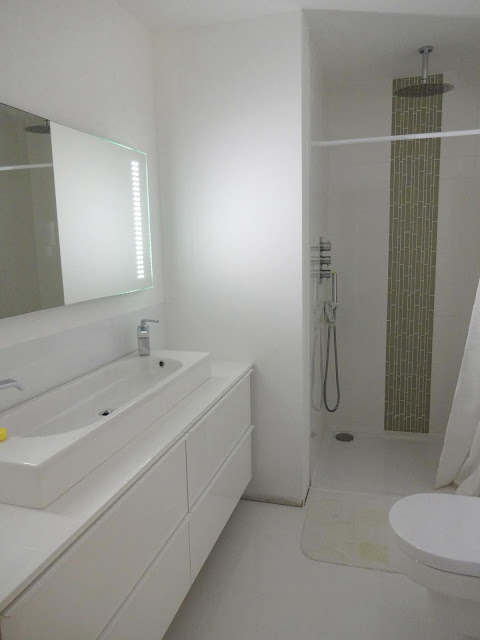
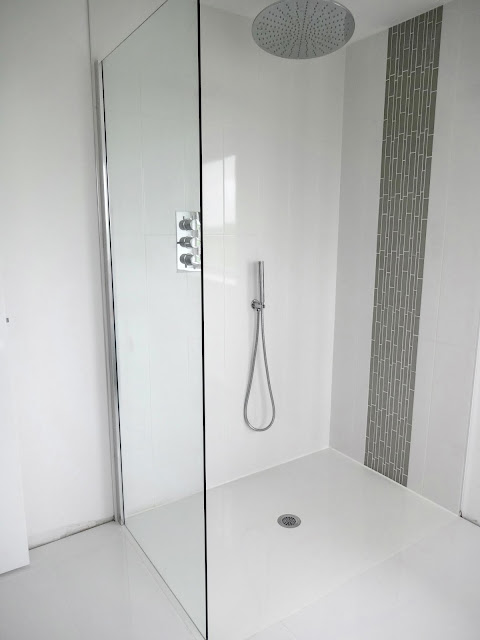
We'd originally ordered a shower enclosure for the en-suite bathroom over a year ago, but had sent it back as it had been absolutely mangled during the delivery and since then we had been using a temporary shower curtain.
The shower enclosure we had previously ordered was not cheap; it was a reputable, mid-priced brand, but after inspecting it closely due to the damage, we had been left seriously unimpressed by the build quality. After much research, it seemed the only way we could avoid having a leaky, ill-fitting enclosure was to pay out a little bit more for a premium brand, in this instance choosing one with a lifetime guarantee from Merlyn.
We hadn't fitted a shower enclosure before, so we took some time to plan out how we were going to do it, carefully measuring and marking out everything before doing any drilling or cutting.
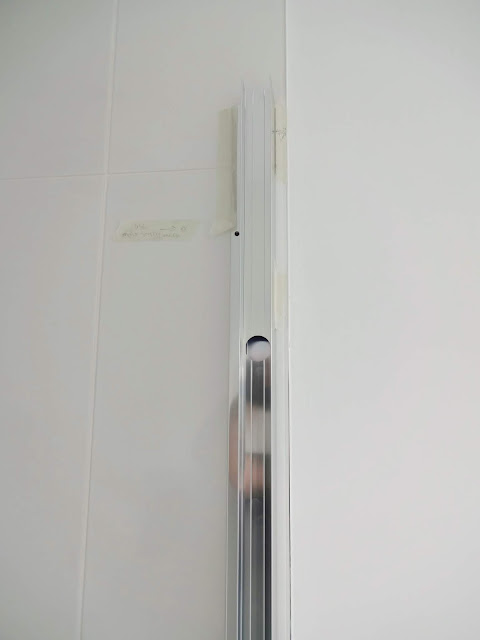
The first step was to fit long metal brackets to the tiles on either side of the alcove in order to support the glass. We marked out where we needed to drill...
... then after placing masking tape (to avoid the drill bit slipping on the tiles), drilled the holes carefully.
It's a good idea to push the wall plug deeper into the hole, so that it sits below the tile depth. This should prevent the screw from expanding the plug and cracking the tile during fitting.
Once fitted to the tiles, we had to drill out additional holes in the metal brackets in order to secure fittings. Marked out ready for drilling...
... drilled...
... and finally screws fitted, complete with covers to prevent any water ingress.
Holes drilled into the tiles for the additional support bracket.
Bracket fitted. The additional support is required as we chose to use a pivot door that swings outwards, rather than a sliding door.
Once the shower glass had been clamped in place, silicone was carefully applied to the inside edges of the metal frame pieces.
While the silicone was in use, we decided to re-apply the silicone around the shower perimeter in order to get a neater finish.
The shower door in the en-suite completed. We were very pleased with the quality - the previous enclosure used lots of flimsy, chrome-painted plastic parts whereas this one had sturdy metal components and had that reassuring 'clunk' when shutting the door.
... small ones for the hand towels, placed either side of the basin.
Larger rails for bath towels fitted neatly behind the door.
And as usual, the site inspector did most of the heavy work.
At last we have somewhere to hang the towels - but we really need to fit the skirting boards and architraves to finish everything off. There's always so much to do...
Several months later, we finally got around to buying a shower enclosure for the main bathroom. Having been impressed with the Merlyn enclosure in the en-suite, we decided to stick with the same brand for the bathroom.
We went for an 8mm frameless enclosure with sliding doors which once again was delivered well packaged and without incident. Carrying the heavy glass sections up the stairs was not easy though.
No room for error when fitting these shower enclosures, so we took a lot of care to ensure we were assembling everything properly and drilling holes in all the right places.
The first of the metal support rails up...
... and after much huffing and puffing, we managed to secure the heavy glass section into position.
So far, so good.
The process was repeated on the other side. The critical thing was to get everything perfectly level and in just the right position.
After that we fitted the top and bottom rails.
Some of the cheaper brands we considered looked good, but required you to drill holes into the shower tray in order to fit the supporting rails... which would completely invalidate the shower tray warranty, not to mention the potential for leaks in future. No thanks!
Once the top and bottom rails were in, we were able to slide the thick glass door into place.
Some frameless shower enclosures dispense with the bottom rail and just have a gap at the bottom of the door. That would not have worked for us as our tray has no lip around the edge and fits flush with the tiles, so these bottom rails were important to prevent any water from escaping under the glass.
To make sure it remained completely watertight, the instructions called for a clear silicone seal around the outside edges.We've found it works a lot better when you apply it thickly - in this case, we laid down a rough 10mm bead ...
... then smoothed it off using the 10mm smoothing tool which gave it a nice crisp edge.
Finished. Finally we get to use the main bathroom shower - we'd finished the plumbing years ago (literally), so it was about time.
The shower enclosure was a bit more pricey than we'd have liked, but the quality was extremely good with thick, sturdy glass and a door mechanism that worked smoothly every time.
It was such a relief to find that the shower worked so well. And you also get a nice view across the hills when taking a shower.


