Our house looked more like a door workshop during this period, with every spare space filled with doors at varying stages of preparation.

We followed the same fitting process (as described in the previous blog post). This involved a lot of testing, measuring and planing.
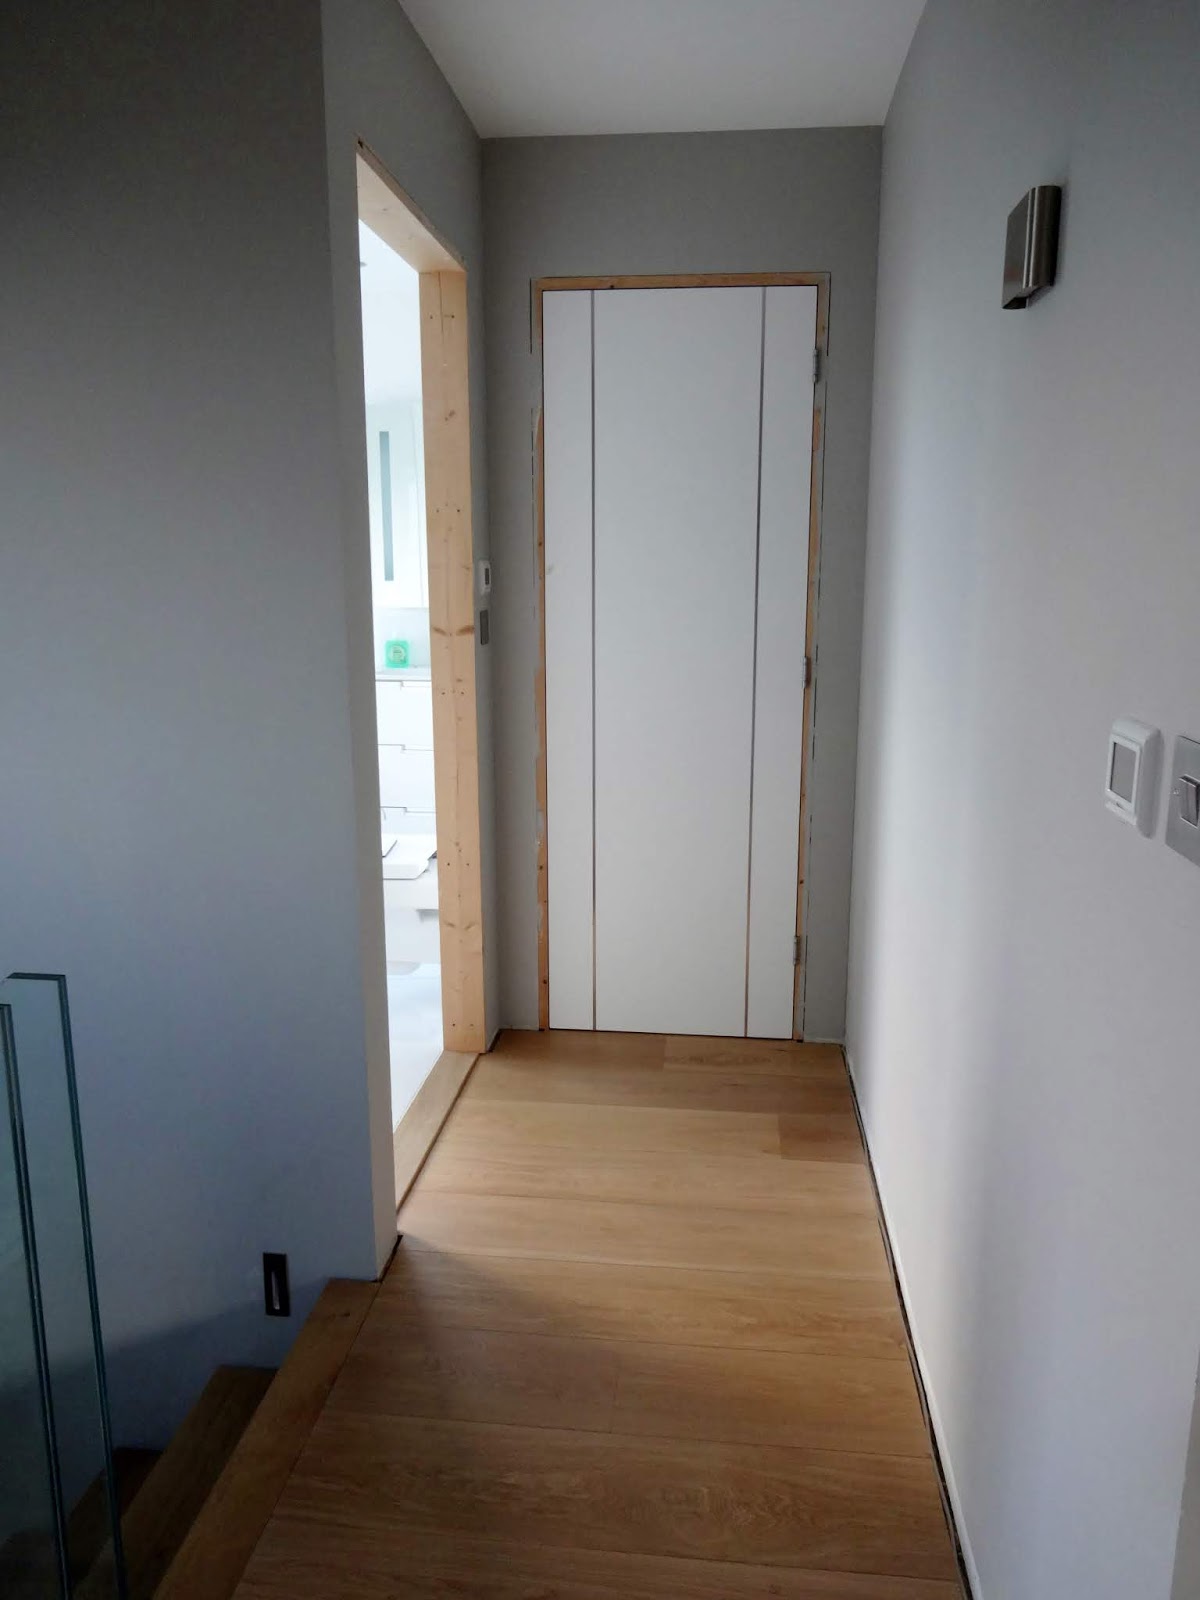
Pictured below is the landing cupboard door being test fitted in the door frame. The cupboard doors are all in exactly the same style as the 'main' doors, but are a narrower width.

As usual, the door was cut and planed until we had a nice even 2mm gap around the top and sides...

...and once the hinge slots were routed out, the door could be hung.

The cupboard door completed. After so long without any doors, the house began to feel quite different as each door went on and all those open spaces were gradually sealed from view.
Cutting the hinge recesses using the hinge jig and router

Using the hinge jig, the results were both quick and consistent. We were really glad we bought one.

The hinge jig pinned to the door lining of bedroom 3 ready for routing.

A close-up of a hinge recess after routing. The actual cutting only took about 30 seconds.

The jig ensures the three hinge cuts on the door and those on the door lining will match up perfectly.

We usually test fitted the hinges before trying to hang the door. The doors are so heavy it took two of us to hold them up in place, before screwing in the hinges.

The site inspector was on hand to oversee that everything was being done to his exacting standards.

Another door completed (bedroom two). No door handles yet, so we used a bit of masking tape stuck to the edge of the door to avoid getting trapped inside the room.
We shall avoid all jokes about the doors being well-hung. (Lame)

Next up was the cupboard door.

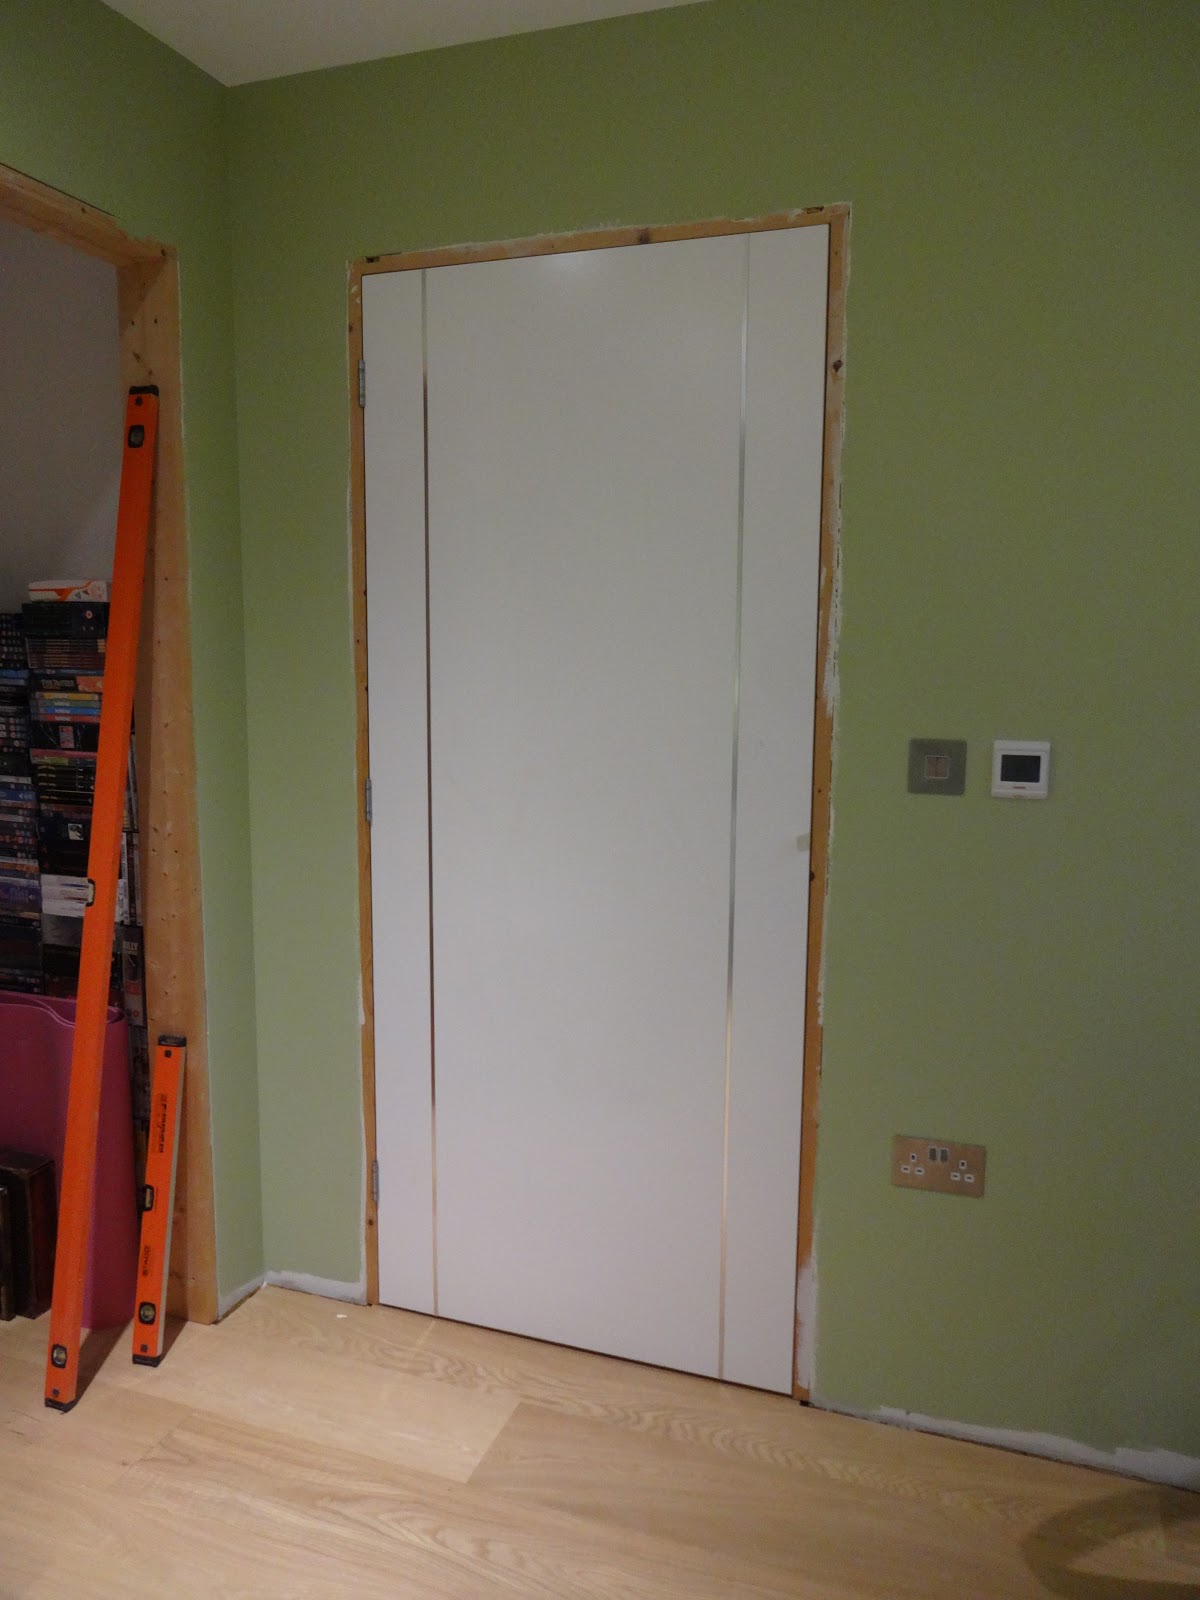
We gradually worked our way from room to room. The cupboard door in bedroom 3 before...

... and after.

Test-fitting the larder door in the kitchen, prior to trimming to size.

The larder door fitted.

We also ordered three custom doors. For some peculiar reason, the door manufacturer didn't sell the windowed version of our doors in standard 838mm widths, so we had to have these doors custom made (at a premium price, of course - grrr).
No room for error on these customised doors, so we tackled them last, after we'd had plenty of practice fitting the standard doors.

Planing the windowed doors down to size was the same process as before.

We'd had a lot of problems fitting the utility room door lining (the timber had been quite twisted and warped), so it was a relief to get that door hanging correctly.

The site inspector set up his observation podium in the utility room.

Someone needs to cut down on the biscuits. We might have to reinforce that countertop.

Utility room and larder doors completed.

The main kitchen door was next up.

The glass doors were even heavier than the solid doors, so proved awkward to hang, but we were pleased with how much sunlight they let into the rooms.

We chose the windowed doors to echo the design of the front door.

The kitchen and lounge doors viewed from the hallway. (The fish tank isn't supposed to live there but for the time being, we don't have anywhere else to put it).

Looking back to the hall from the lounge.

The glass doors viewed from the kitchen.
