We spent a long time deciding what doors to buy. During the early stages of the build, we were considering solid oak, but as the house took shape, we moved away from the natural wood look, in favour of something with a more contemporary feel. (Another persuasive factor was the cost; the quote we got for the oak doors was twice as much as our whole roof - and that includes all the roofer's labour and materials!)
We finally decided on a crisp white, contemporary style and the first batch of our new doors were delivered in January.

As ever, we planned to save money by fitting them ourselves, however this was not a task for the faint-hearted; we had never even fitted one door before, but now had fifteen of them to do... gulp!
To try to make the installation process a little less daunting, we bought some tools to help with the job. A good quality Trend hinge jig, router and electric planer were rather expensive purchases, but would make the task a good deal easier. And once all the doors were finished, we could sell any unwanted tools on Ebay for virtually the same price, so it still worked out cheaper than hiring.
The hinge jig took a bit of setting up and a lot of figuring out. Luckily the site inspector was on hand to help guide us through the process.

Before getting started on the doors, we thought we better test out how to use the newly-purchased hinge jig on some scrap material. The doors weren't cheap so we really needed to figure out how it all worked first, to avoid making any costly errors later.
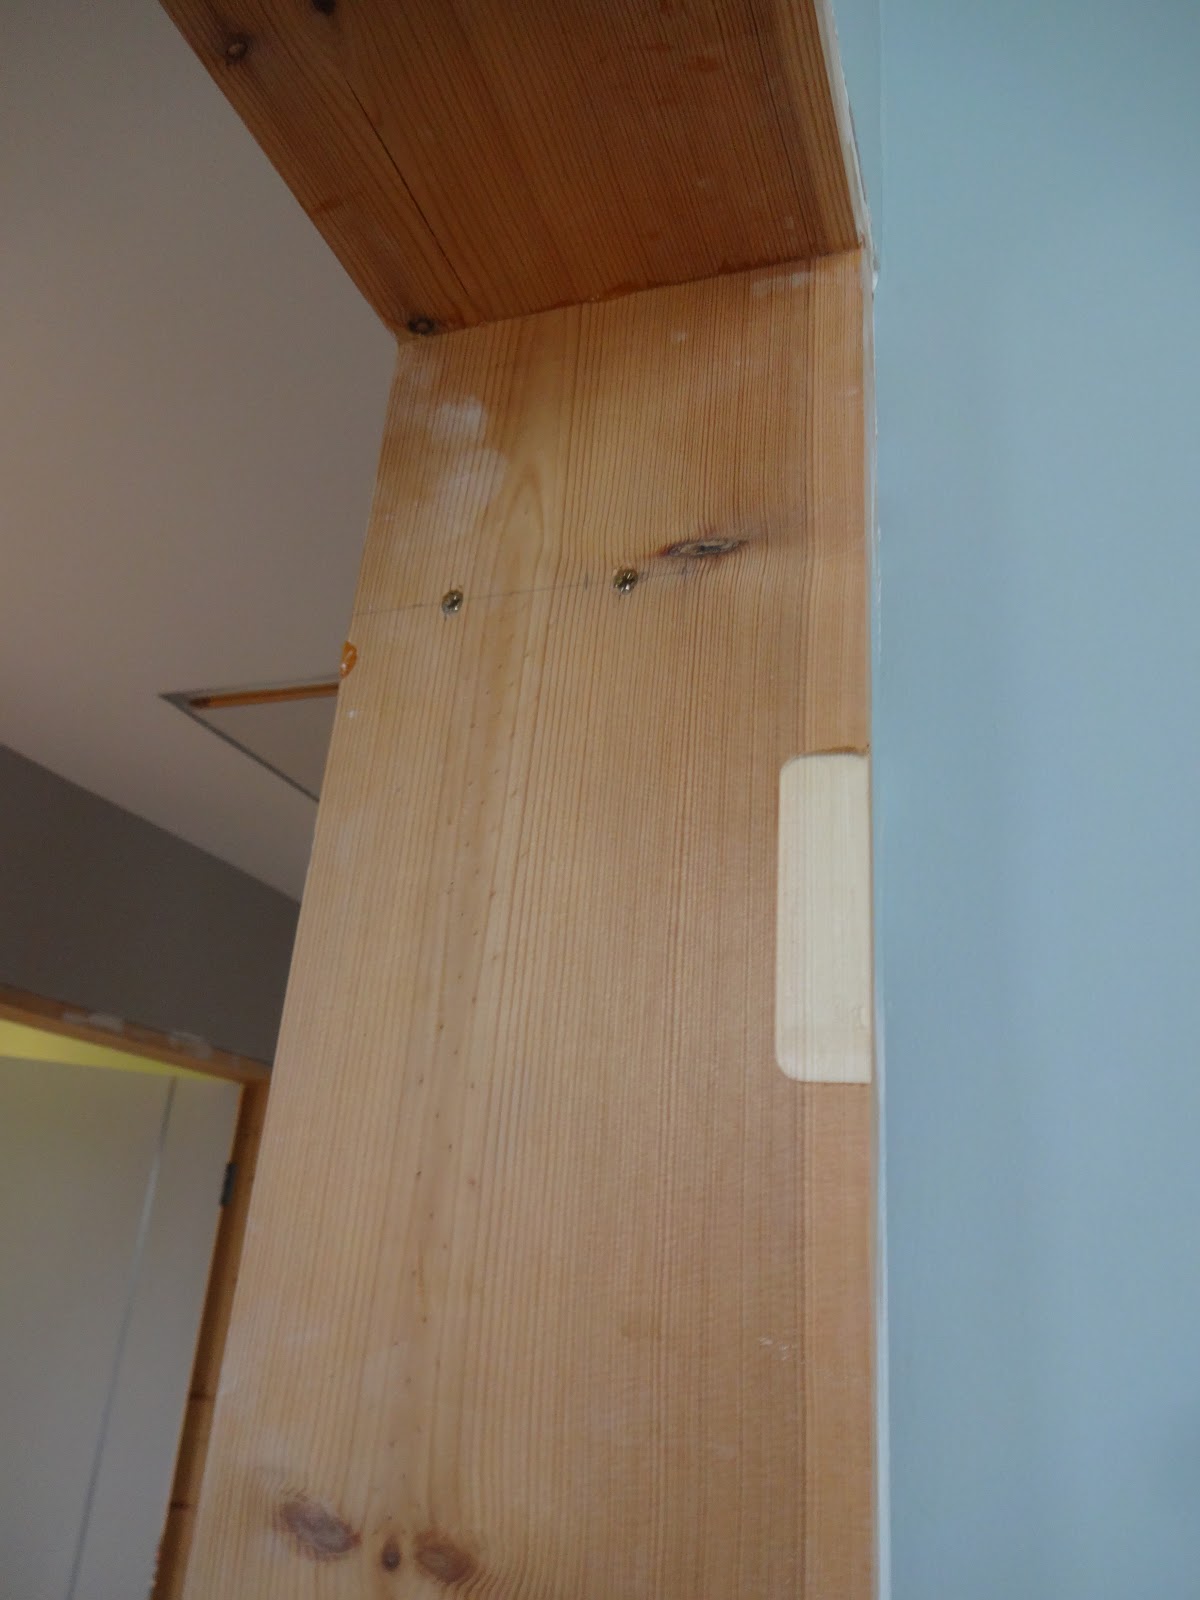
We used a piece of scrap timber to simulate the edge of the door frame and using the hinge jig and router, cut out the recesses for the three hinges, exactly as they would be spaced when we do it for real.

Much quicker and neater than using a mallet and chisel...Using the router and jig, it only took a matter of seconds to cut all three hinge recesses. The question was, would the hinges fit tightly in the space..?

... A perfect fit!

The doors we bought were pre-finished (i.e., they were already painted with a finished topcoat - more on that later) and we were interested to see whether the router would cut without cracking the paint, so we used an old piece of coated chipboard to simulate the painted finish.

The test worked well and our 'frame' and 'door' opened and closed as it should. We now felt confident enough to tackle a door for real.

The first stage involved checking the levels of the door frame and floor - it really helped to know what we were dealing with. E.g., for the main bedroom door, the floor was falling away slightly from the doorway, so we knew we could get away with a fairly small gap under the door, as the gap would increase as the door opened.

The next step was to test fit the door to see where it needed trimming. To stop the door from just falling straight through the frame, we fitted a batten to act as a temporary door stop.

These doors are heavy (semi-solid core) weighing around 35 kilos each. It took two of us to carry them around the house and a lot of effort to manoeuvre them into position in the doorway.
We'd been quite careful when fitting the door frames (two and a half years ago - aargh!) so the doors weren't wildly out, but would still require some fine-tuning in order to get a perfect fit.
The first issue to contend with was the height. These are standard-sized doors and are purposely made 'over-long' so that you can cut them down to whatever height you require.

We thought buying pre-finished doors made a lot of sense, because we wouldn't need to spend time and money painting them all. But buying pre-finished doors also created a lot of problems that we hadn't foreseen; the first one being how to reduce the height of the door.
With an unfinished timber door, you can just plane it gradually down to size, but ours had stainless steel strips running down the length on both sides which would have destroyed the blade of our new planer. Removing the metal strips would not be possible without chipping the factory-sprayed paintwork, so we had no choice but to cut all fifteen doors using the plunge saw. We used a fine tooth blade to try to minimise paint chipping and wrapped the door edge, front and back, in masking tape.

The doors were too heavy (and too easily scratched or chipped) to lug up and down the stairs for cutting outside, so everything had to be done on the landing. Luckily the plunge saw has an attachment to the vacuum cleaner which helped reduce the dust (slightly).

Unlike a jig saw, the plunge saw runs on a rail so ensures a perfectly straight cut.

To prevent the paint cracking and wood splitting as the plunge saw exits the door, we worked out it was better to stop just before reaching the door edge...

... then finish the last section by hand, using a tenon saw.

With the door now cut to the correct height, it was lugged back to the door frame and tested again to see how it fitted for width.

Ideally the door requires a nice, even 2mm gap between the door and the frame on the top and both sides. We used packers to work out what the existing gaps were and where the door will need to be trimmed.

Once the door is trimmed it will only fit one way round, so we marked the hinge side to avoid any costly mistakes later on.

Builders normally cut doors in new homes with over-large gaps at the bottom (to allow for carpet or other floor coverings to be fitted at a later date), but since we already had a finished floor surface, we could get away with a much tighter fit.
The spirit level showed that the floor was falling away slightly, so we cut the door with just a 3mm gap (as opposed to 8-12mm standard). If the floor was rising up inside the room, the gap would have to be bigger to prevent the door getting stuck as it swung open.

Once the required width had been marked out, the heavy door was carried back to the landing yet again for cutting. It's important that the edge is held firmly when planing, so a simple, homemade saddle and block was used to clamp the door on its side.

Before planing...

...and after planing. The door edges usually only needed a few millimetres removed, but it was crucial to plane it gradually (half a mm at a time) to avoid accidentally cutting too much off.

Once the door had been planed (and carried back to the door frame to test fit yet again - sigh) we could finally get on with cutting out the hinge recesses. The hinge jig was placed in position and pinned firmly to the door using the supplied bradawls.

Cutting the hinge recesses was so quick using the router - and a hell of a lot easier than using a hammer and chisel.

Success! The hinge recesses were all cut cleanly (with no paint chipping away) and in exactly the right place.

The router can only cut rounded corners. It is possible to buy hinges shaped to fit router-cut recesses, but the cheaper solution was just to use a corner chisel to square off each cut. Luckily we had one supplied free with our hinge jig...

Using the corner chisel was easy. Just push it into position up against the edges and tap down lightly with a hammer...

... and it cuts a neat, right angle (though annoyingly, sometimes the impact did slightly chip the paint, but that was easily re-touched later).

The fixed spacing on the hinge jig ensures that the hinge recesses on the door should always perfectly align with those on the door frame. All that is required is to fix the jig securely onto the door frame...

... and to cut out once again using the router. What a great system - it was clear to see why so many carpenters use jigs and routers these days.

As with the door, the hinge recesses in the door frame needed squaring off with the corner chisel.
The next stage was to install the hinges and we were pleased to discover that they were a perfect fit.
As the doors were so heavy, we needed 3 hinges per side and also chose to use the ball-bearing type hinges, which should give a smoother, quieter operation.

If not placed exactly in the centre of the hole, the hinge screws can pull the hinge out of position or leave the screw heads sitting askew in the countersunk hole (which always looks terrible).
To avoid that, the hinge jig was also came with a handy drill bit guide - a spring-loaded contraption that ensures the pilot holes don't go off at the wrong angle.

The pilot hole in the centre of the countersunk hinge hole.
N.B. the hinges aren't upside down - they 'officially' only fit one way, which means that for some door orientations, the manufacturer's markings will be inverted (which for perfectionists is rather irritating...)

Once all the pilot holes were drilled in the door frame, we removed the hinges and screwed them to the door. Then using various wedges and packers, we positioned the door so that the open hinges all fitted into the door frame, before finally screwing them into place. Hanging the finished door was definitely the hardest part (no photos though, as it took both of us to grapple with the damn thing!)

Once the hinges were on, we could test the door to make sure it was opening and closing as it should and that the gaps were nice and even all the way round. It was quite exciting to finally have a bedroom door...

... and it even closes.

The site inspector wasted no time in conducting his usual rigorous examination process.


As you can see, the site inspector was jubilant at the official 'opening ceremony' of the new door.
