Sunday 4 November 2018

Doors: part 4 - stops and architraves

Completing the doors was another of those jobs that just seemed to take forever. We'd hung all fifteen internal doors and we'd painstakingly fitted all the door handles, latches and locks, but there was still the small matter of finishing all the door stops and architraves. 


The stops supplied with the (cheap) door linings were rubbish; too thick, covered in knots and really badly warped and twisted. Having spent so long getting the doors right, we didn't want to spoil it all by using sub-standard materials, so we decided to make our own.

We selected some good quality timber strips - much slimmer and virtually knot-free - from our local builder's merchants. After cutting them to size, we started off by pinning the top stop roughly in place.


The door latch needed a little bit of space to operate freely, so it's recommended to leave small gaps between the door and the stops. This also prevents the door from 'binding' once the stops are covered in several coats of paint.

We used packers to set the gaps evenly and then pinned the stops lightly in place (allowing for adjustment later if needed). 


Similar process for both the latch side door stop...


... and the hinge side.


Once the three door stops were in place, we checked that the door opened and closed properly and was neither too tight or too rattly. A little bit of movement was alright, because once the stops and linings were painted, the doors should shut perfectly.


Finally we used a nail punch to knock the heads of the pins under the surface, ready for filling and painting. 


One down, fourteen to go.


Main bedroom door.


Dealing with real wood was turning out to be a bit of a pain. All the knots in the door linings and stops had to be painted first with knotting solution, then filled, then painted with primer, before we could finally apply two or three top coats of paint. Each step of the process required drying time and then more prep and sanding and more waiting. Considering all the woodwork was going to be painted white, it seemed such an unnecessary waste of time and effort.

So when it came to choosing the wood for the architraves and skirting, we quickly decided on MDF. No warps, twists, rough grains or knots. All exactly the same size, with nice, crisp edges. All delivered pre-primed, moisture-resistant and ready for top coating.

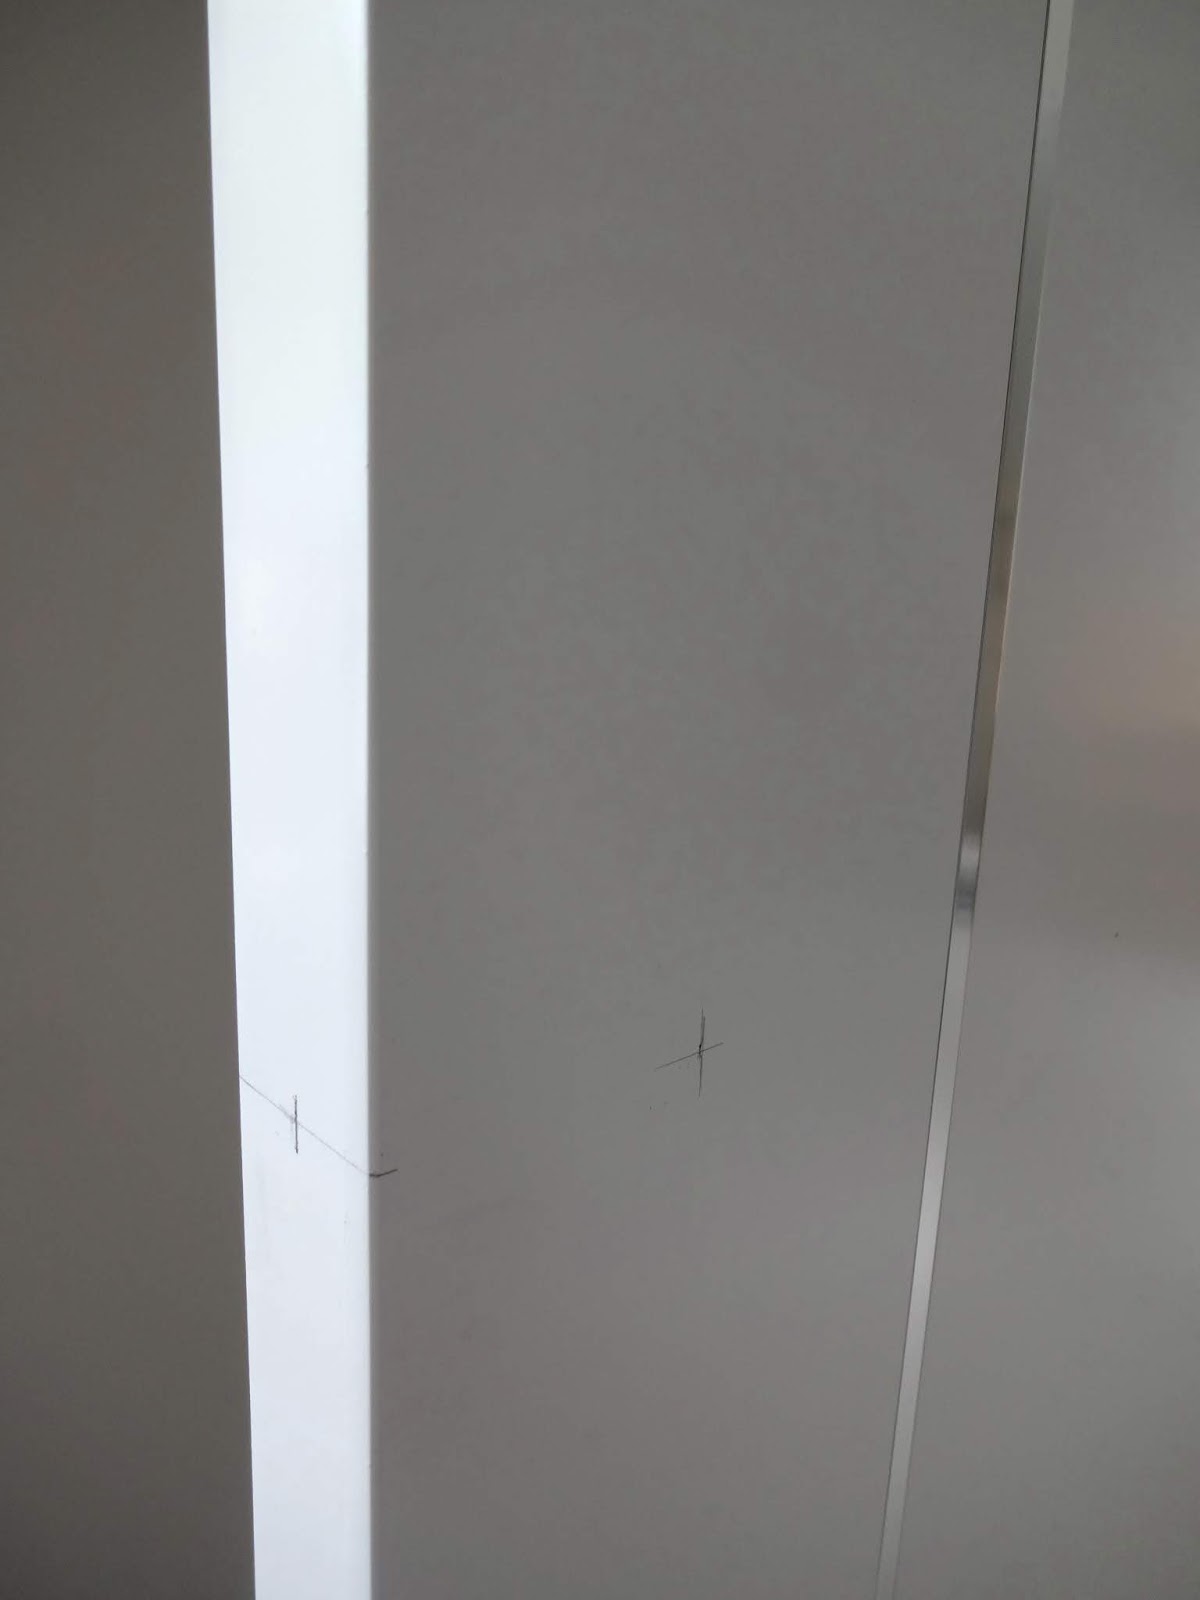
The first step was to cut the architraves to size. We found the best way to get a perfect fit was to clamp the lengths into place, allowing them to be marked out, trimmed and adjusted.


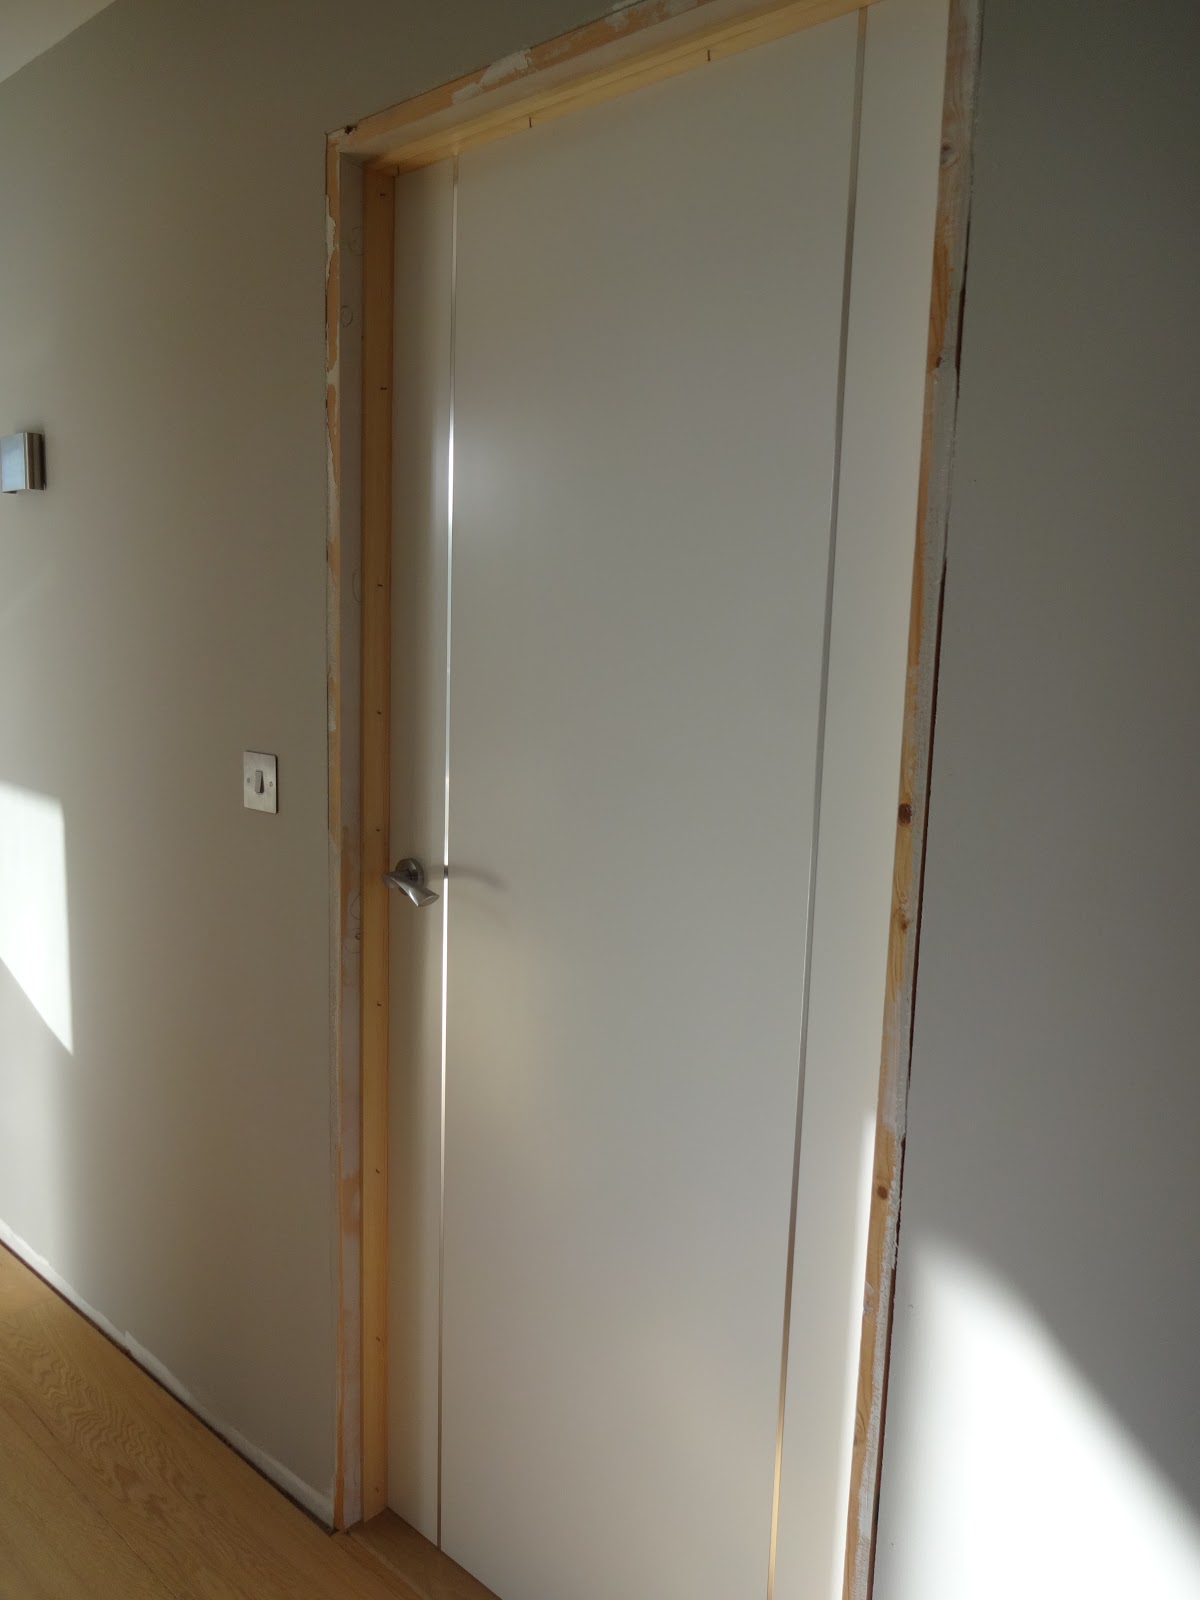
We decided to flush fit the corners rather than using angled mitres - it felt a bit more modern and matched the vertical design on the doors. 


The site inspector was a great help during this process, overseeing all aspects of the task with his usual boundless enthusiasm, vigour and unstinting attenion to detail.


After all that measuring and cutting, the final test was to stand back and make sure it all looks right by eye... before taking the whole lot down again! 

We wanted crisp, painted edges where the wood meets the walls, so before fitting properly we needed to remove the architraves and paint them using our eggshell top coat. (They look painted in the photographs, but that's just the white primer). 


Using the clamps allowed us to get the architraves cut exactly to size.


Marking exactly where the left side piece needed to be cut...


... then once that was done, on to the right side...


Once we were happy with the fit, we painted all the architrave strips with the first coats of eggshell. We were careful to label each piece so we knew which bits were for which doors. 


When the paint was dry, it was just a matter of clamping them back into place and screwing them down permanently.


Once again, we preferred to use these 'lost-tite' screws for attaching the architraves. Like 'lost-head' nails, they have a tiny head that disappears into the wood to make filling really easy, but unlike nails, they allowed for much more precise fitting, as we could adjust the tightness to compensate for any unevenness in the walls.  


It seemed a shame to drill holes into all our freshly painted architraves, but once filled we were just going to give the top surfaces a light recoat; those nice, crisp edges where the strips met the walls would not need to be repainted.


Nothing ever goes smoothly with house-building... some parts of the wall needed sanding down in order to get the architraves to sit flatly. Using screws instead of nails, allowed us to easily remove the architraves if anything needed adjusting.   


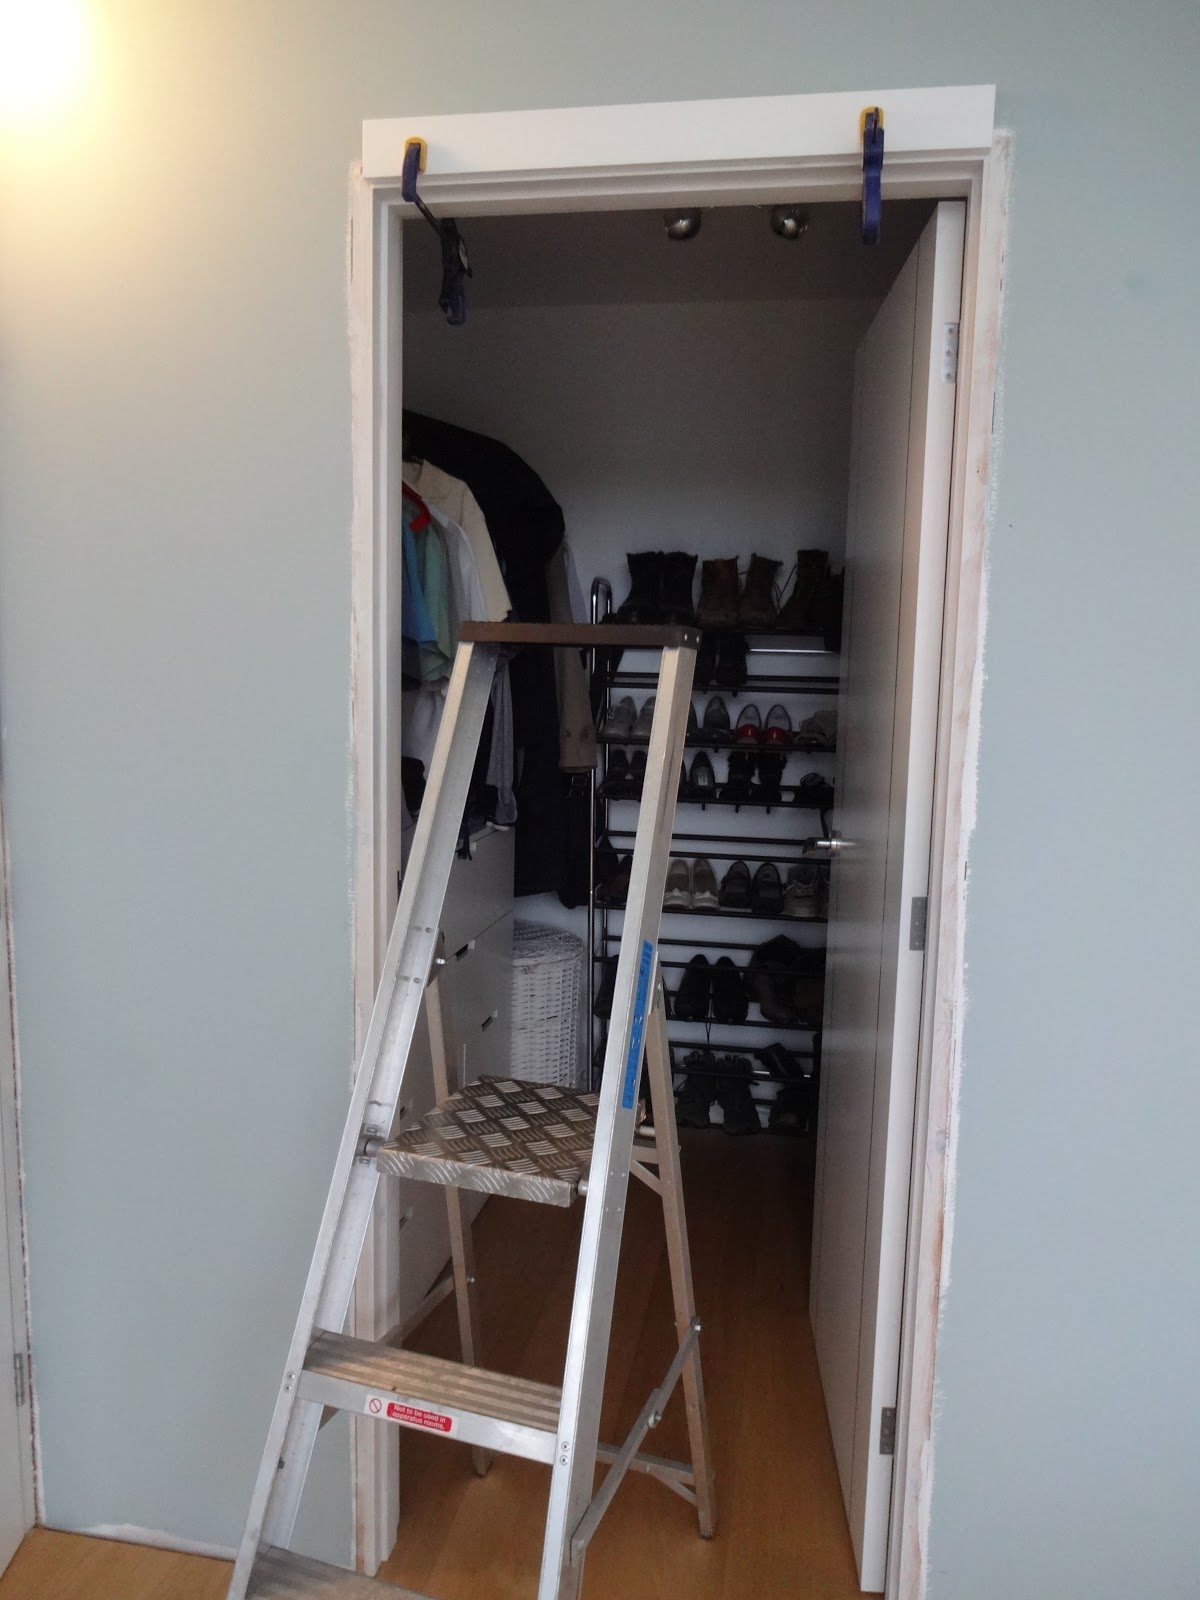
That's the en-suite done...


... and the wardrobe...


...then onto the main bedroom door. 


A slight snag; several doors in the house did not have enough room to fit a full width architrave (being new to this house-building business, we'd been a bit too precise with our original drawings and hadn't made allowances for all the inaccuracies on construction and materials). We would have to scribe these so that they follow the contours of wall (they are never perfectly flat) but that was going to be a pain to do, so it could wait until later.


Tuesday 19 June 2018

Doors: part 3 - handles, locks and latches

Having hung all 15 doors using the specialist hinge jig and router, we were keen to use similar time-saving gadgets for fitting the door handles and latches. A number of clever systems have been developed that make this job so much easier nowadays, but sadly because of the particular construction of our doors it just wasn't possible to use any of them! This was deeply frustrating as it meant that everything had to cut by hand olde-style using a mallet and chisel...

Using the chisel method would not have been too bad on unpainted, solid wood doors, but once again our decision to order pre-painted doors unfortunately made everything a lot more difficult.


First step was to measure and mark out the door.


Next we drilled into the side of the door to the depth of the latch.


The area to be chiseled out for the latch plate was marked out in pencil...


... then using a mallet and chisel, cut a recess out for the latch plate. This is where having pre-finished doors proved a disadvantage, as it was almost impossible to cut a clean edge without paint chipping off. Even scoring the paint first did not prevent small flakes breaking away. Grr.


It was crucial to get the holes drilled in just the right place. For some reason, the latch manufacturer didn't include any cutting templates with their products, but it was possible to print them off from their website and this proved essential to getting a perfect fit.


The smaller holes had to be in exactly the right place as studs pass through the door and the latch, effectively bolting one door handle to the other. These 'bolt-through' latches are a much better way to secure door handles, as they can't be yanked off by heavy-handed users like the cheaper handles that are just screwed to the face of the door.

As you can see, the latch is quite a nice fit in the door, but that chipped paint was annoying. Luckily we managed to find a good match for the shade of white and were later able to fill and touch-up any paint issues.   


The spindle is placed through the latch and the door handles are slotted into place on top. This meant there was no room for any adjustment, so the alignment of the holes for the through-bolts had to be very precise.


Once the two through-bolts were fitted, the door handles were firmly clamped together, but additional screws were still added around the circumference of the handle to add extra security...


... before a cover plate goes on to conceal all those screw heads and make everything look clean and uncluttered.


Some careful filling and touching-in repaired the chipped paint around the latch plate.


Once the latch was fitted, the next step was to fit the strike plate in the door frame. Lining up where this would go was relatively straightforward, as all we had to do was pull the door up to the frame and mark around the latch. From there, we could draw around the strike plate that would be fitted to get an exact pattern.


Holes drilled for the latch bolt.


The chisel work didn't need to be perfect as the strike plate came with a handy little box that fitted underneath to keep everything looking clean.


The little plastic box fits underneath the strike plate...


... and helps finish everything off neatly.


Not bad for a first attempt. The door linings still needed to be filled and painted at this point hence their patchy appearance.


We chose to use different types of latches for the cupboard doors - roller catches would make opening and closing these doors much easier as the handle would not have to be turned.

As with the standard door latches, the first step was to mark out and then drill into the door. 


After drilling the holes, we used a chisel to square everything off so that the latch would fit cleanly inside.


Once the hole was large enough to fit the latch, it was possible to insert the body and draw around the latch plate...


... and carefully chisel out a recess so that the whole thing sits flush with the edge of the door.


For the cupboard doors, we only needed to fit handles to the outside...


... as a handle inside the cupboard would be an unnecessary waste of space. (Even if you accidentally shut yourself in the cupboard, the roller latch meant the door just pushes open so no handle would ever be needed).


As before, once the latch was secured in the door, we could line up exactly where the strike plate needed to go and start chiseling out the recess.


The strike plate fitted in place.


Phew! A perfect fit.


For the bathroom doors, we chose to use separate thumb-turn latches. Fitting these meant a lot more cutting and chiselling, but we preferred the finished appearance so it was worth the extra time and effort.


The thumb-turn latch fitted directly below the door handle.


Having a separate latch meant having to fit an additional lock plate in the door lining. Getting the alignment right was crucial, as we wanted the lock to engage cleanly without having to pull or push the door when turning the latch.


Fortunately everything lined up well first time.


Same treatment for the en-suite bathroom. We managed to touch up any chips and scrapes in the paint afterwards.


We tackled the 3 custom-made glass doors last.


Exactly the same treatment as the solid doors.


The holes drilled through the door for the spindle and the through-bolts.


Despite scoring the lines, no matter how carefully we chiselled, the paint still chipped off far too easily.


Latch fitted in place.


We have used brushed stainless steel throughout the house for light fittings and sockets so naturally all the door fittings followed the same theme.


The paint chips around the latch plate after filling. Once painted they will not be so noticeable.