But now the stairs were almost complete (and amazing to think that all that equipment was somehow shoehorned underneath...)

The final task was to install stair lights. We did have the option of installing them into the steps themselves when the staircase was constructed, but preferred to have lighting in the wall, as it should cast a nicer glow from the side.
Luckily when the electrics were installed, we fitted a mains supply under the stairs and this was connected to switches at the top and bottom of the stairs in preparation for these lights.
Deciding exactly where to put the lights took some planning. We made paper templates of the light fittings and tried placing them in various positions to see what looked best. We also wired up the lights at night and tried them out in various positions to test exactly where the light and shadows would fall.

There are a lot of water pipes, electrical wires and wooden studs buried in the wall behind the stairs, so it was important that the lights were positioned away from these.

Once the position of the lights had been decided, we could start cutting. It was slightly nerve-wracking chopping big chunks out of the wall, especially as we were having to avoid so many pipes, wires and studs.

The Fermacell was much tougher than plasterboard (more like a cement board), but could be cut using a multi-tool.

One hole cut, three to go...

We didn't want the stairs lit up like Las Vegas, so decided to fit a light above every third step. It should be enough to see the edge of each step when walking at night, but hopefully while casting a more subtle glow across the hall.

Getting the cable routed to feed each light was a challenge. We had to use a piece of stiff wire to poke down from where each light fitting would be installed...

...down to a hole under the stairs. We could then use the guide wire to pull through the electrical cable.
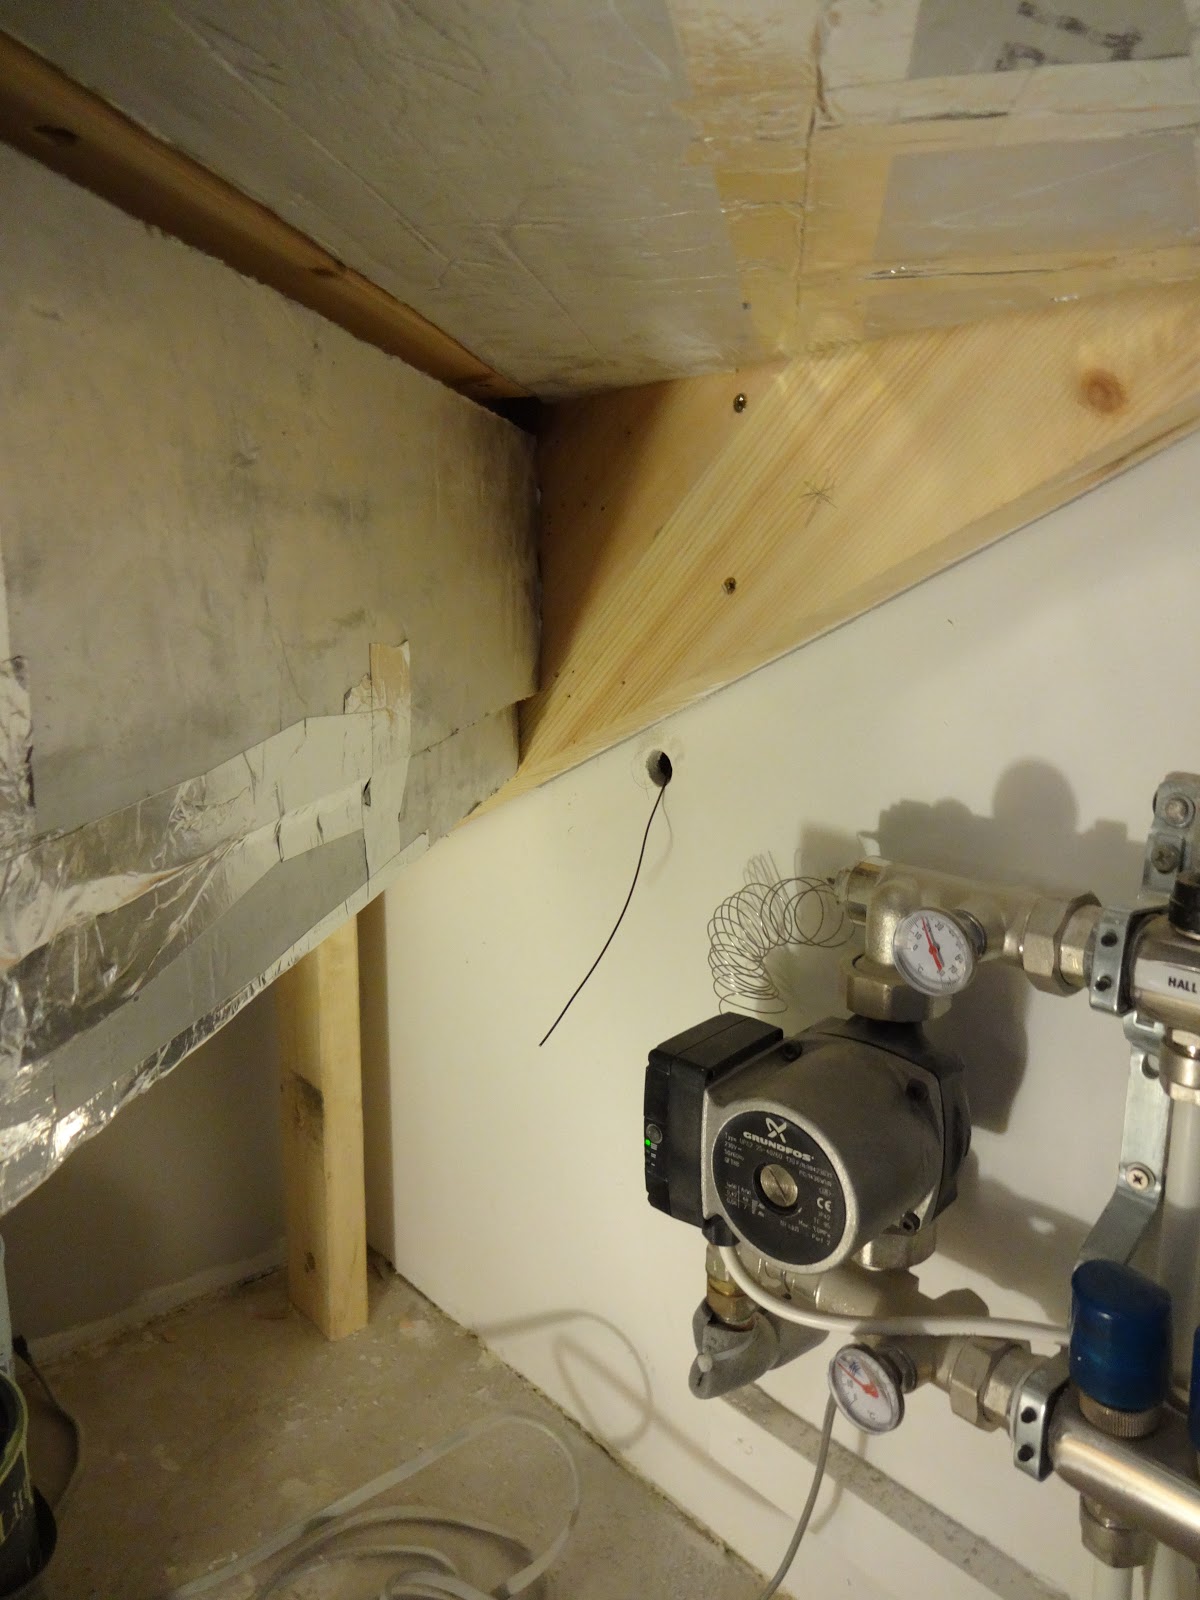
The lights are low-power LED and use a small transformer to step down the voltage. Wiring the lights wasn't too difficult and since the electrics for the house had already been signed off, we didn't need to involve an electrician.

Once all the wiring was in place, we clipped the light fittings into position. We chose the rectangular, stainless steel design to echo the same patterns in the front door, hall windows and alcove light.

It's alive!


We were really pleased with the amount of light they produced. During the day, the effect was very subtle...

...but at night, the stair lights really serve a purpose - illuminating the position of every step to (hopefully) avoid any disastrous slips. Falling down stairs made of glass and oak wouldn't be too pleasant.


The house still has a long way to go until it's finished, but is feeling more like a home every day. Especially with the Christmas decorations going up. The site inspector was most impressed with our new tree.


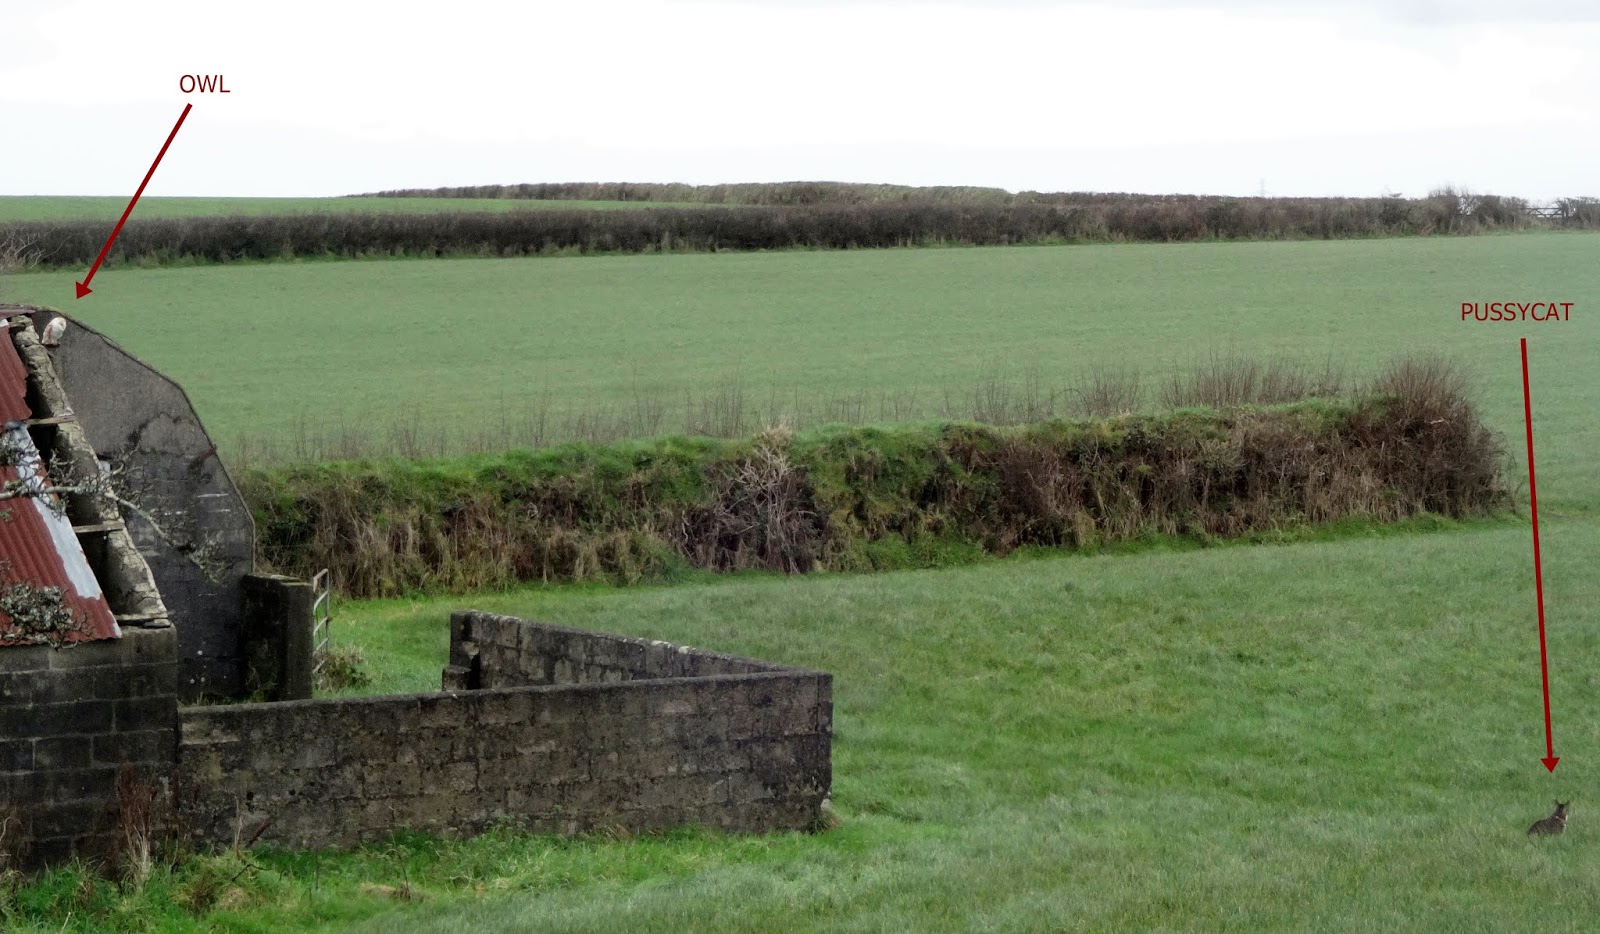
Here's a sight you don't see every day - the site inspector being inspected by our neighbour, a barn owl who lives in the dilapidated barn next door. (Click on pic to enlarge).
The owl and the pussycat, not at sea, in a beautiful pea-green field...