Sunday 28 May 2017

Outside: Oil tank

Somewhere hidden in that jungle is the oil tank for the old house. It's rusted and starting to leak, so needs to be removed before it poisons any of the local wildlife. 


In order to get to the oil tank, we had to cut a path through the undergrowth.


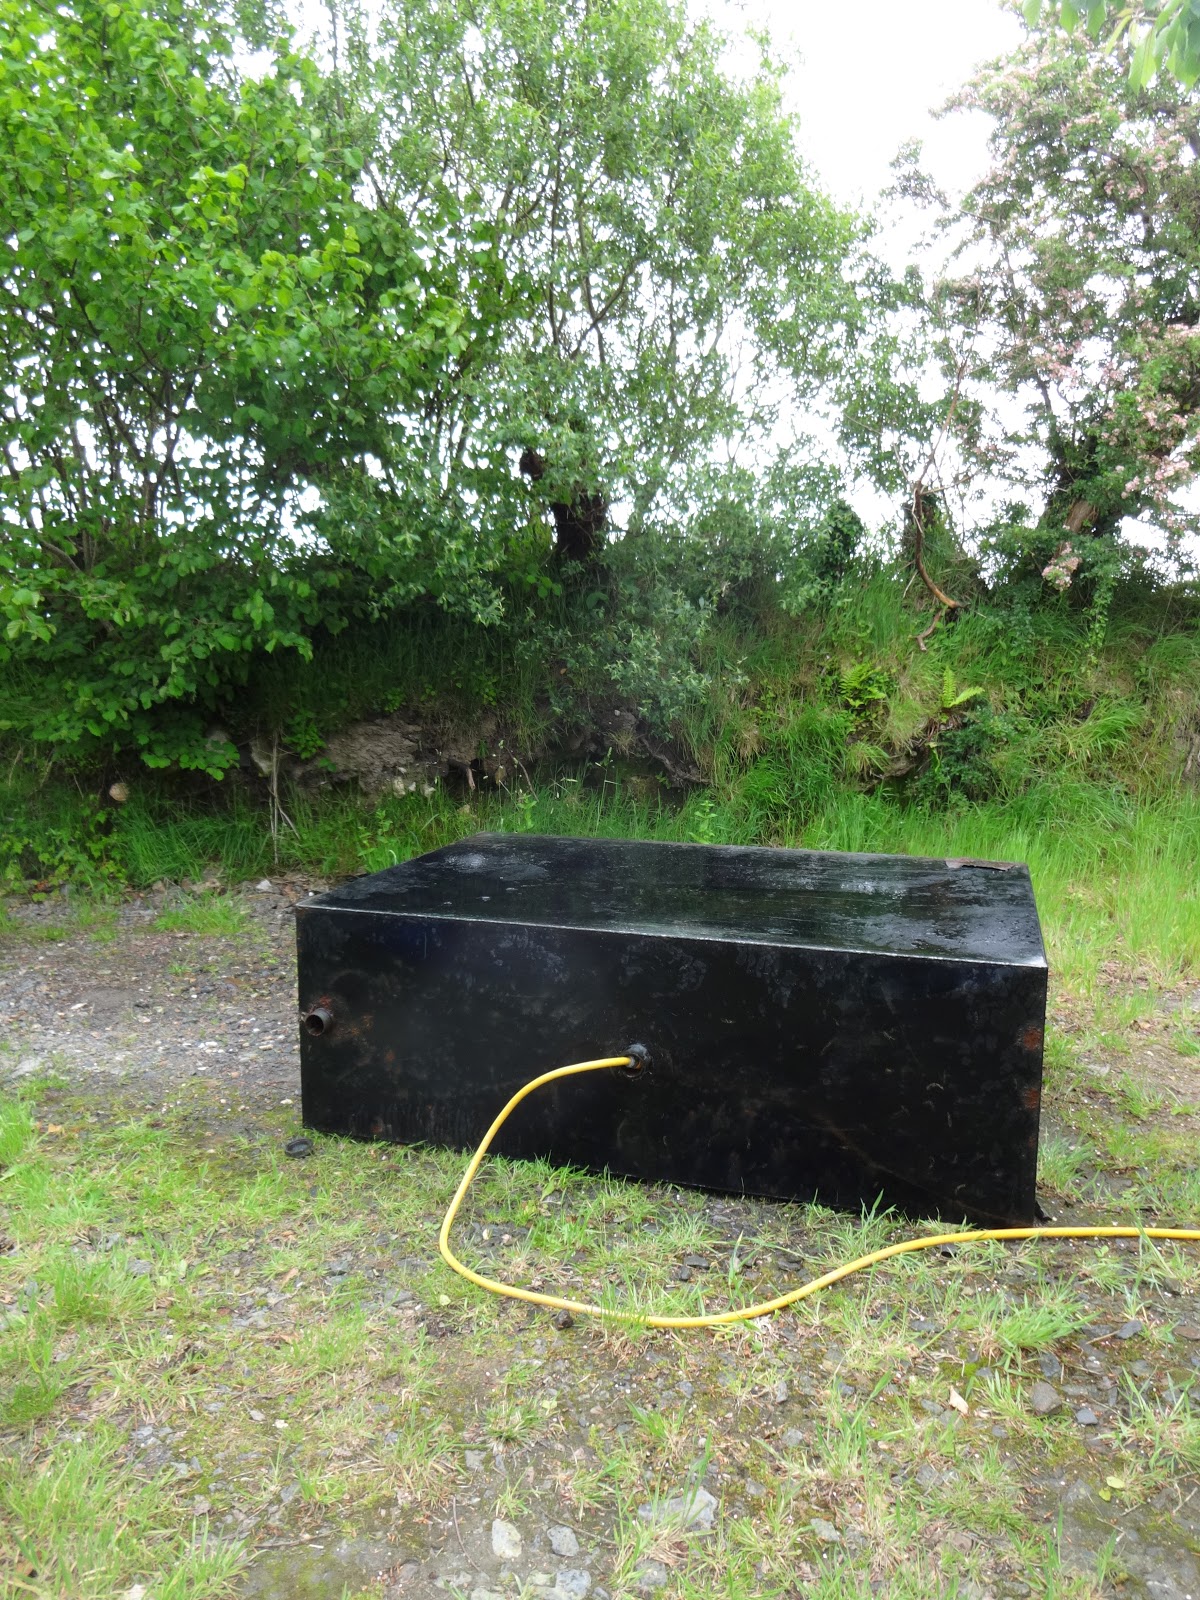
And there's the tank. With no mains gas supply in many areas, houses in rural Cornwall mostly burn heating oil (kerosene) in their boilers. It's inefficient, stinky and since it is delivered periodically by a tanker vehicle, requires a large, ugly oil tank to be parked permanently in the garden.

Thankfully we won't be spending any more (cold) winters in that old house (we certainly won't miss running out of oil and having to wait 2 weeks for the next delivery...) so the oil tank can be removed.

Before trying to move the tank, the first step was to make sure it was completely empty. According to the gauge we had almost run out, but frustratingly (since we'd hardly used the heating last winter for fear of running dry) we found the tank still contained well over a hundred litres of fuel. So we'd frozen our bits off for nothing - grrr!


Once the tank had been emptied and the heating oil stashed away safely in dozens of petrol cans and small containers, we could finally disconnect the oil pipes and move the tank. Despite being empty, the thick steel tank was still too heavy for us to lift, but we managed to tip it onto the grass bank behind and then from there flipped it down (with an almighty crash) onto the track below.

Once the tank had been thrown over the bank, it was amazing how much space had been cleared. We even found an old butler's sink nestling in the weeds! 


Although we'd managed to grapple the oil tank out of the garden, we still couldn't lift the damn thing and it was stuck there blocking half the track. So to get it moved swiftly out of the way, we attached some straps to it and used the car to drag it down the track. It was an effective way to shift such a heavy weight, but as the photo shows, it scuffed up the track a bit in the process.


In order to dispose of the oil tank, it was clear we'd need to cut it up into smaller, more manageable pieces, but we also had the idea that if we cut it in half, it could serve as a large, strong garden incinerator/brazier. Building a house produces loads of rubbish and we could do with somewhere safe to burn waste timber and packing materials.

The only tiny flaw in this plan was that we'd need to use an angle grinder to cut through the thick steel and the sparks and heat from this, could ignite any residual fuel/fumes left in the tank and cause some kind of explosion. Hmm...

Although kerosene isn't as flammable as petrol, we still decided to play it safe by half-filling the tank with water. This should help prevent any unwanted fireballs once the angle grinder got going (in theory...)


There aren't any guidebooks for this kind of thing, so despite figuring that there is no way it should explode, there's still always that slight nagging doubt...


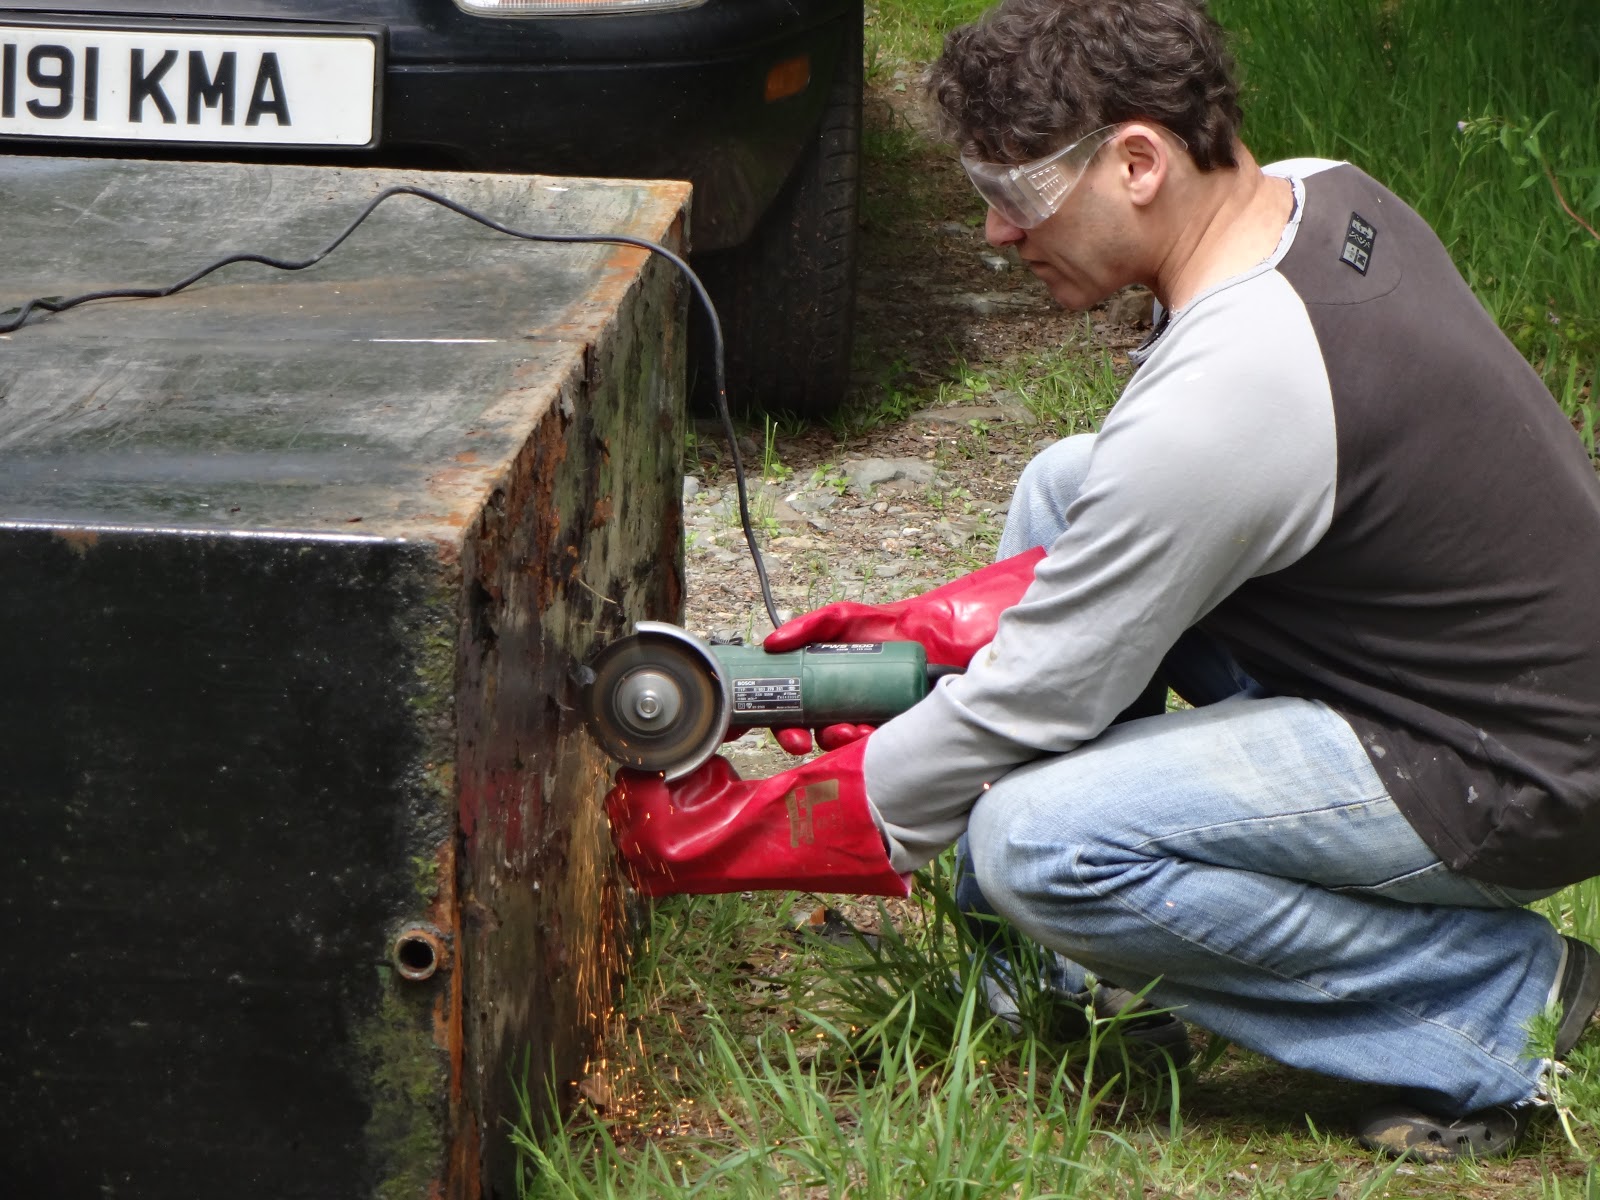
It worked. With the oil tank cut in two, we were now able to lift each half which will make it much easier when it is time to dispose of them.


For the time being though we still needed a garden incinerator, so after filing down any sharp edges, we drilled a series of ventilation holes along the sides. This was not easy as the steel was so tough and thick (see photo below) that the drill had a hard time getting through the metal.


Once the oil tank had been drilled and mounted on top of some breeze blocks, our homemade incinerator was ready for action. It was just as well, as we had several mountains of rubbish that needed clearing (not to mention over a hundred litres of kerosene that we drained out of the 'empty' tank which could used to help get the fires going). 


The incinerator worked a treat, producing a roaring fire but still maintaining control so that none of the established plants got singed.

It'll be very useful to have once we start demolishing the old house, as we'll have tons of timber (mainly rotten, if the roof is anything to go by) that will need to be burnt safely.


Monday 8 May 2017

Windows 4: Blinds

After spending so long building the house, we'd become accustomed to seeing a lot of natural light coming through the bare windows. So when we started looking at options for dressing the windows, it became clear that anything which blocked off any portion of the natural light, like curtains or roman blinds, would make the rooms feel gloomy by comparison.
 
Roller blinds made a lot more sense for us because a) made-to-measure sizes can be ordered easily online nowadays b) they were cheaper than the often ludicrously-overpriced curtains and poles c) they rolled up out of sight during the day (also meaning flies couldn't poop on them - a problem with curtains in isolated countryside houses...)

We started off in the main bathroom. After measuring and marking out, we fitted the brackets to the top of the window reveal according to the manufacturer's instructions.


Whoops. That didn't work... fitting them to the top of the reveal left the unattractive bracket on show above the blind. But by adapting the brackets slightly, we figured out that the blinds could be attached almost invisibly at either side.   


The bathroom windows with the new blinds fitted. No brackets visible and tucked right up in the top of the frame, so no light from the windows is obscured.

Having no neighbours and surrounded by fields on all sides, we don't need to worry too much about privacy. The bathrooms don't have frosted glass and there's something liberating about being able to wander about semi-clad without the fear of being overlooked. But despite that, on a dark night, when all the lights are on inside, it's still slightly comforting to be able to pull down the blinds.  


The blinds for the bathroom are made of a wipeable, water-resistant material which also prevents any mould.


The LED alcove light we made gives a nice low-level mood when relaxing in the bath (looks more effective at night though).  


One of the problems with putting in so many windows was the cost of having to dress them all. Roller blinds are relatively cheap, but when you need a lot of them, the cumulative cost was making a big dent in our budget. For that reason, we weren't putting blinds up everywhere - but of course, along with the bathrooms, the bedrooms were a priority.

As with most of the rooms in the house, bedroom 2 is dual aspect, with a larger window looking out towards the south. Here's the windows without blinds...


... and then, not looking all that different, once the new blinds were fitted.

We colour-matched the blinds to the off-white of the window frames and were really pleased with the way they blended almost invisibly into place.


We chose to fit blackout blinds in all the bedrooms and went for a natural woven fabric to soften the look in the evening when the blinds are closed.


Exactly the same blinds in bedroom 3.


The large feature window in the main bedroom presented us with a number of obstacles. The first question was what to do about the triangular top section? With our budget, the answer was fairly easy; we weren't going to do anything. Specialist blinds for those areas were available but were expensive and for the time being at least, it would have to wait.

So we would only be fitting blinds across the lower part of the window. It's not such a big deal - the feature window faces south so doesn't get dazzled by the rising sun in the morning and it's quite nice seeing all the stars when lying in bed at night. 


The next question was, how were we going to fit the brackets to support the blinds? It wasn't possible to get one long blind to span the 3 metre width, so we would need to figure out a way of attaching the centre brackets to the window frame.

We were very reluctant to start drilling holes in the aluminium window frame (it could invalidate the warranty and there was potential to cause water leaks) but after carefully examining the technical drawings of the windows, we identified a trim section, where it would be safe to attach our brackets without affecting the integrity of the frame.

Once everything had been measured up and checked, we made up a small wooden panel so that the brackets would sit in exactly the right place.   


Here are the centre brackets screwed into place on their little wooden plinth. The self-tapping screws are attached to the thin cover plate that covers the gap/joint between the upper and lower window frames, rather than into the frames themselves.


Then the first blind was simply clipped into place. The control chain for each blind hangs on the reveal (wall) side and we chose white chains to make it as invisible and uncluttered as possible.


Both blinds fitted and once again, it's pleasing to see how discrete they look. These wide floor-length blinds are a lot heavier than the normal window ones so the centre bracket really needed to be securely attached.


As a finishing touch, we painted the little wooden plinth to match the colour of the window frame.


While the upstairs bedrooms primarily needed blackout blinds to block out early morning sunlight, downstairs we could go for a semi-opaque material.


In the study, the lighter, 'natural-cotton' blinds work well for blocking out strong sun and it's nice to see the tree branches silhouetted against them too.


We fitted the same blinds in the (temporarily junk-filled) lounge. The site inspector could barely contain his excitement.