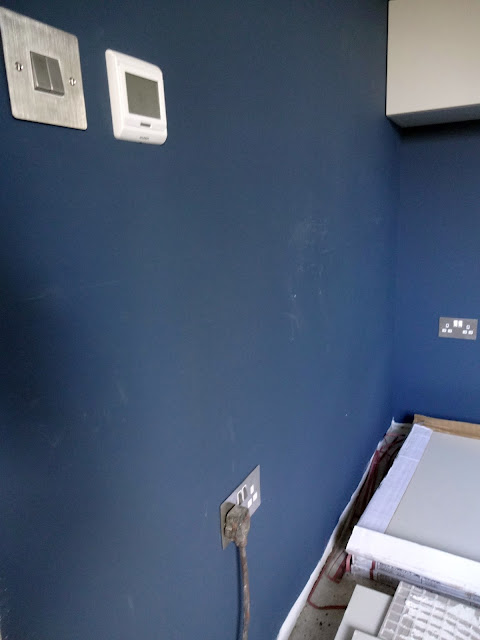
The first step was to paint the walls. Although the rest of the house had been painted using Little Greene's 'posh' paint, we decided to use a durable acrylic from Johnstone's; it saved quite a bit of money, was supposed to be very hard-wearing in bathrooms and being pure white, probably wouldn't be noticeably different to the Little Greene equivalent.
The walls had previously been undercoated in white so they didn't need much prep - after filling any dents and removing blobs of tile adhesive, we applied two coats of paint.
We scraped away any excess tanking (the blue, rubbery coating) from around the shower walls and smoothed it all down before painting carefully up to the steel trims.
We'd removed the shower head to stop it from being mucked up during the tiling, so now it could be re-fitted. Since we didn't have a shower enclosure (yet), we used a bucket to stop the spray from going everywhere when we checked the water was flowing properly.
"None more white".
It had been over a year ago that we had installed the pipework for the bathrooms (sigh). Having buried the bath tap valve in the wall back then, completing the job was just a matter of fixing the taps and spout onto their respective fittings.
Once the taps were on, we tested them out to make sure everything was working and that there were no leaks.
With the taps fitted, we turned our attention to the bath. The design of these baths mean that there is very little space to fit conventional waste traps, so we opted to use a good quality, low-profile type.
On this nifty Geberit kit, the overflow doubles up as a plunger to open and close the pop-up waste.
The low-profile trap just about fitted under the bath, though getting the pipework lined up to it afterwards was a bit of a faff.
The bath waste fitted, tested and signed off. At last, it was possible to have a bath! (This was just as well because according to the grout manufacturer's instructions, the showers needed to be left to dry for 2 weeks before being used...)
Like the bath valves, most of the hard work in fitting the toilet had been done long ago, when we fitted the cistern and pipes into the wall.
Fitting the toilets was reasonably straightforward.
Firstly, the pipes that connect to the wall-hung toilet pan were cut to length and joined to the existing waste pipes buried in the wall. These waste pipes go directly to the septic tank, so once uncovered allow a stink from hell to work its way back to the room. Fortunately Geberit supply plastic bungs that fit snugly into the waste connectors and stop any pong while you are fitting the toilet.
Once the connectors are in place, the toilet pan can be pushed into position and bolted firmly onto the wall. Unfortunately until it's filled with water, the gateway to hell (septic tank) is open once more, so we had to hastily block off the whiff by stuffing an old t-shirt down the pan.
These kind of wall-hung toilets can exert quite a bit of leverage, so it's not normally advisable to fit them in partition walls, however having beefed up the studwork ourselves, we felt confident that the toilet could withstand even the heaviest of loads (!)
As with any concealed cistern, all the serviceable parts are accessible via the flush plate. From that small cut-out, it's possible to make all the adjustments or connections you need in order to get the toilet working.
Once the cistern has been filled with water and the flush mechanism adjusted to suit, the flush plate can be clipped back into place. We were really impressed with the Geberit cistern, which was noticeably better quality than the Grohe ones we'd fitted elsewhere.
Lastly, the toilet seat and lid were installed and the throne was ready for action!
We painted the en-suite at the same time as the bathroom.
Fitting the toilet in the en-suite was much the same process as in the main bathroom.
We had a few issues with the cistern allowing a trickle of water constantly down into the pan, which was a little bit fiddly to fix. Once it was all working though, the flush plate could be replaced and the toilet seat fitted.
The wall-hung toilets did require a bit of extra effort to install, but they do look good and make it much easier to mop the bathroom floors.
In the en-suite shower, we discovered a few problems with the fitting for the body-wash head. The tiler had cut a large hole off-centre, which meant the chrome cover-plate no longer covered the hole (gah!)
Furthermore the brass fitting itself was a daft design that didn't allow for any adjustment to account for the depth of the wall.
The easiest solution for the visible hole was to just fit a bigger cover plate and luckily we managed to find an almost identical one cheap on Ebay.
The non-adjustable fitting issue was solved by cutting the brass thread (right) shorter using a hacksaw and fitting that into a small brass adaptor (left).
Once the adapted fitting was in place, we sealed the hole with silicone...
... and the body wash shower finally fitted neatly into place.
We had planned to fit our new shower door at this point, but (yet again) rather than actually transport this fragile item safely, the 'delivery' company opted to smash it to pieces in transit and hope we wouldn't notice...
Dented
Mangled
Snapped.
Returned.


